As I have recently got into chocolate making, I thought I should try and make some handmade chocolate Easter Eggs for my family as gifts this year.
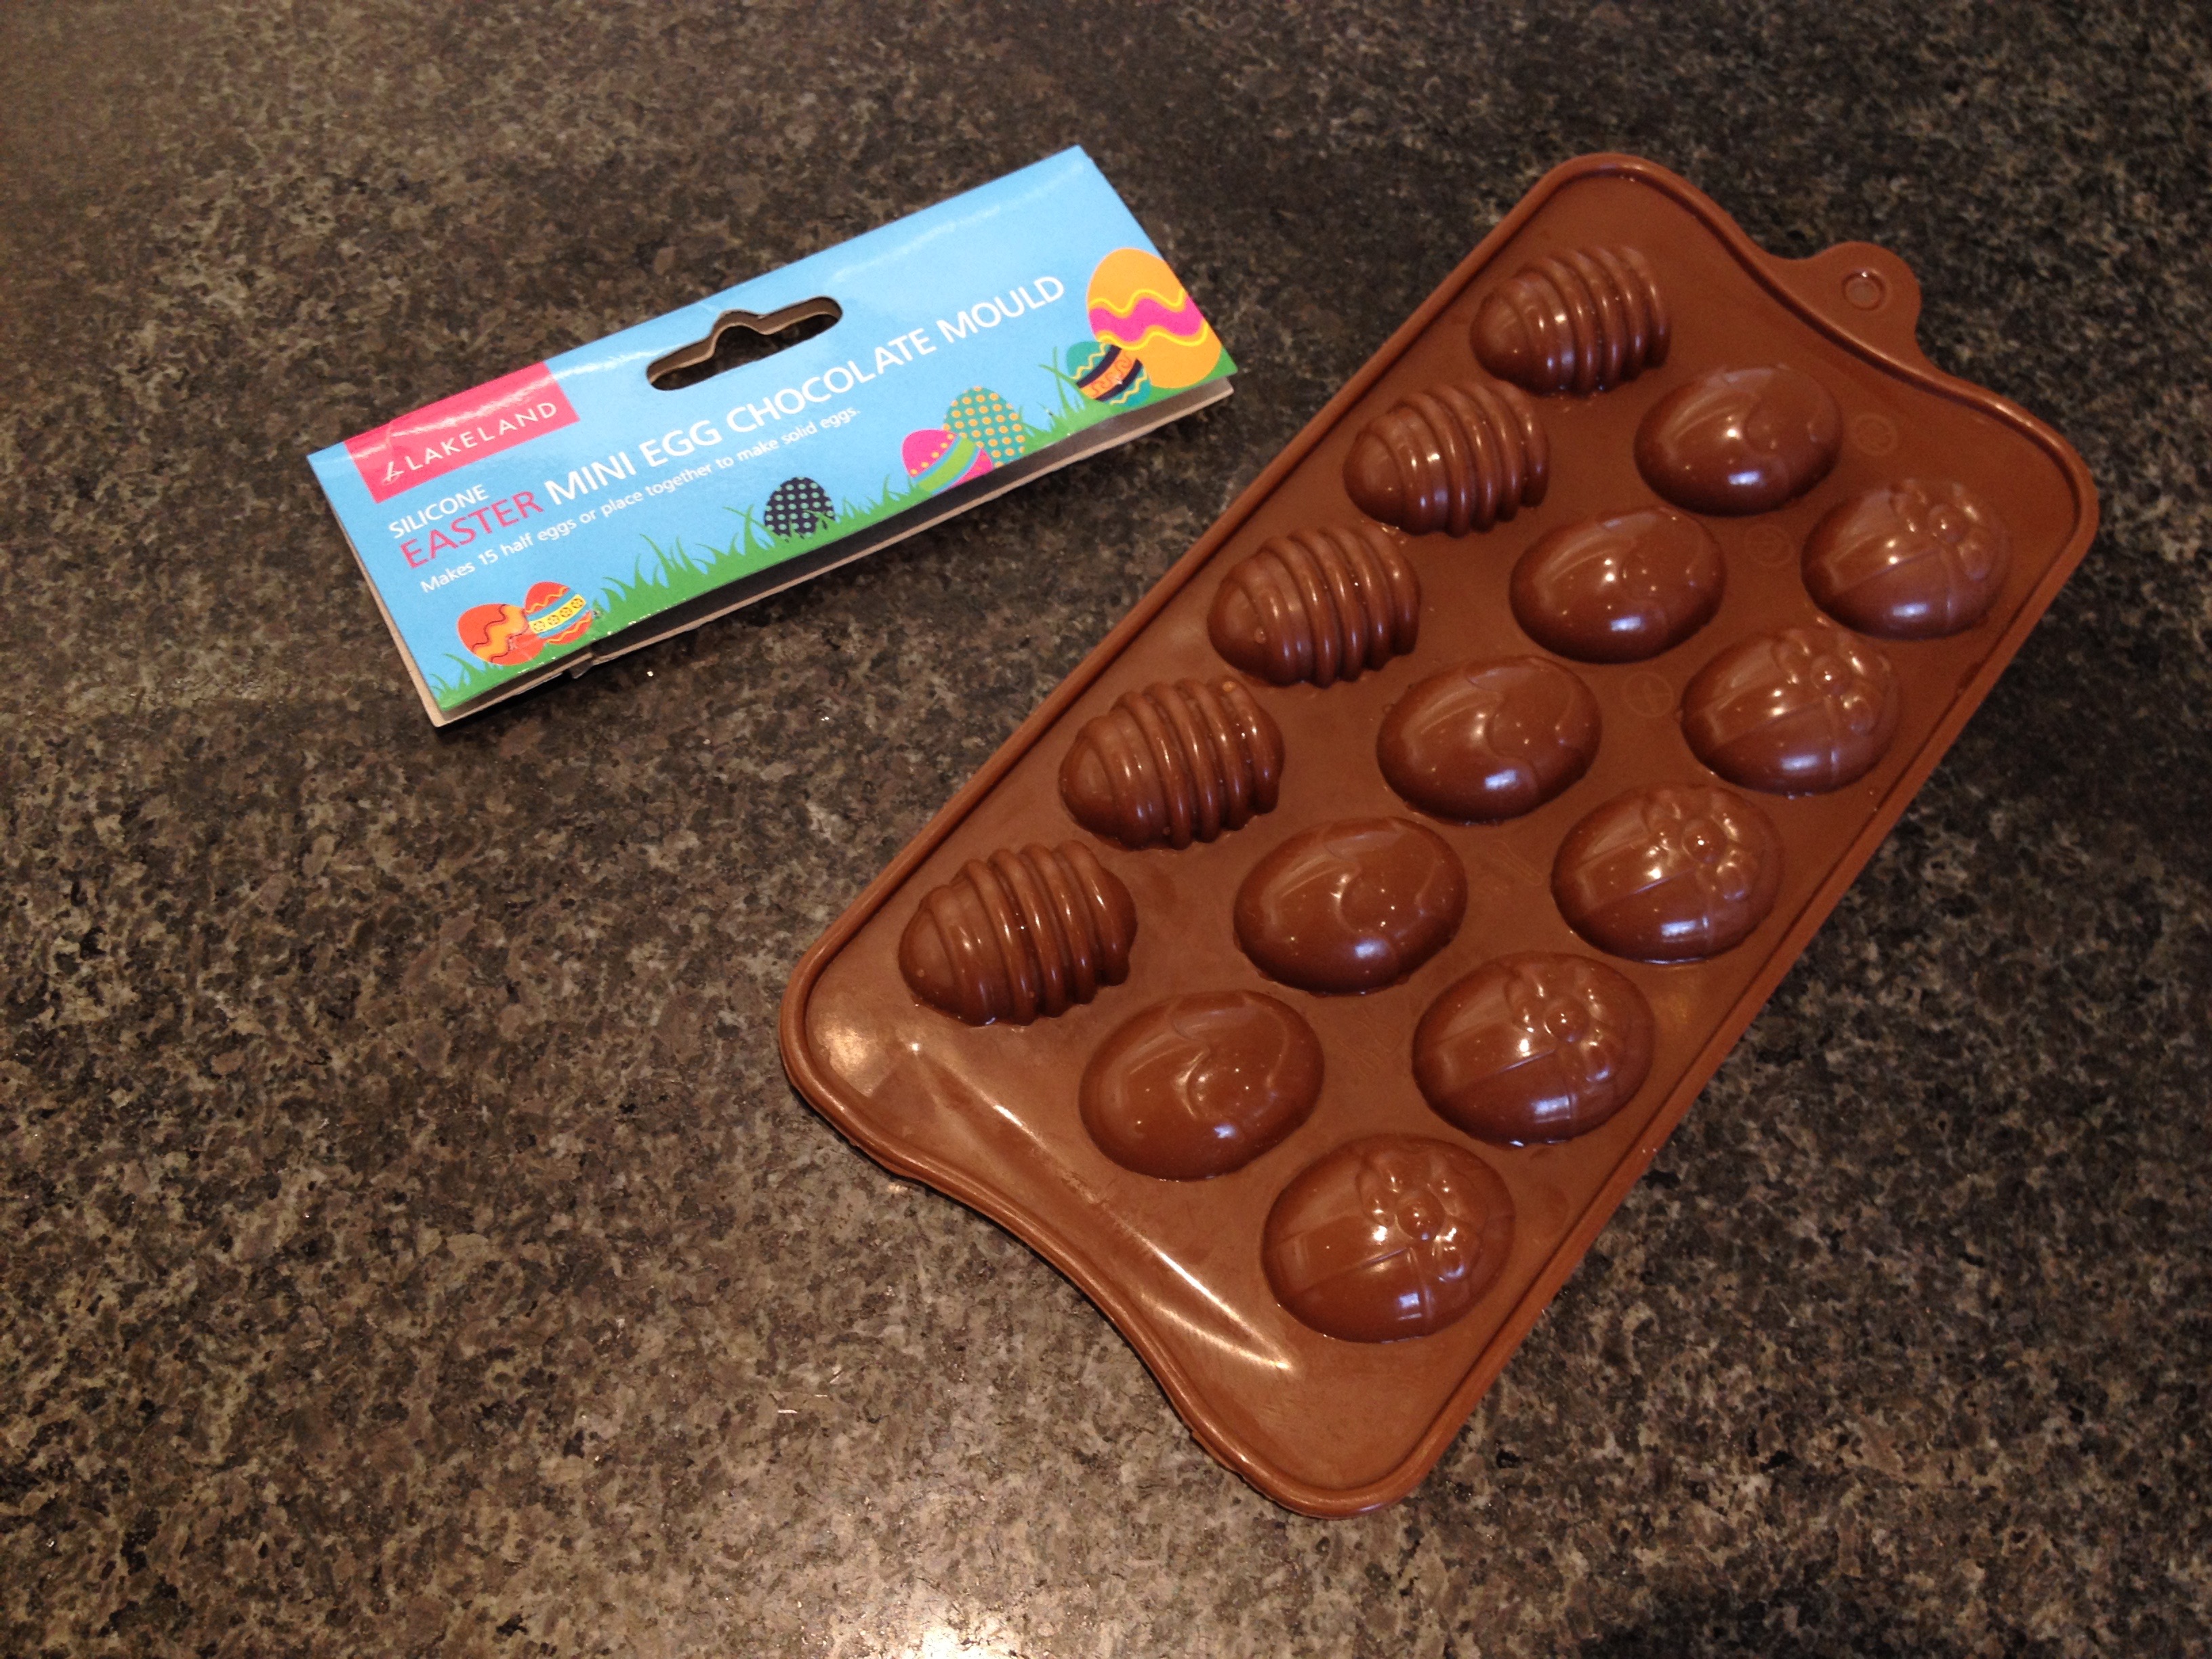
I bought some low cost plastic moulds from Lakeland for my first try. The moulds although designed for home use, proved to produce very professional results.
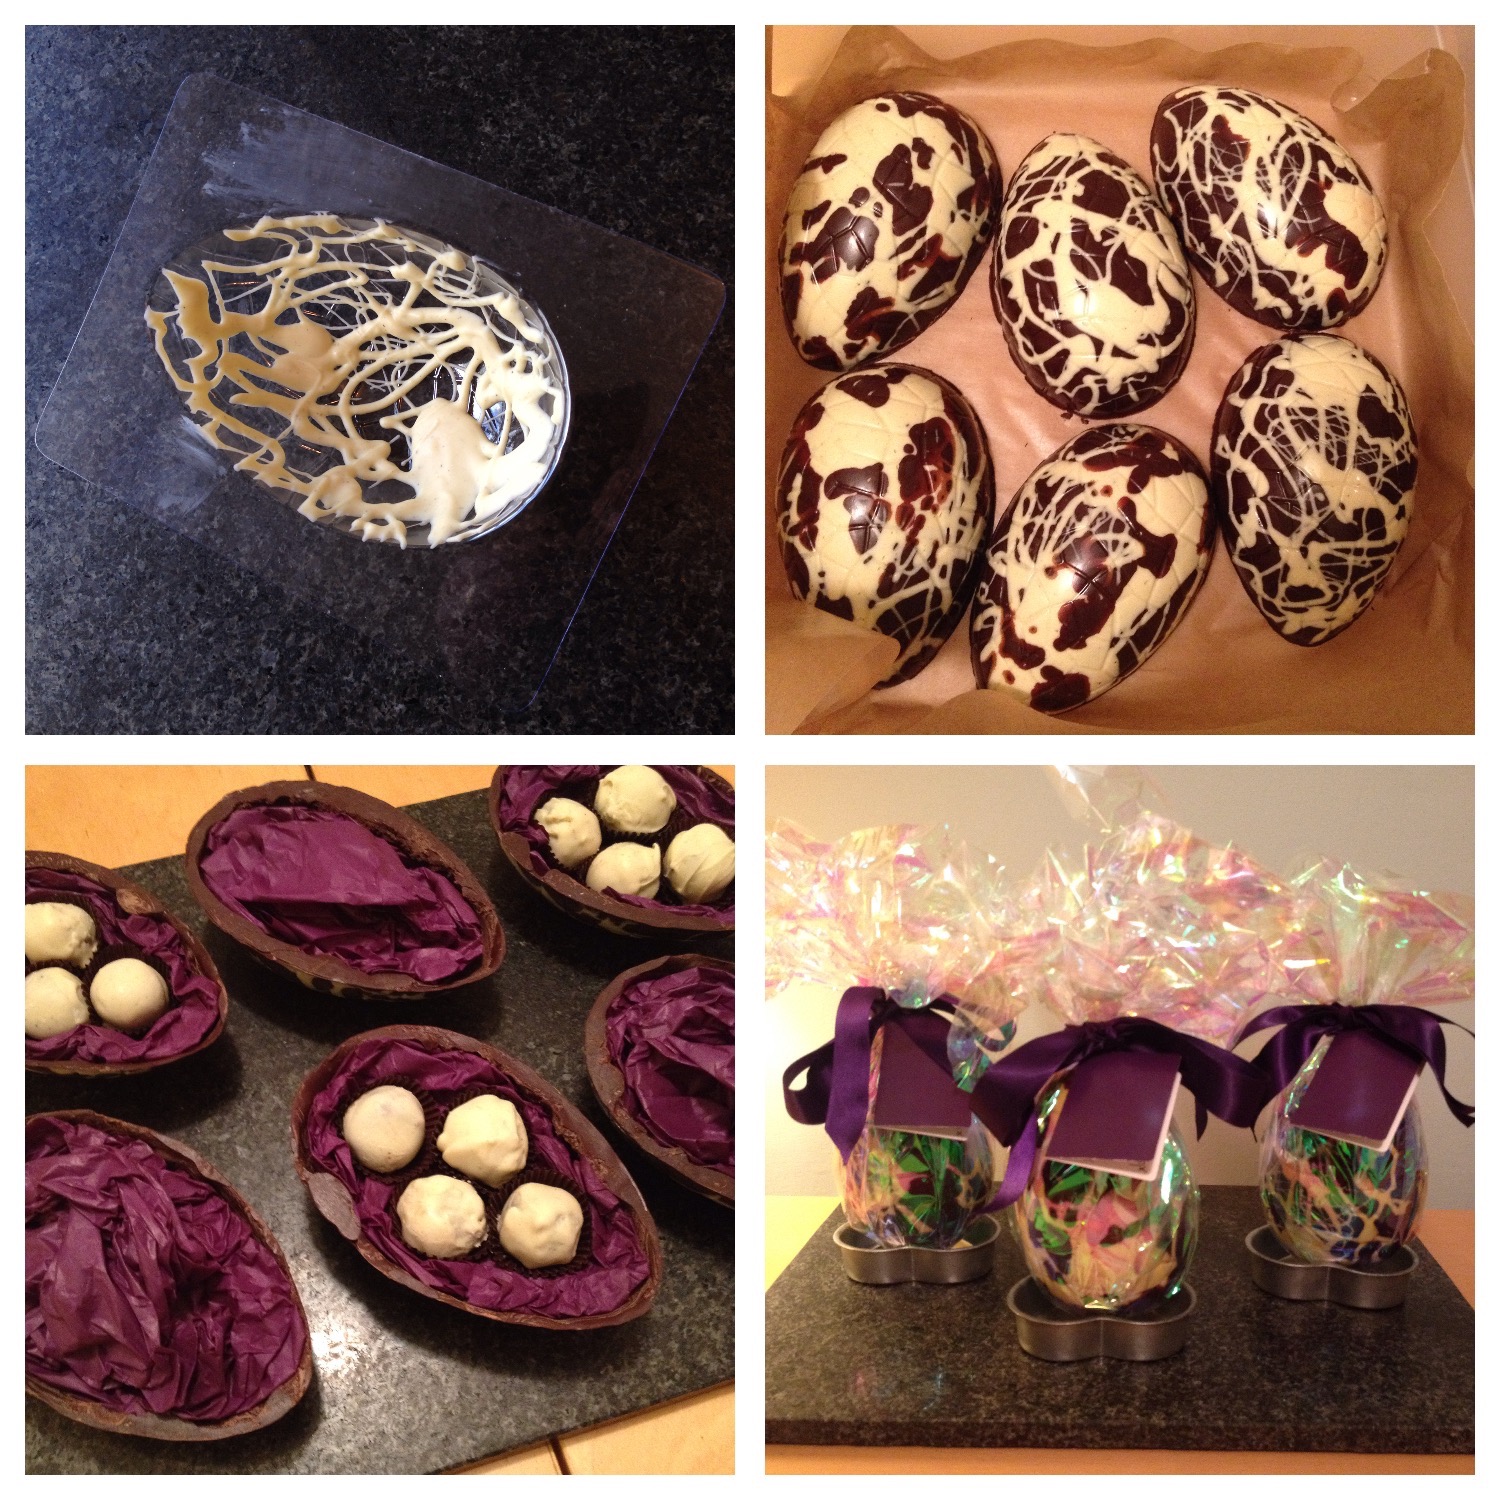
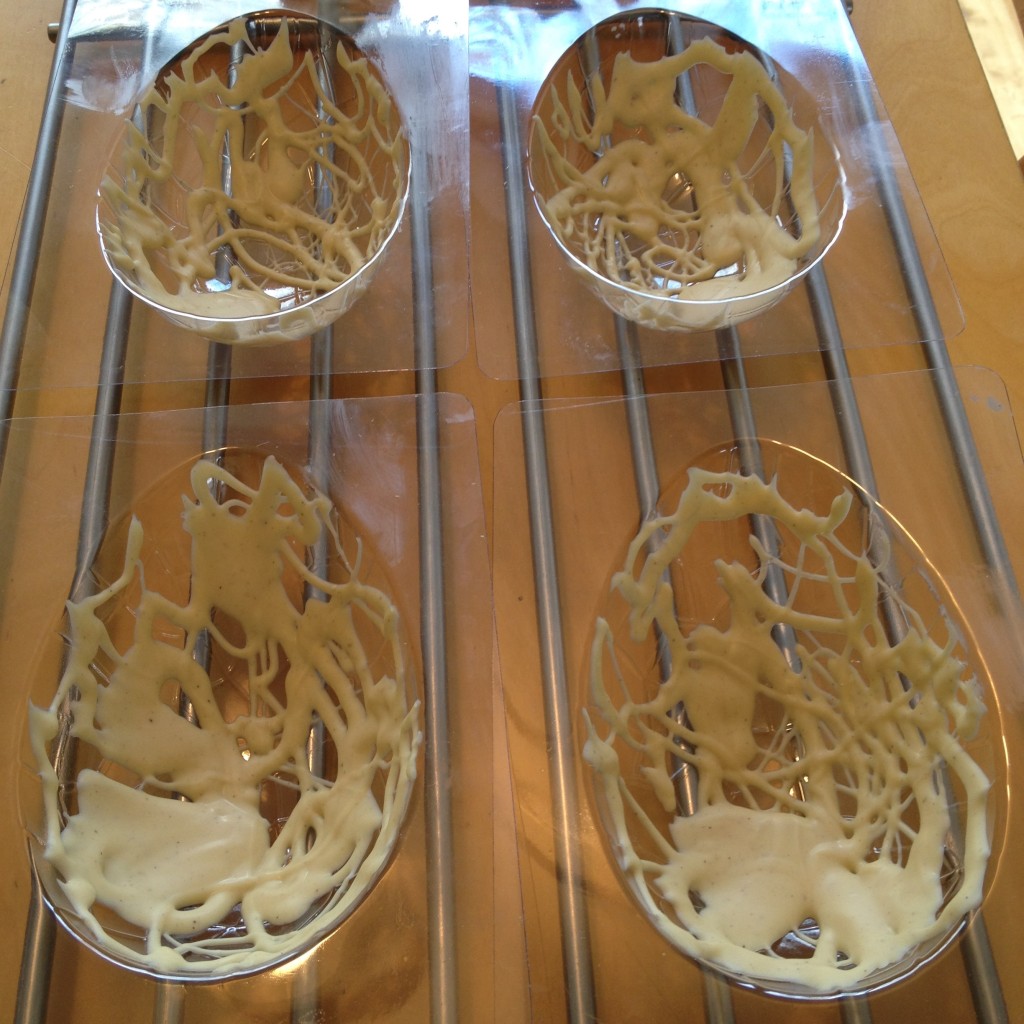
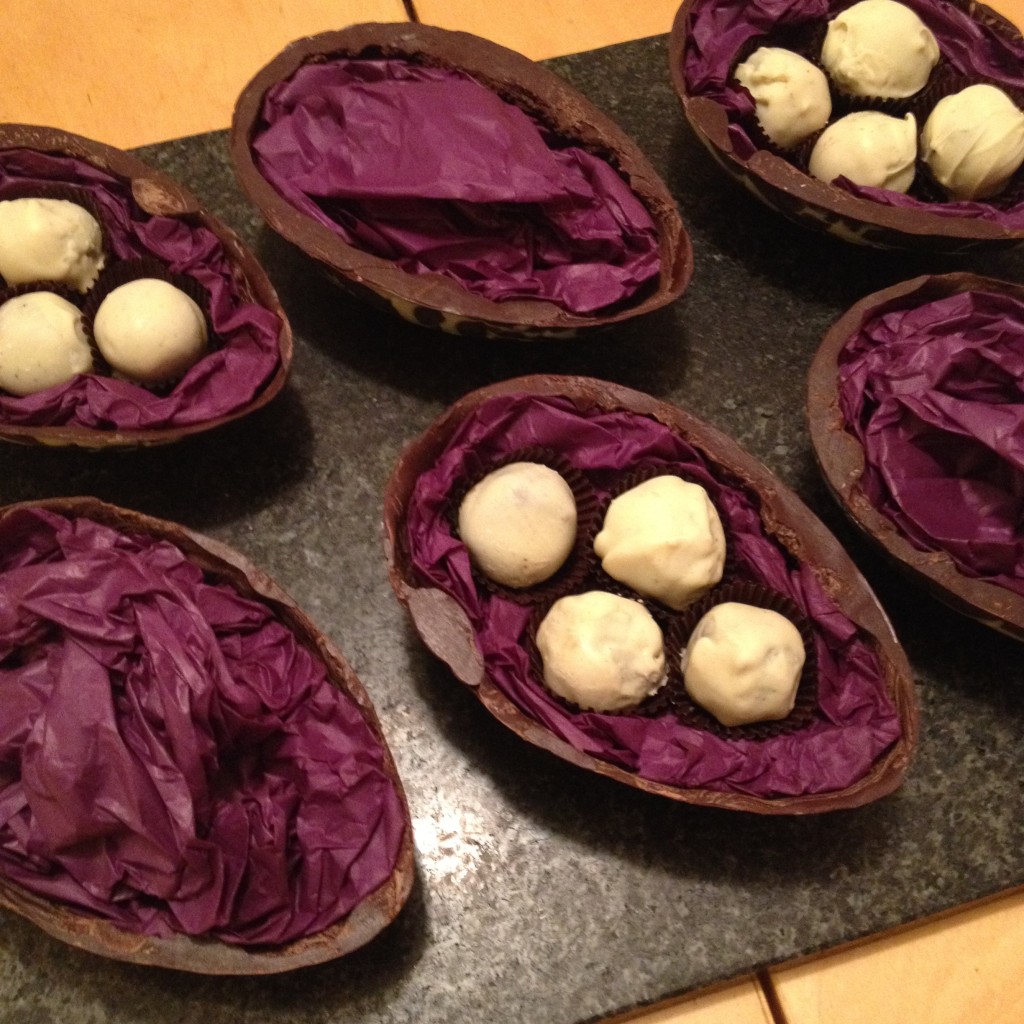
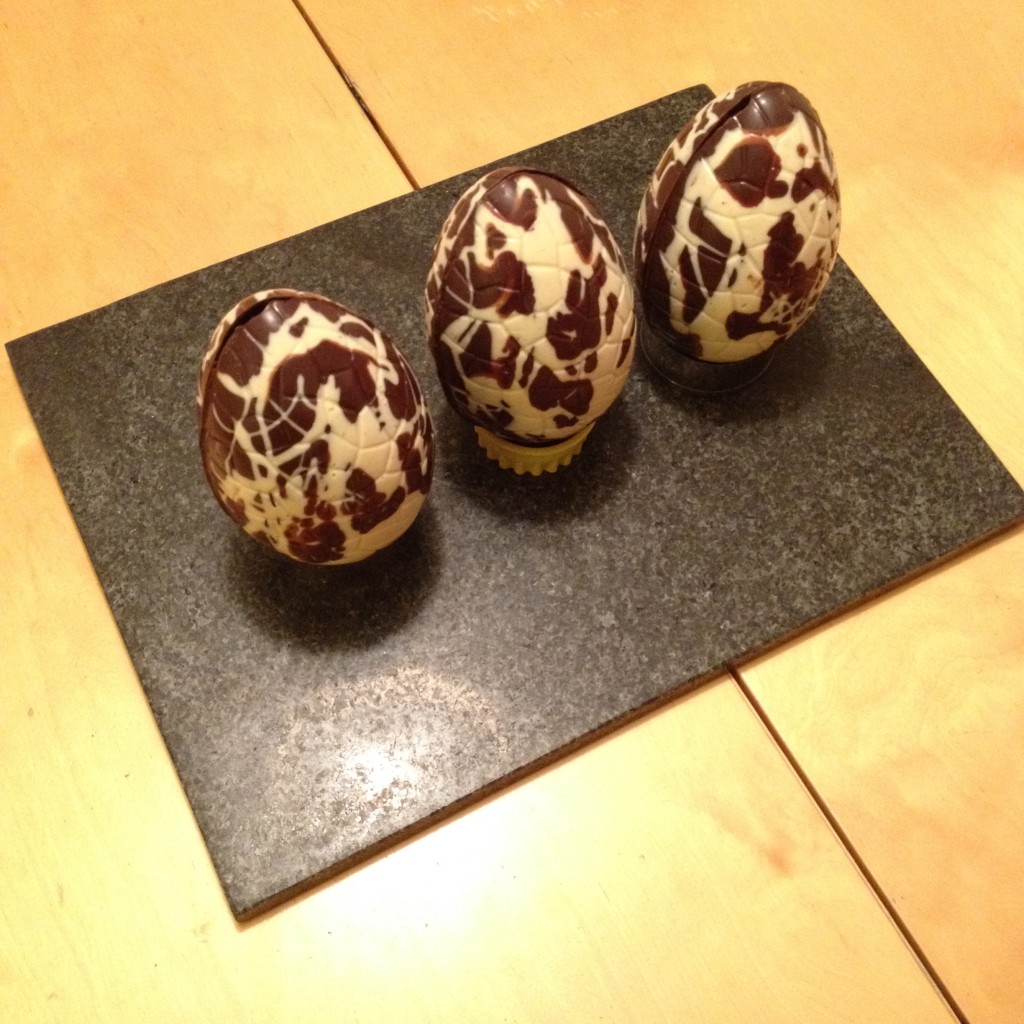
For this project I decided to use dark chocolate for the shells with white chocolate swirls laid into the cases. The first step was to temper a small batch of organic white chocolate and gently swirl it into the shell cases until they set.
The next step was to temper some dark chocolate and coat the shells and leave for 15 mins until they set. After this I refrigerated the shells for 15 minutes so that the shells would release easily from the cases.
I wanted to have a classic old fashioned feel to the eggs, so I decided to fill each finished egg with four white chocolate covered milk chocolate ganache truffles. Each egg would also have tissue paper padding inside harking back to yesteryear before plastic became ubiquitious.
The last step was to gently warm a small quantity of dark chocolate to 31 deg C to use to join the half egg shells together.
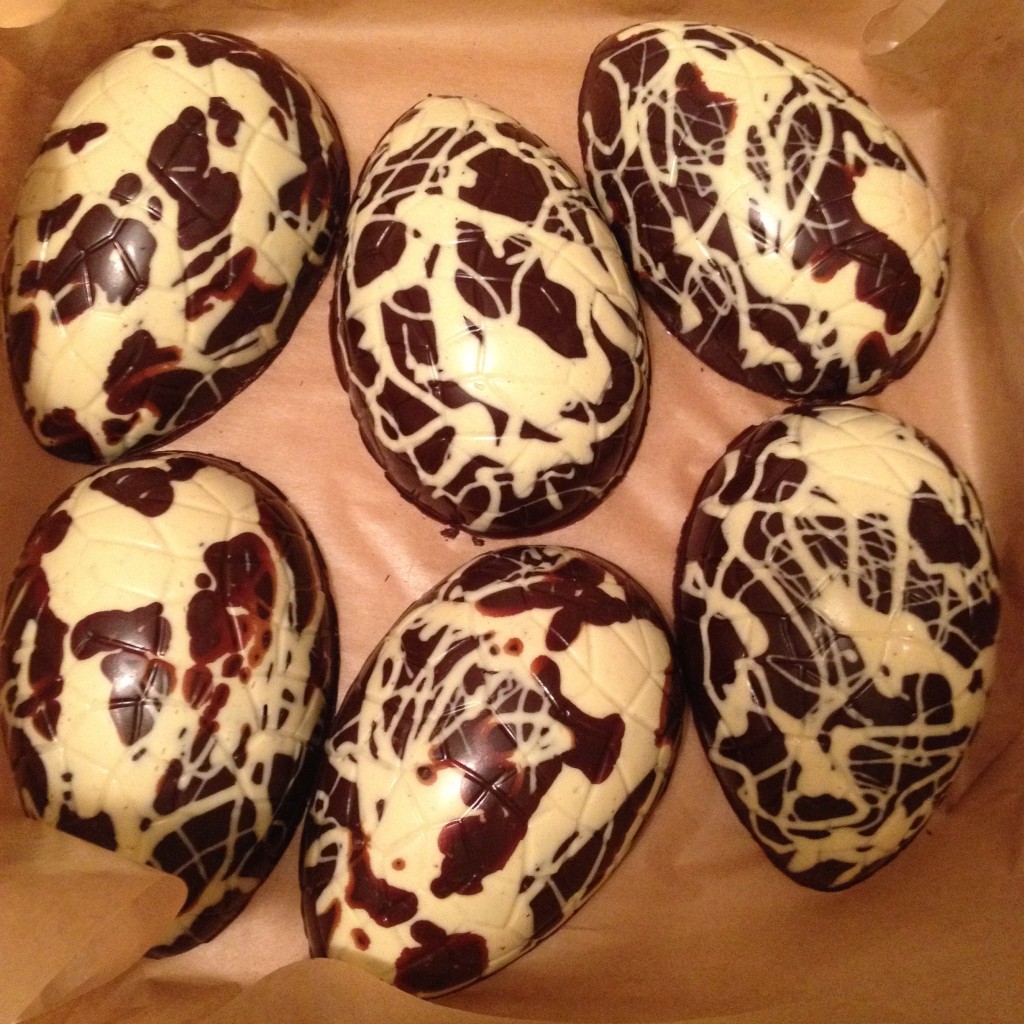
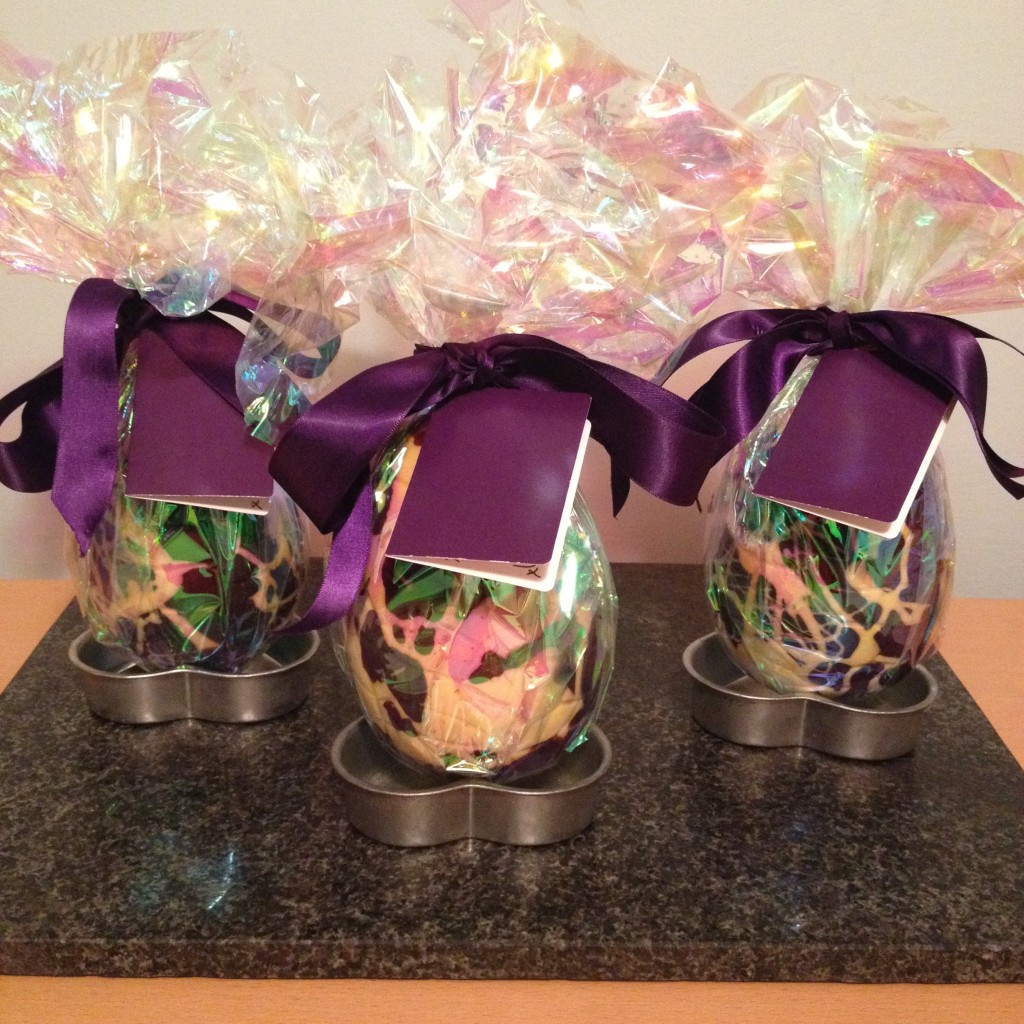
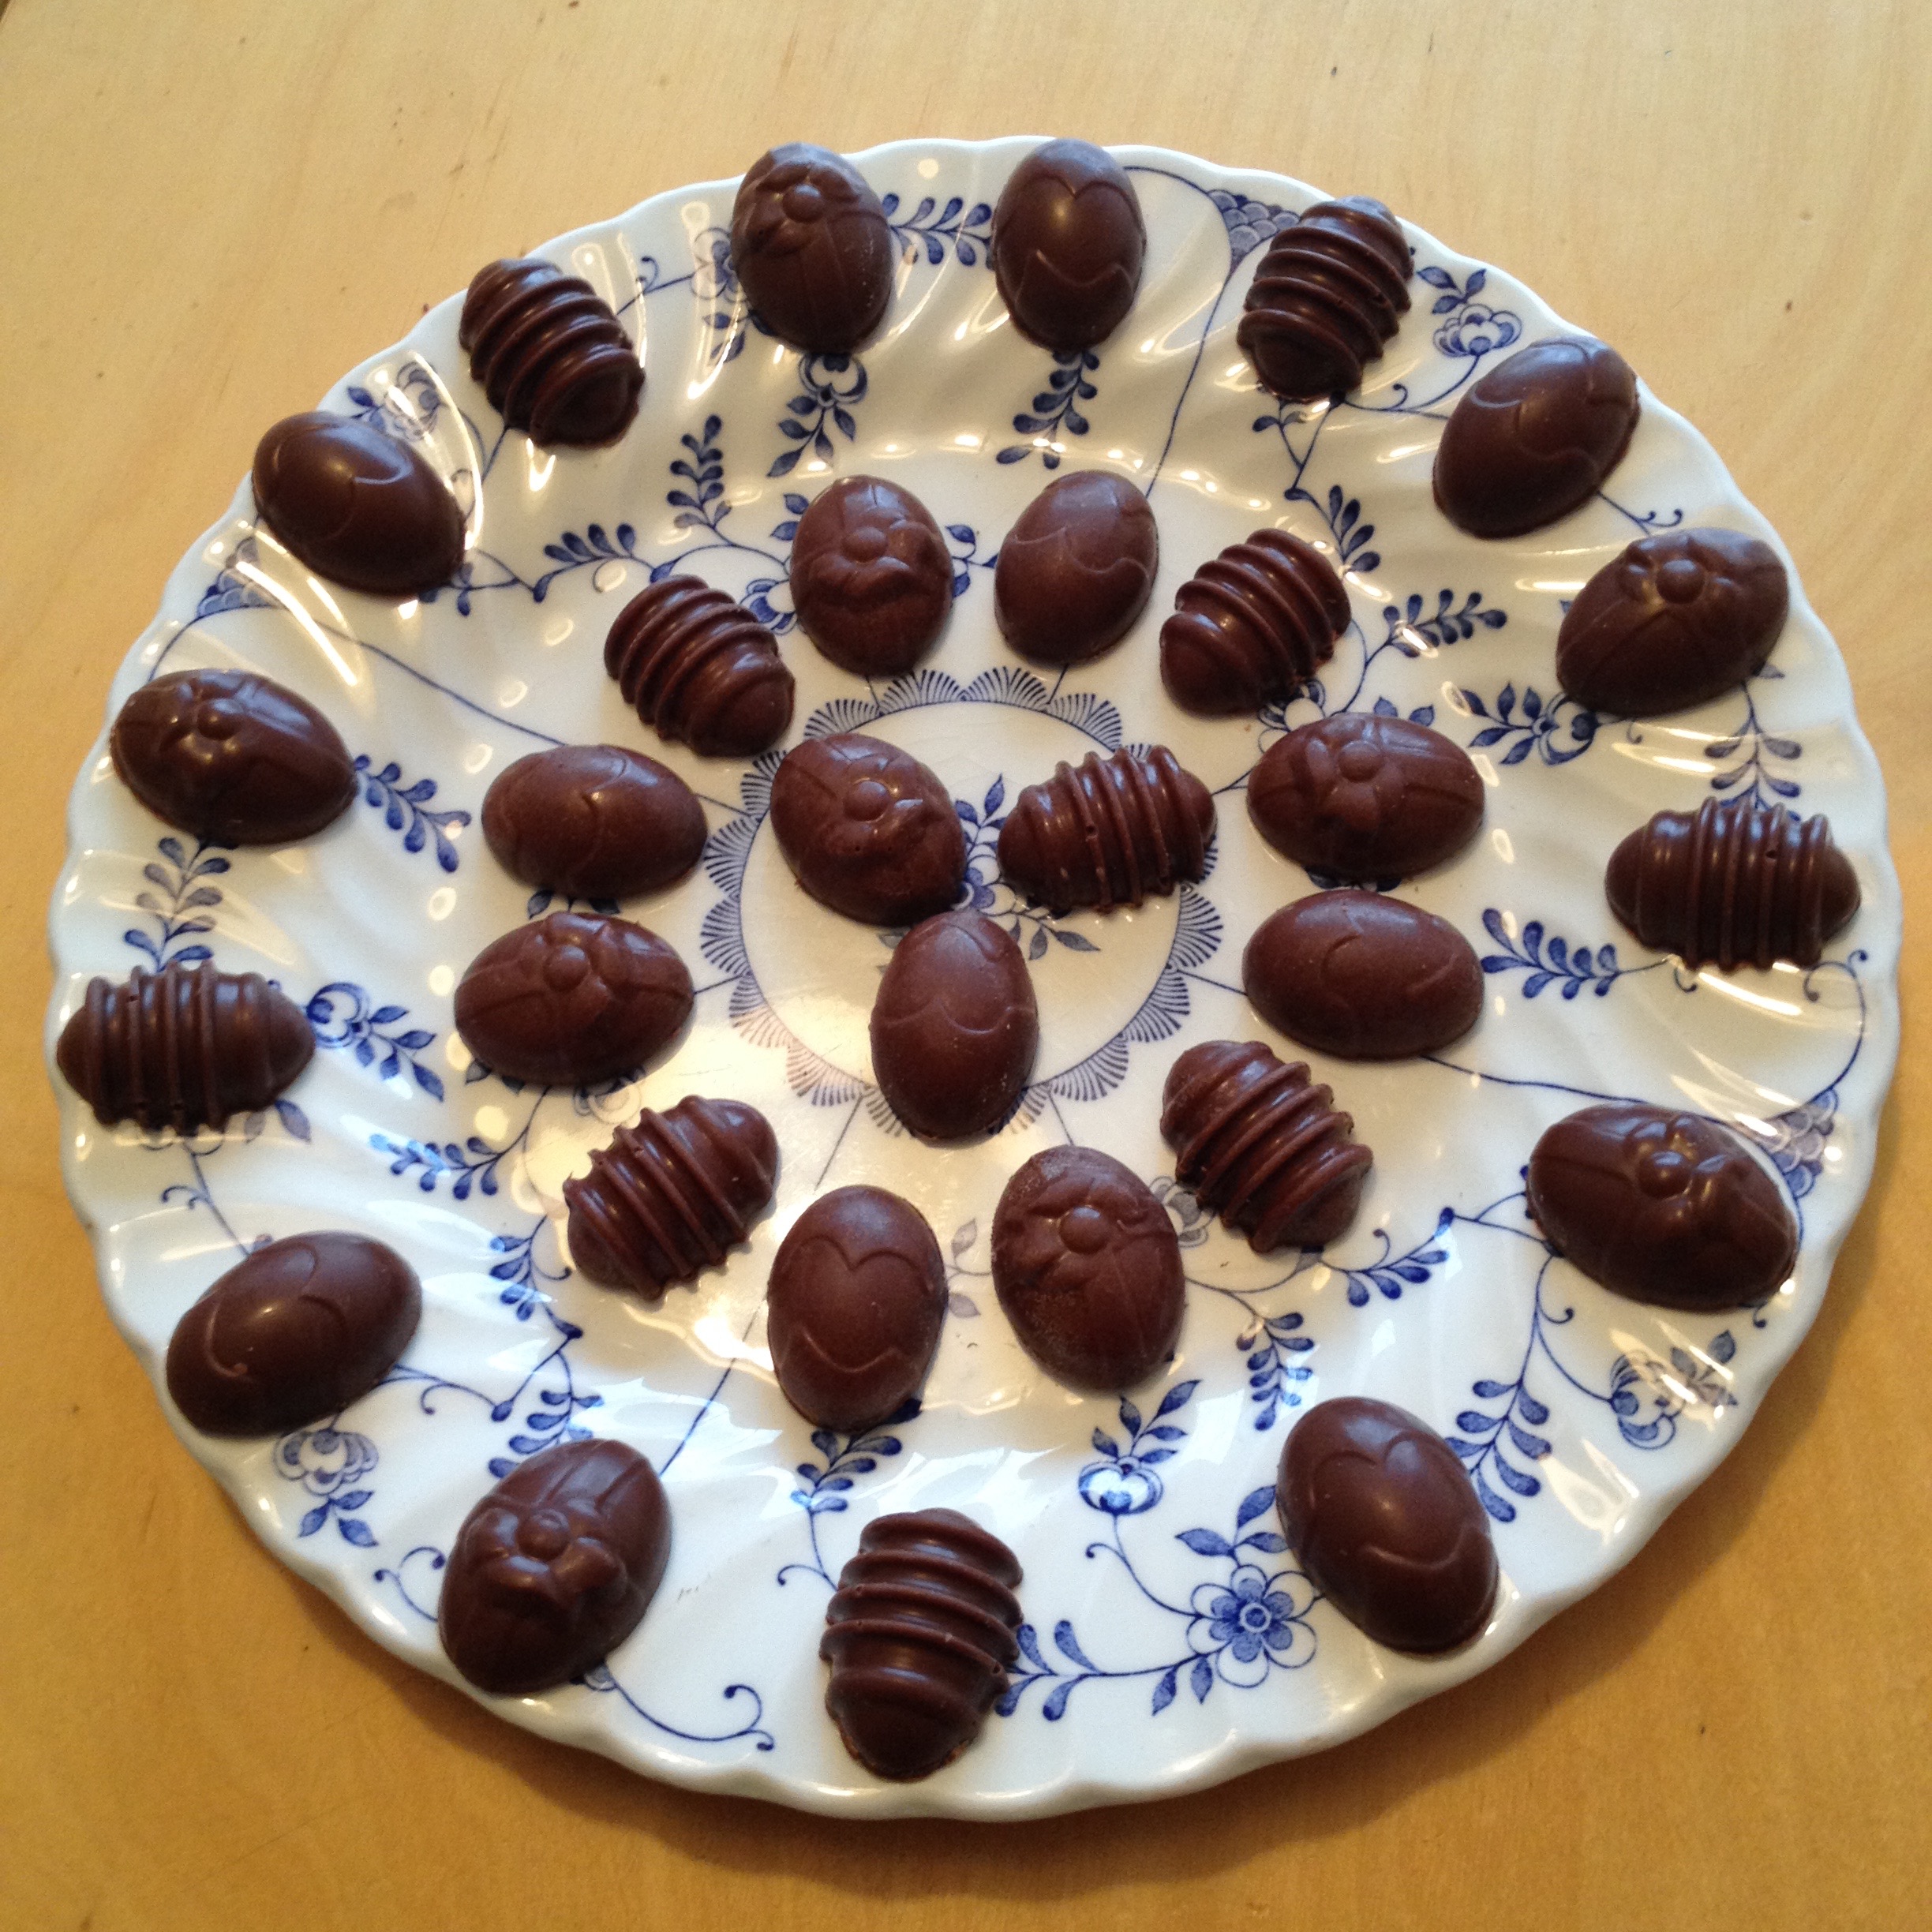
The finished result was a batch of nostalgic Easter Eggs, adding cellophane and ribbons gave them a classic look with a professional finish….. Yum!
Rhubarb & Ginger Ganache …… now that’s a very good combination of flavours!
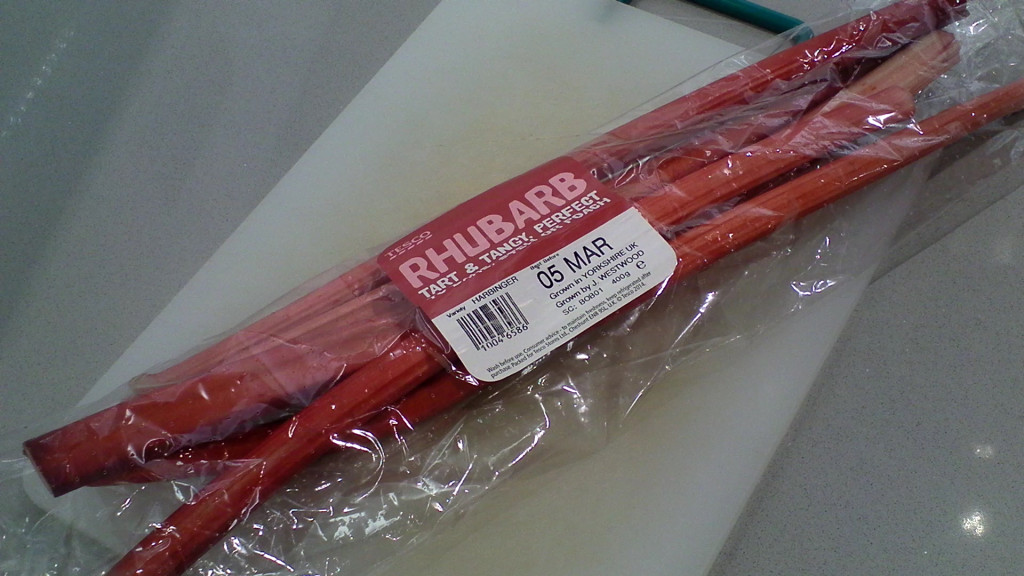
I had been looking for ways to create a rhubarb & ginger ganache with an intense but smooth flavour. As spring is almost here in England and new season Yorkshire rhubarb available in the shops it was a good time to try to perfect a recipe.
I decided that I would first make a rhubarb infused sugar syrup adding a small amount of finely chopped stem ginger to give a little gingery pep. Stem ginger is the best option as it’s already in sugar syrup and confit so will blend vey well into the finished ganache. I reserved some of the finely chopped stem ginger to stir into the ganache at the end.
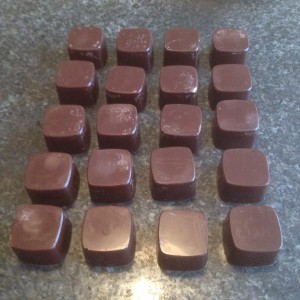
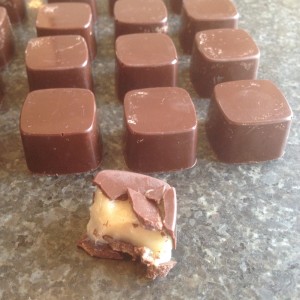
I chose organic white chocolate for the ganache base so that it would be smooth and light in colour. I used dark tempered chocolate (70%) and square shaped moulds for these chocolates as this would contrast very well with the ganache. The only improvement I would make is to slightly increase the amount of rhubarb to intensify the taste more. However the rhubarb & ginger ganache I made was very smooth and with just the right amount of ginger. It’s a very seasonal chocolate and if you have some fresh young rhubarb it’s definitely worth a try.
Rhubarb & Ginger Ganache
(makes approx 30)
Ingredients:-
1 ½ Sticks of Rhubarb (fresh new season if possible).
2 Spoon the dark chocolate into the square shaped mould until each aperture is filled. Then tap the side of the mould 2 or 3 times to release any air bubbles. Next angle the mould over the bowl of chocolate and use the scrapper to pour to the bowl and smooth off the top of the mould. Turn the mould face down on a piece of non stick baking parchment for 15 minutes. Scrape the face and sides of the mould and place into a refrigerator for a further 15 minutes. This is so the individual chocolates will release easily from the moulds. Then leave covered on the worktop awaiting the ganache filling.
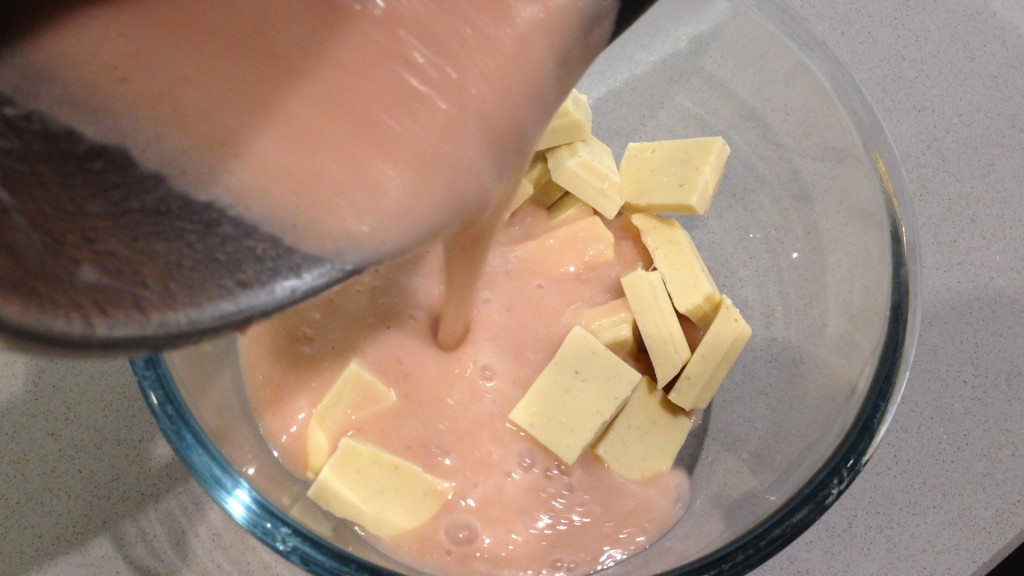
3 Place 255g of the white chocolate which has been broken into small squares or finely chopped into a mixing bowl.
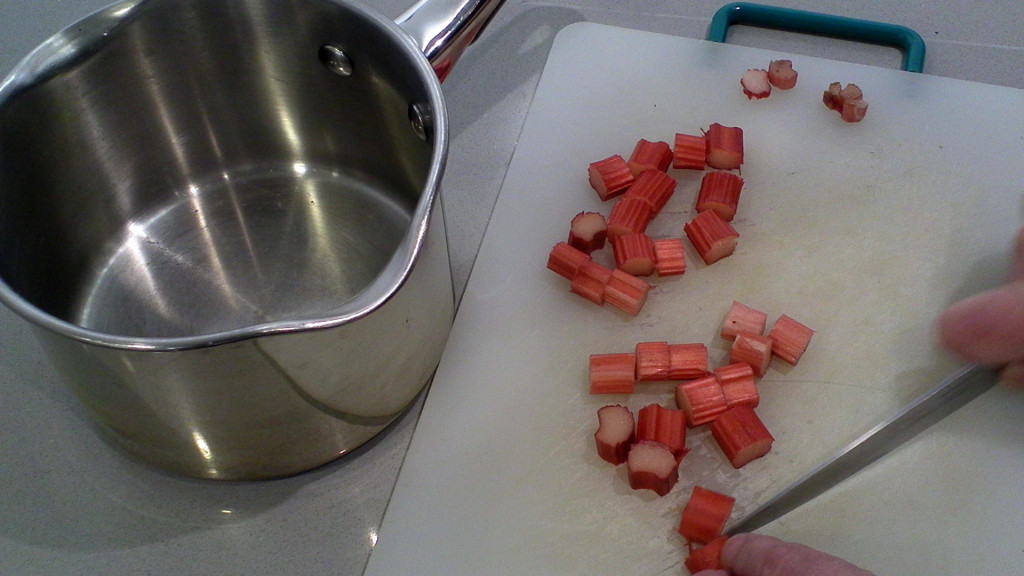
4 Wash the rhubarb and cut into 30mm lengths. Add to saucepan with 175ml of water, 35g of white caster sugar, 1 ½ rounds of finely chopped stem ginger and ¼ cup (60ml) of corn syrup. Gently heat and simmer for 10 minutes ,stiring occasionaly until the rhubarb is tender. Then take off the heat and allow to stand for 30 minutes to infuse.
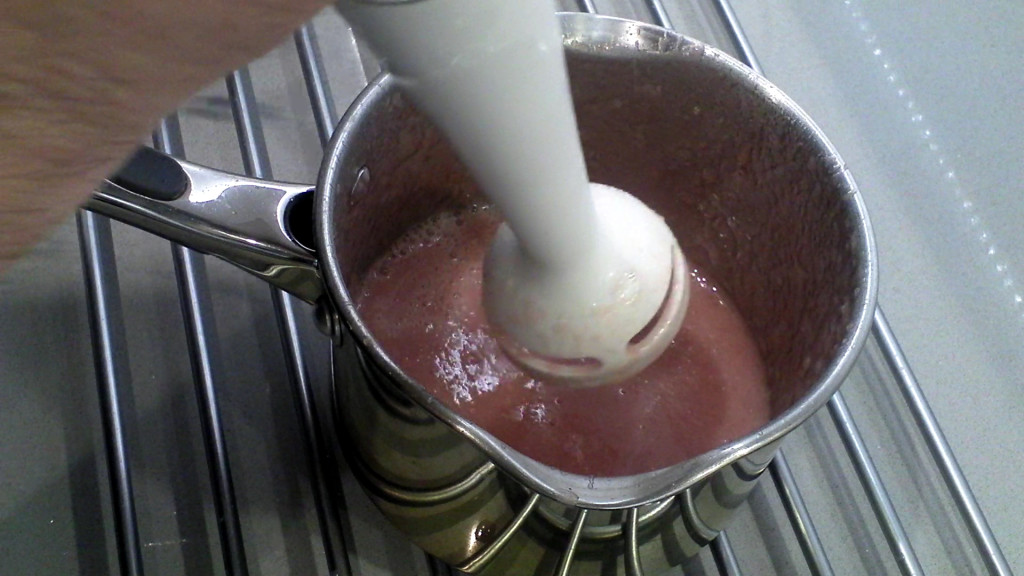
5 After 30 minutes blend the rhubarb and ginger syrup (with a stick blender) until it forms a smooth coulis like mixture. It will have a wonderful pink colour.
6 Stir in 75ml double cream (or heavy cream) and bring the pan back to the stove and reheat gently until it reaches boiling point.
7 Now pour the rhubarb and ginger cream mixture over the white chocolate pieces in the mixing bowl. Leave for a few minutes for the chocolate to begin to melt, then stir or gently whisk until it emulsifies and a silky smooth ganache forms. Cover and stand for 1 to 2 hours allowing to cool to around 27 deg C. Check from time to time as the ganache will cool down and thicken quite quickly depending on your general kitchen temperature.
8 Spoon the ganache into a piping bag or use a chocolate filling funnel. Now pipe or funnel the ganache carefully into the moulds. Ensure the filling is at least 2 mm below the rim of each heart shaped aperture to allow for the chocolate capping.
9 Now for capping off of the chocolates. Temper some dark chocolate and then spoon gently into each heart aperture then level off mould using a palette knife. Set the mould down on a worktop and leave for 20 to 30 minutes to set.
10 Once the chocolate has set, turn over the mould and place on a piece of non stick baking parchment. Now tap the mould and release the chocolates. You should now have shiny glossy rhubarb & ginger ganache chocolates.
I wanted to tryout a small mould (Lakeland) I was given recently to see if I could produce miniture filled Easter Egg Chocolates from them. The mould is made from silicone and is really intended for solid chocolate decorations to cakes.
Easter Egg Chocolates Mould
However I thought it would be fun to try and produce a small test batch of filled easter egg chocolates. I chose Milk Chocolate as we had family friends with their children coming over and it would be interesting to have them all try these. Dark Chocolate would be a little too grown up!
I had not worked with Milk Chocolate before and decided it would be a challenge due to the different tempering temperatures involved. Also the mould was quite small so it would be very tricky to produce a filled chocolate. My original idea was to make filled half shells and then join them together with melted chocolate.
In the end I decided to leave the finished chocolates as filled half easter eggs. It was agreed by all that the easter egg chocolates tasted great and were a success…. and still only a test batch!
2 Spoon the Milk Chocolate into the mould until each aperture is filled. Then tap the side of the mould 2 or 3 times to release any air bubbles. Next angle the mould over the bowl of chocolate and use the scrapper to pour to the bowl and smooth off the top of the mould. Turn the mould face down on a piece of non stick baking parchment for 15 minutes. Scrape the face and sides of the mould and place the mould on a tray and put into a refrigerator for a further 15 minutes. This is so the individual chocolates will release easily from the moulds. Then leave covered on the worktop awaiting the ganache filling.
3 Place 200g of the Milk Chocolate which has been broken into small squares or finely chopped into a mixing bowl.
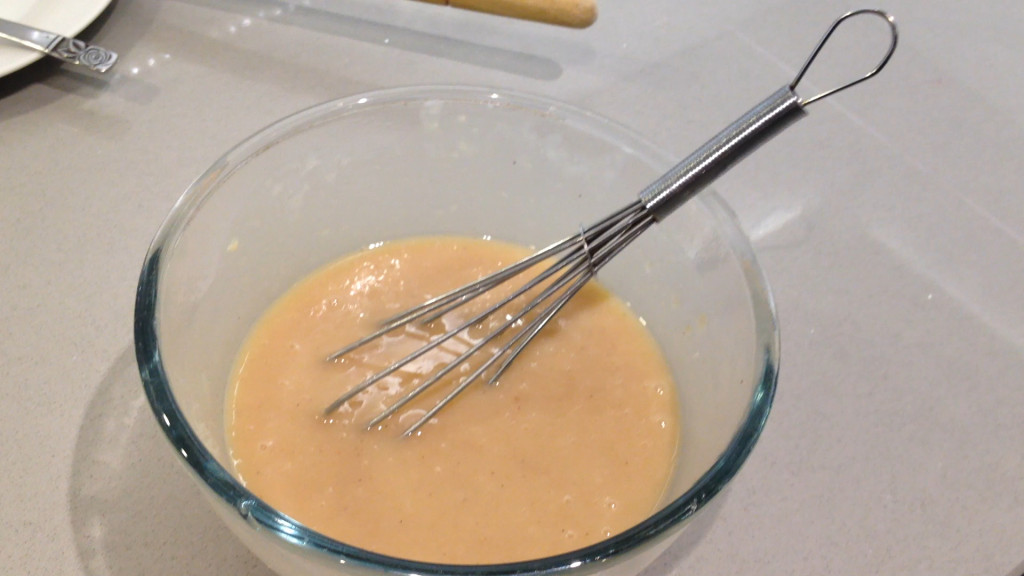
4 Add 100 ml Double Cream (Heavy Cream) along with 50g of Caster and 60ml ¼ cup of Corn Syrup to the saucepan. Bring very gently to the boil stirring to incorporate.
6 Now pour the mixture over the Milk Chocolate pieces in the mixing bowl. Leave for a few minutes for the chocolate to begin to melt, then stir or gently whisk until a silky smooth ganache forms. Allow to cool to around 27 deg C.
7 Spoon the ganache into a piping bag or use a chocolate filling funnel. Now pipe or funnel the ganache carefully into the moulds. Ensure the filling is at least 2 mm below the rim of each heart shaped aperture to allow for the chocolate capping.
8 Leave mould with the ganache filling in a cool place for at least 2 hours (in a cool kitchen if possible, not the refrigerator!). This will allow the surface of the soft ganache to harden slightly and make capping off successful.
9 Now for capping off of the chocolates. Temper some milk chocolate and then spoon gently into each aperture then level off mould using a palette knife. Set the mould down on a worktop and leave for 20 to 30 minutes to set.
Finished Filled Easter Egg Chocolates
10 Once the chocolate has set, turn over the mould and place on a piece of non stick baking parchment. Now tap the mould and release the chocolates. You should now have shiny glossy chocolates.
Here is my Youtube video version of “Tempering Chocolate at Home”
Its intended to go with my recent Tempering blog and will be added to it soon.
The process of tempering chocolate can look a little daunting, however it’s very rewarding but can take a little time and patience to master. Its a really precise and basically a chemistry process. The chocolate tempering process allows for hardening crystallisation to occur. Tempering chocolate gives it its distinctive snap and shine. The Tempering blog gives full details and you may find the video useful.
This year I wanted to make a special chocolate for Valentines Day and a Passion Fruit Ganache seemed appropriate.
I looked at different ways of making the Passion Fruit Ganache using passion fruit puree and white chocolate. The method I chose was to use a ready made passion fruit coulis I stumbled upon in Marks & Spencer’s grocery store as it contained around 71% mixture of fruit /fruit concentrate. The coulis had a little natural sugar but would work well with the ganache. It was also very cost effective (£2.00) to use a bought coulis rather than make the coulis from scratch. If I were to make this with ripe fruit it would be extremely expensive at £2.50 for 2 passion fruits and I would need around 12 passion fruits.
I used dark tempered chocolate (70%) and heart shaped moulds for these chocolates. Making 21 plain cases and 9 decorated with edible metallic gold and silver powder as an experiment. I was concerned that the passion fruit taste might be overwhelmed with the white chocolate but I should not have worried as result was superb. A well tempered dark chocolate case leading into a rich passion fruit taste…. as the Italians say…. That’s Amore!
2 Spoon the Dark chocolate into the heart shaped mould until each aperture is filled. Then tap the side of the mould 2 or 3 times to release any air bubbles. Next angle the mould over the bowl of chocolate and use the scrapper to pour to the bowl and smooth off the top of the mould. Turn the mould face down on a piece of non stick baking parchment for 15 minutes. Scrape the face and sides of the mould and place into a refrigerator for a further 15 minutes. This is so the individual chocolates will release easily from the moulds. Then leave covered on the worktop awaiting the ganache filling.
3 Place 255g of the White Chocolate which has been broken into small squares or finely chopped into a mixing bowl.
4 Strain the Passion Fruit Coulis into a small saucepan removing all the seeds. Stir in the white caster sugar. double cream (heavy cream) and the corn syrup. Gently heat and simmer for 2 minutes, then take off the heat and allow to stand for 30 minutes to infuse.
5 Bring the pan back to the stove and reheat gently until it reaches boiling point.
6 Now pour the Passion Fruit Coulis Cream mixture over the White Chocolate pieces in the mixing bowl. Leave for a few minutes for the chocolate to begin to melt, then stir or gently whisk until a silky smooth Passion Fruit Ganache forms. Allow to cool to around 27 deg C.
7 Spoon the Passion Fruit Ganache into a piping bag or use a chocolate filling funnel. Now pipe or funnel the ganache carefully into the moulds. Ensure the filling is at least 2 mm below the rim of each heart shaped aperture to allow for the chocolate capping.
8 Now for capping off of the chocolates. Temper some dark chocolate and then spoon gently into each heart aperture then level off mould using a palette knife. Set the mould down on a worktop and leave for 20 to 30 minutes to set.
9 Once the chocolate has set, turn over the mould and place on a piece of non stick baking parchment. Now tap the mould and release the chocolates. You should now have shiny glossy chocolates.
The process of tempering chocolate can look a little daunting, however it’s very rewarding but can take a little time and patience to master. Its a really precise and basically a chemistry process. The chocolate tempering process allows for hardening crystallisation to occur. Tempering chocolate gives it its distinctive snap and shine. The blog gives full details and you may find the video useful.
Before you start tempering chocolate make sure that the kitchen is free of any moisture / steam. Check your bowl is dry before you start, if water makes contact with the hot melted chocolate it will make it seize and go very gritty. A top tip is to wipe dry the underside of the glass mixing bowl with a towel when removing from the saucepan (bain marie).
The method described is for dark chocolate but notes are included below for tempering milk chocolate and also white chocolate.
1 Place the finely chopped dark chocolate into a heat proof glass bowl and place over a barely simmering saucepan of water (bain marie). Ensuring that the water does not touch the bottom of the glass bowl.
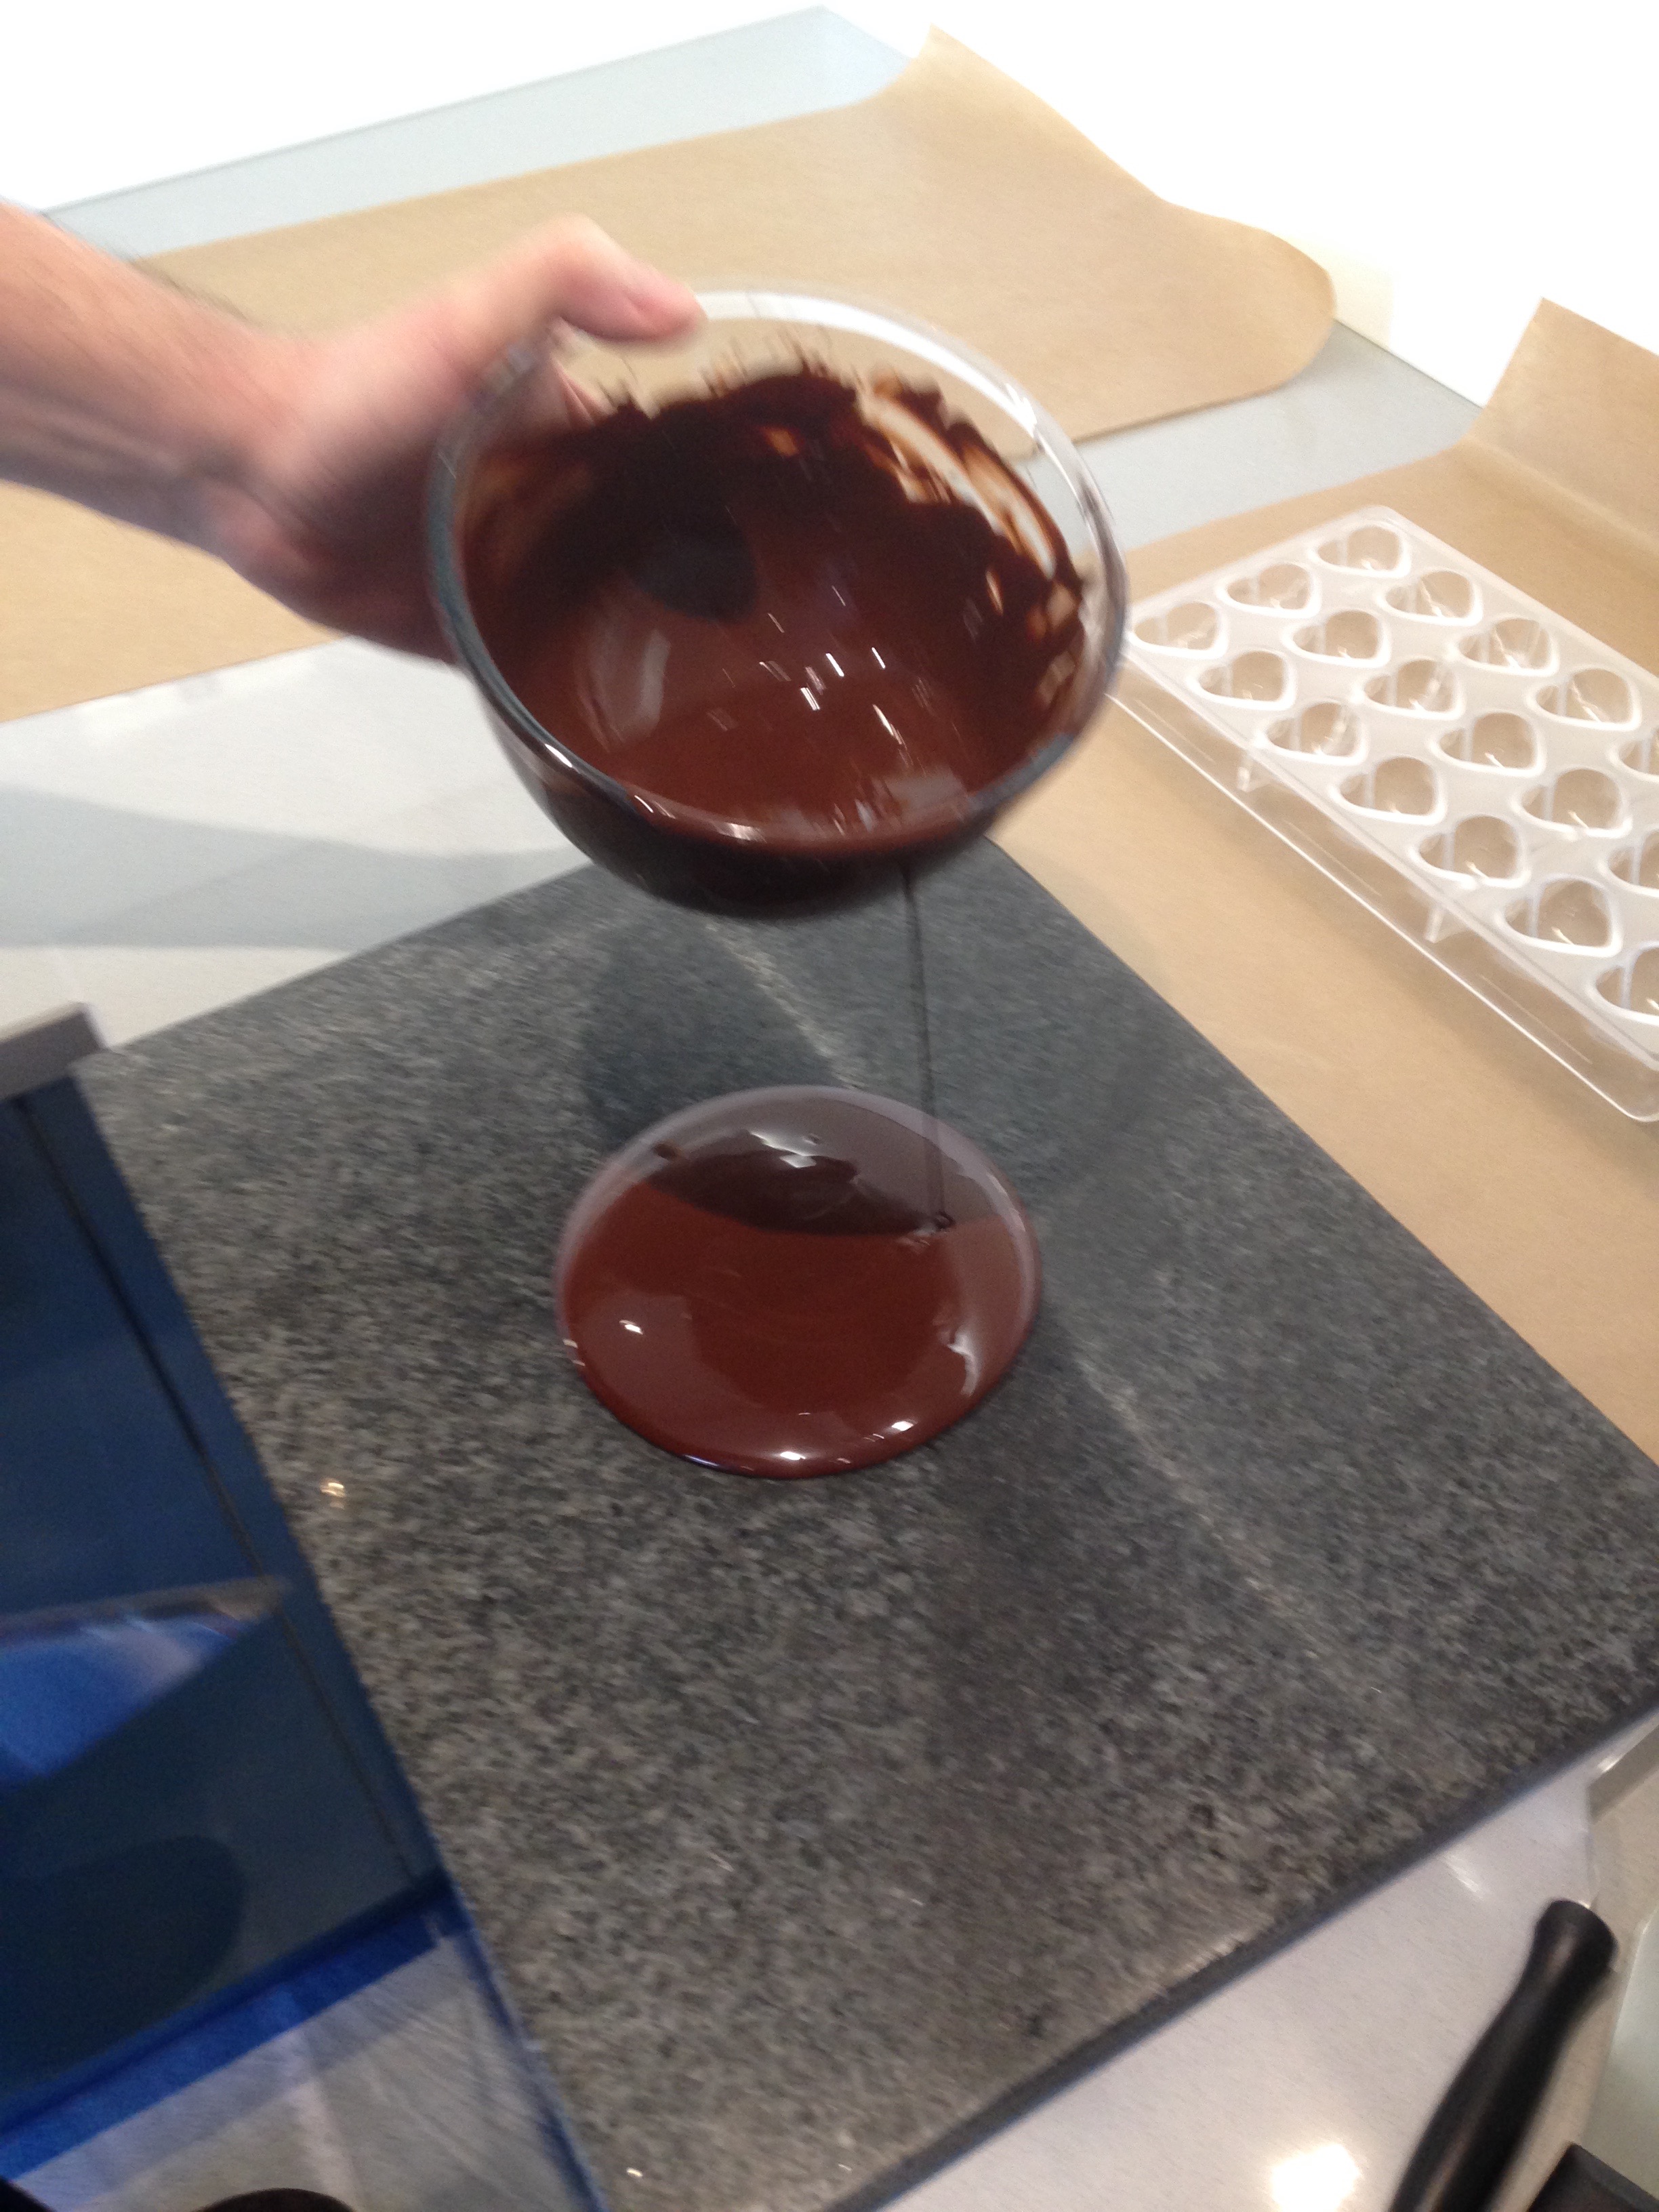
2 Gently heat / melt the chocolate, stirring occasionally and checking the temperature regularly with a thermometer and when it reaches 55deg C (131deg F) remove the bowl from the saucepan being careful to dry the underside of the bowl. Now carefully pour two thirds of the melted chocolate onto a granite or marble tempering slab, keeping the remainder of the chocolate warm, in the bowl but off the heat.
3 Using a chocolate scraper work the chocolate from the centre to the sides of the slab and back to the centre again at least 3 or 4 times. Check the temperature as you work the chocolate, it needs to be lowered in temperature to 27deg C (80deg F). This is the temperature dark chocolate crystallises Now pour/scrape the chocolate back into the bowl (which is off the saucepan / stove) with the remaining chocolate and stir together. Check the temperature it needs to now drop to 30deg C to 31deg C (86deg F to 88deg F) as the optimum working temperature for dark chocolate. Dip the end of the palette knife into the bowl of chocolate and its should set smoothly with a slight shine.
Notes on Tempering Milk Chocolate and White Chocolate
Due to the different amounts of cocao solids the temperature at stages 2 and 3 will need to be adjusted as follows:-
At Stage2
The temperature should reach between 45deg C to 50deg C (113deg F to 122deg F)
At Stage 3
The temperature chocolate crystallises is 26deg C (79deg F)
The optimum working temperature is 28deg C to 29deg C (82deg F to 84deg F)
Now you are ready to work with the chocolate and create something wonderful!


 Easter Egg Chocolates Mould
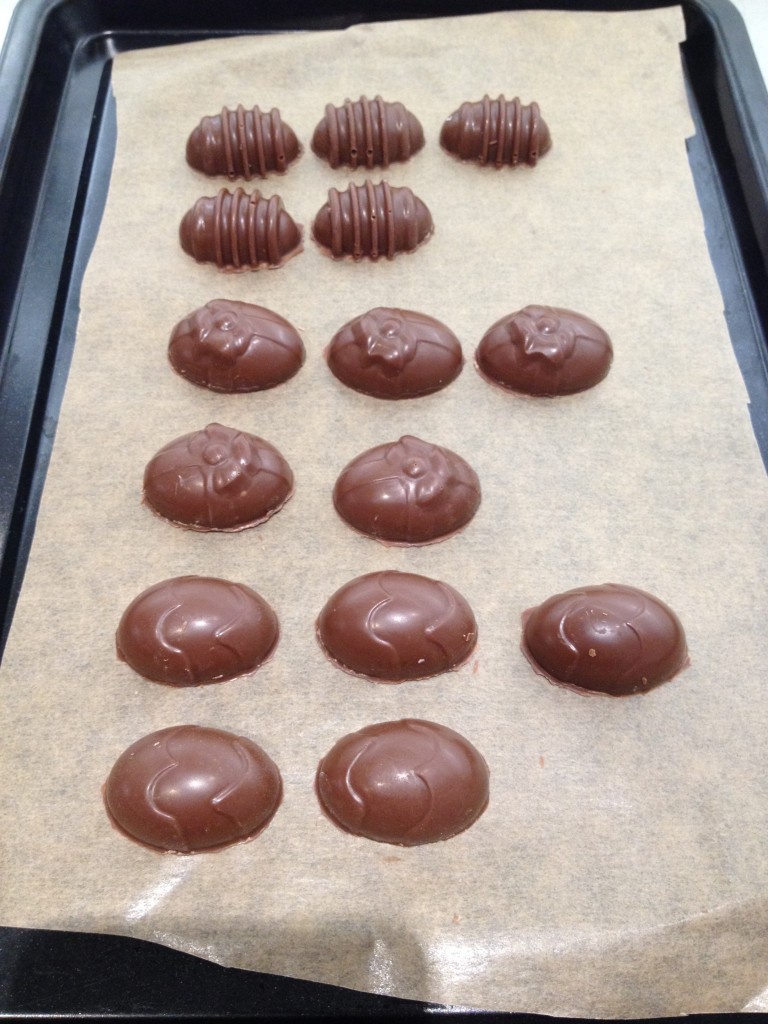 Finished Filled Easter Egg Chocolates
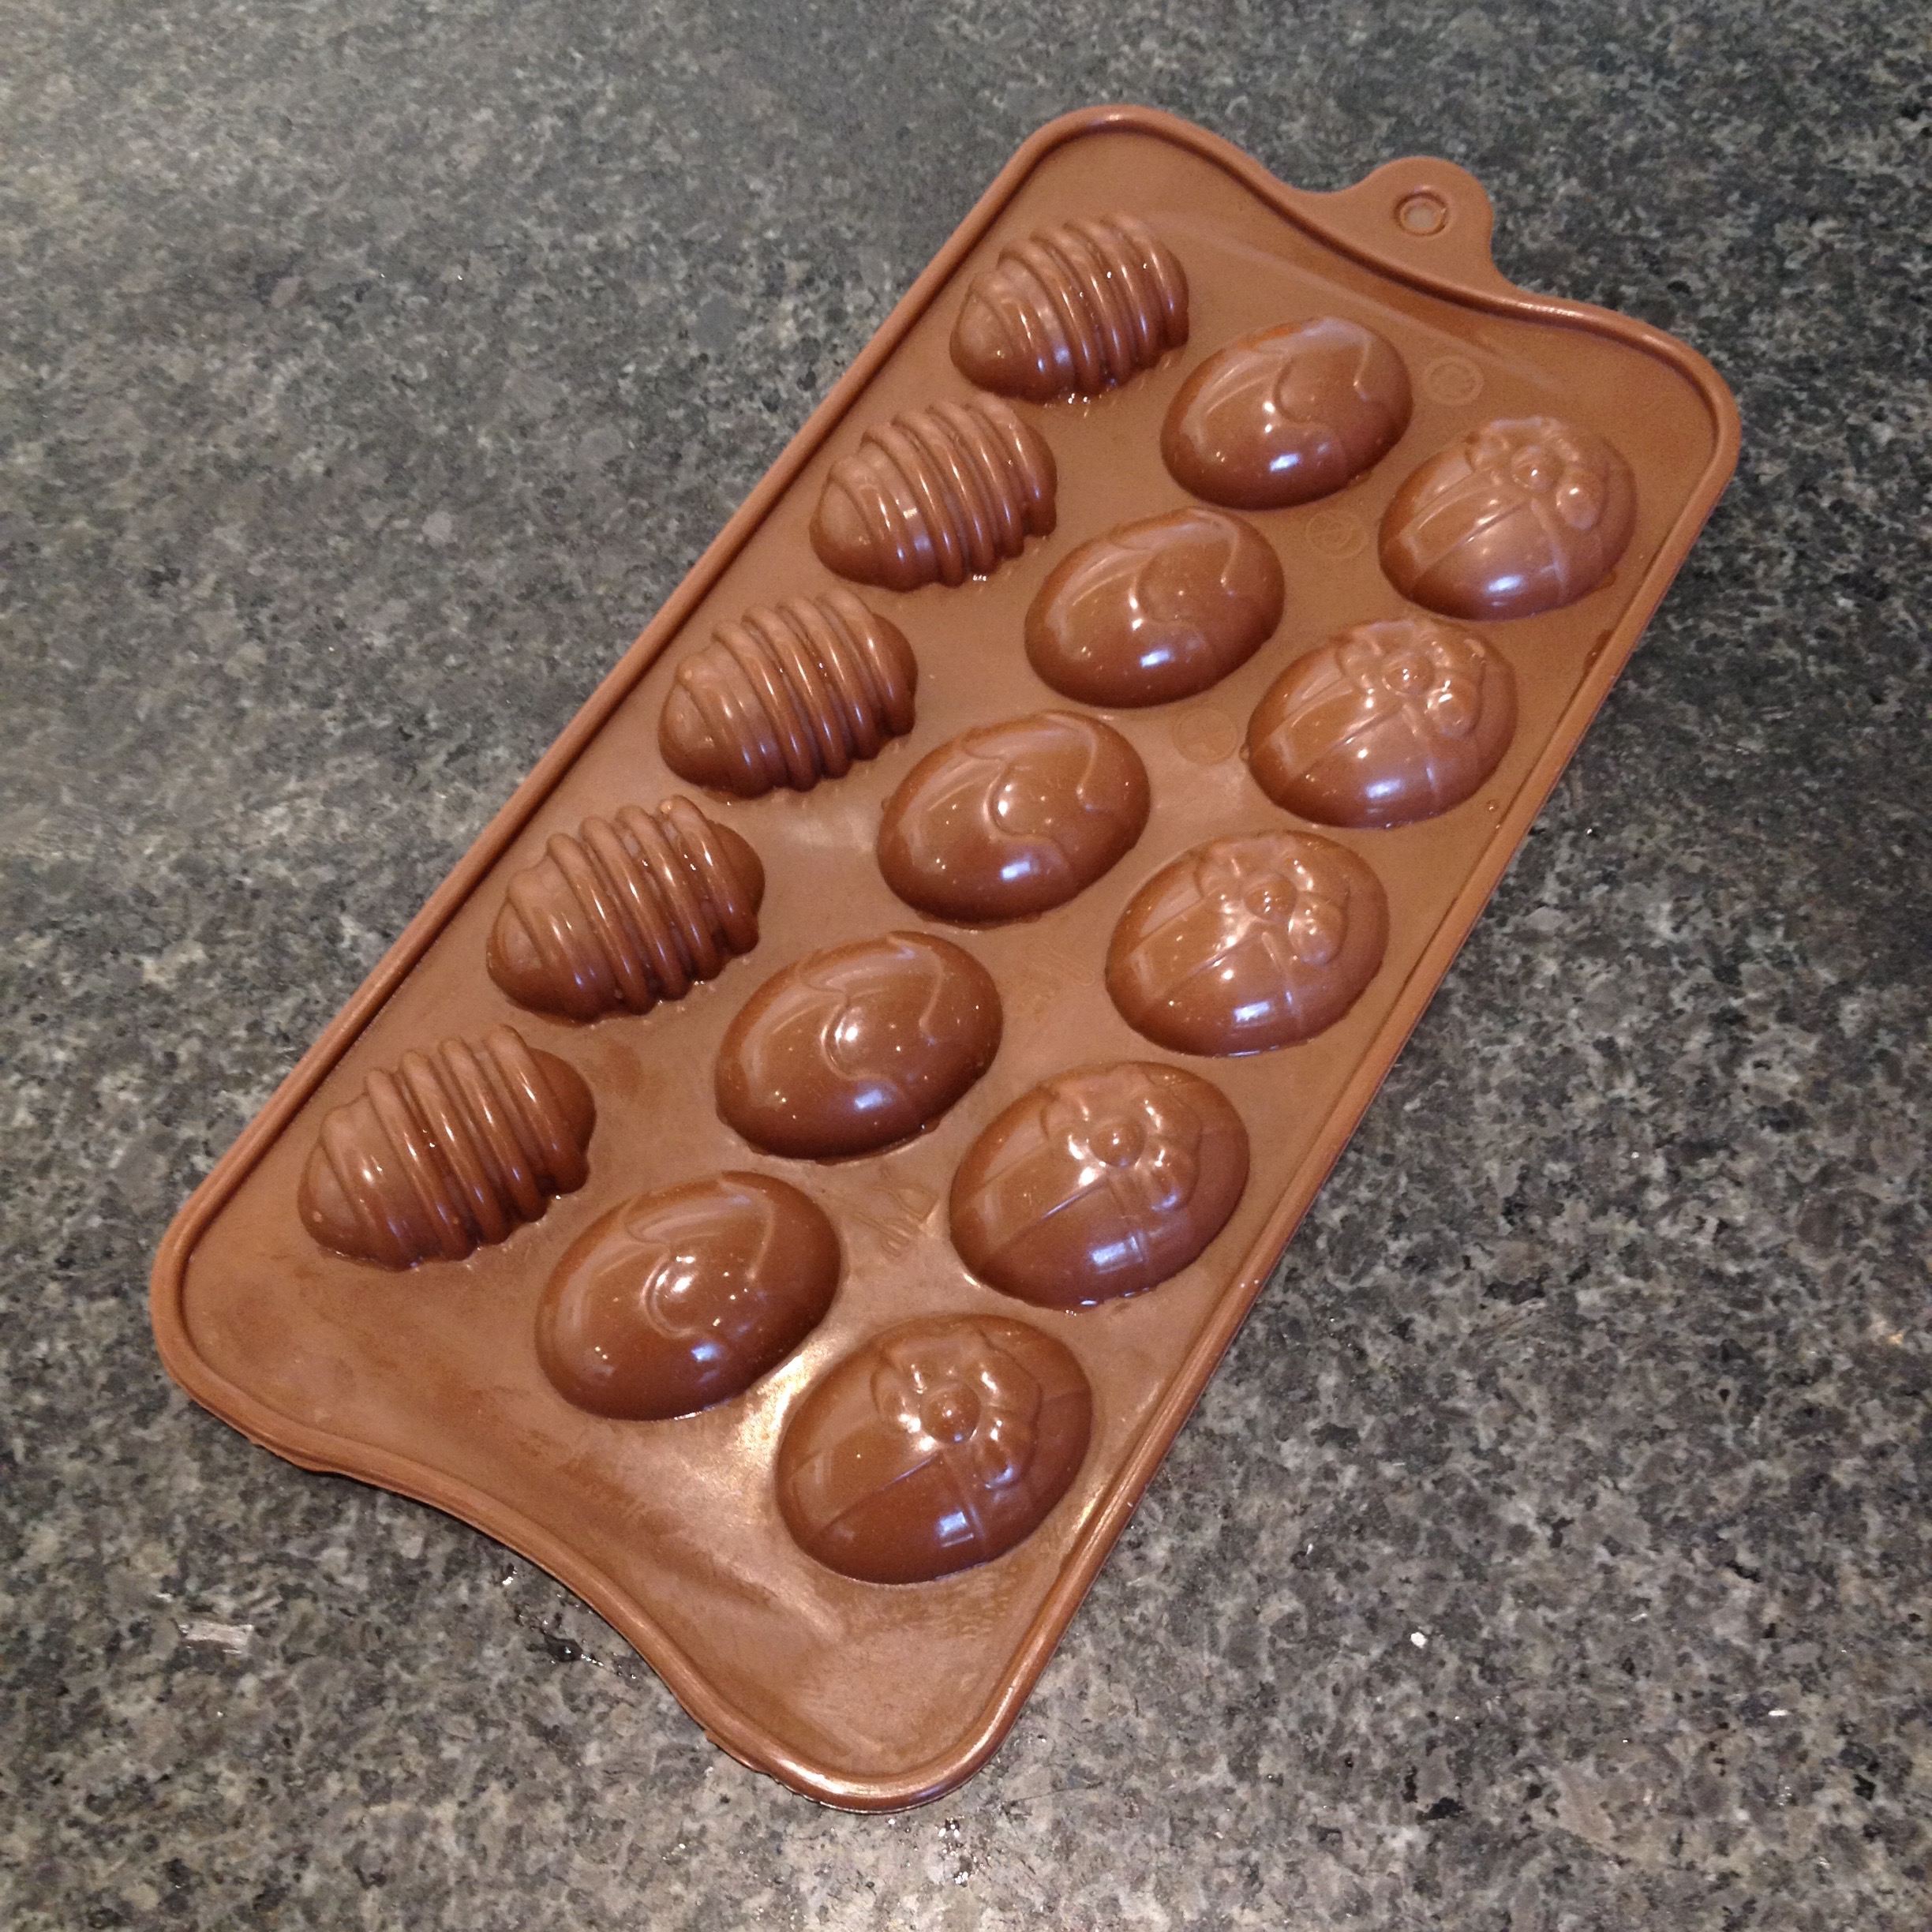 Easter Egg Chocolates Mould
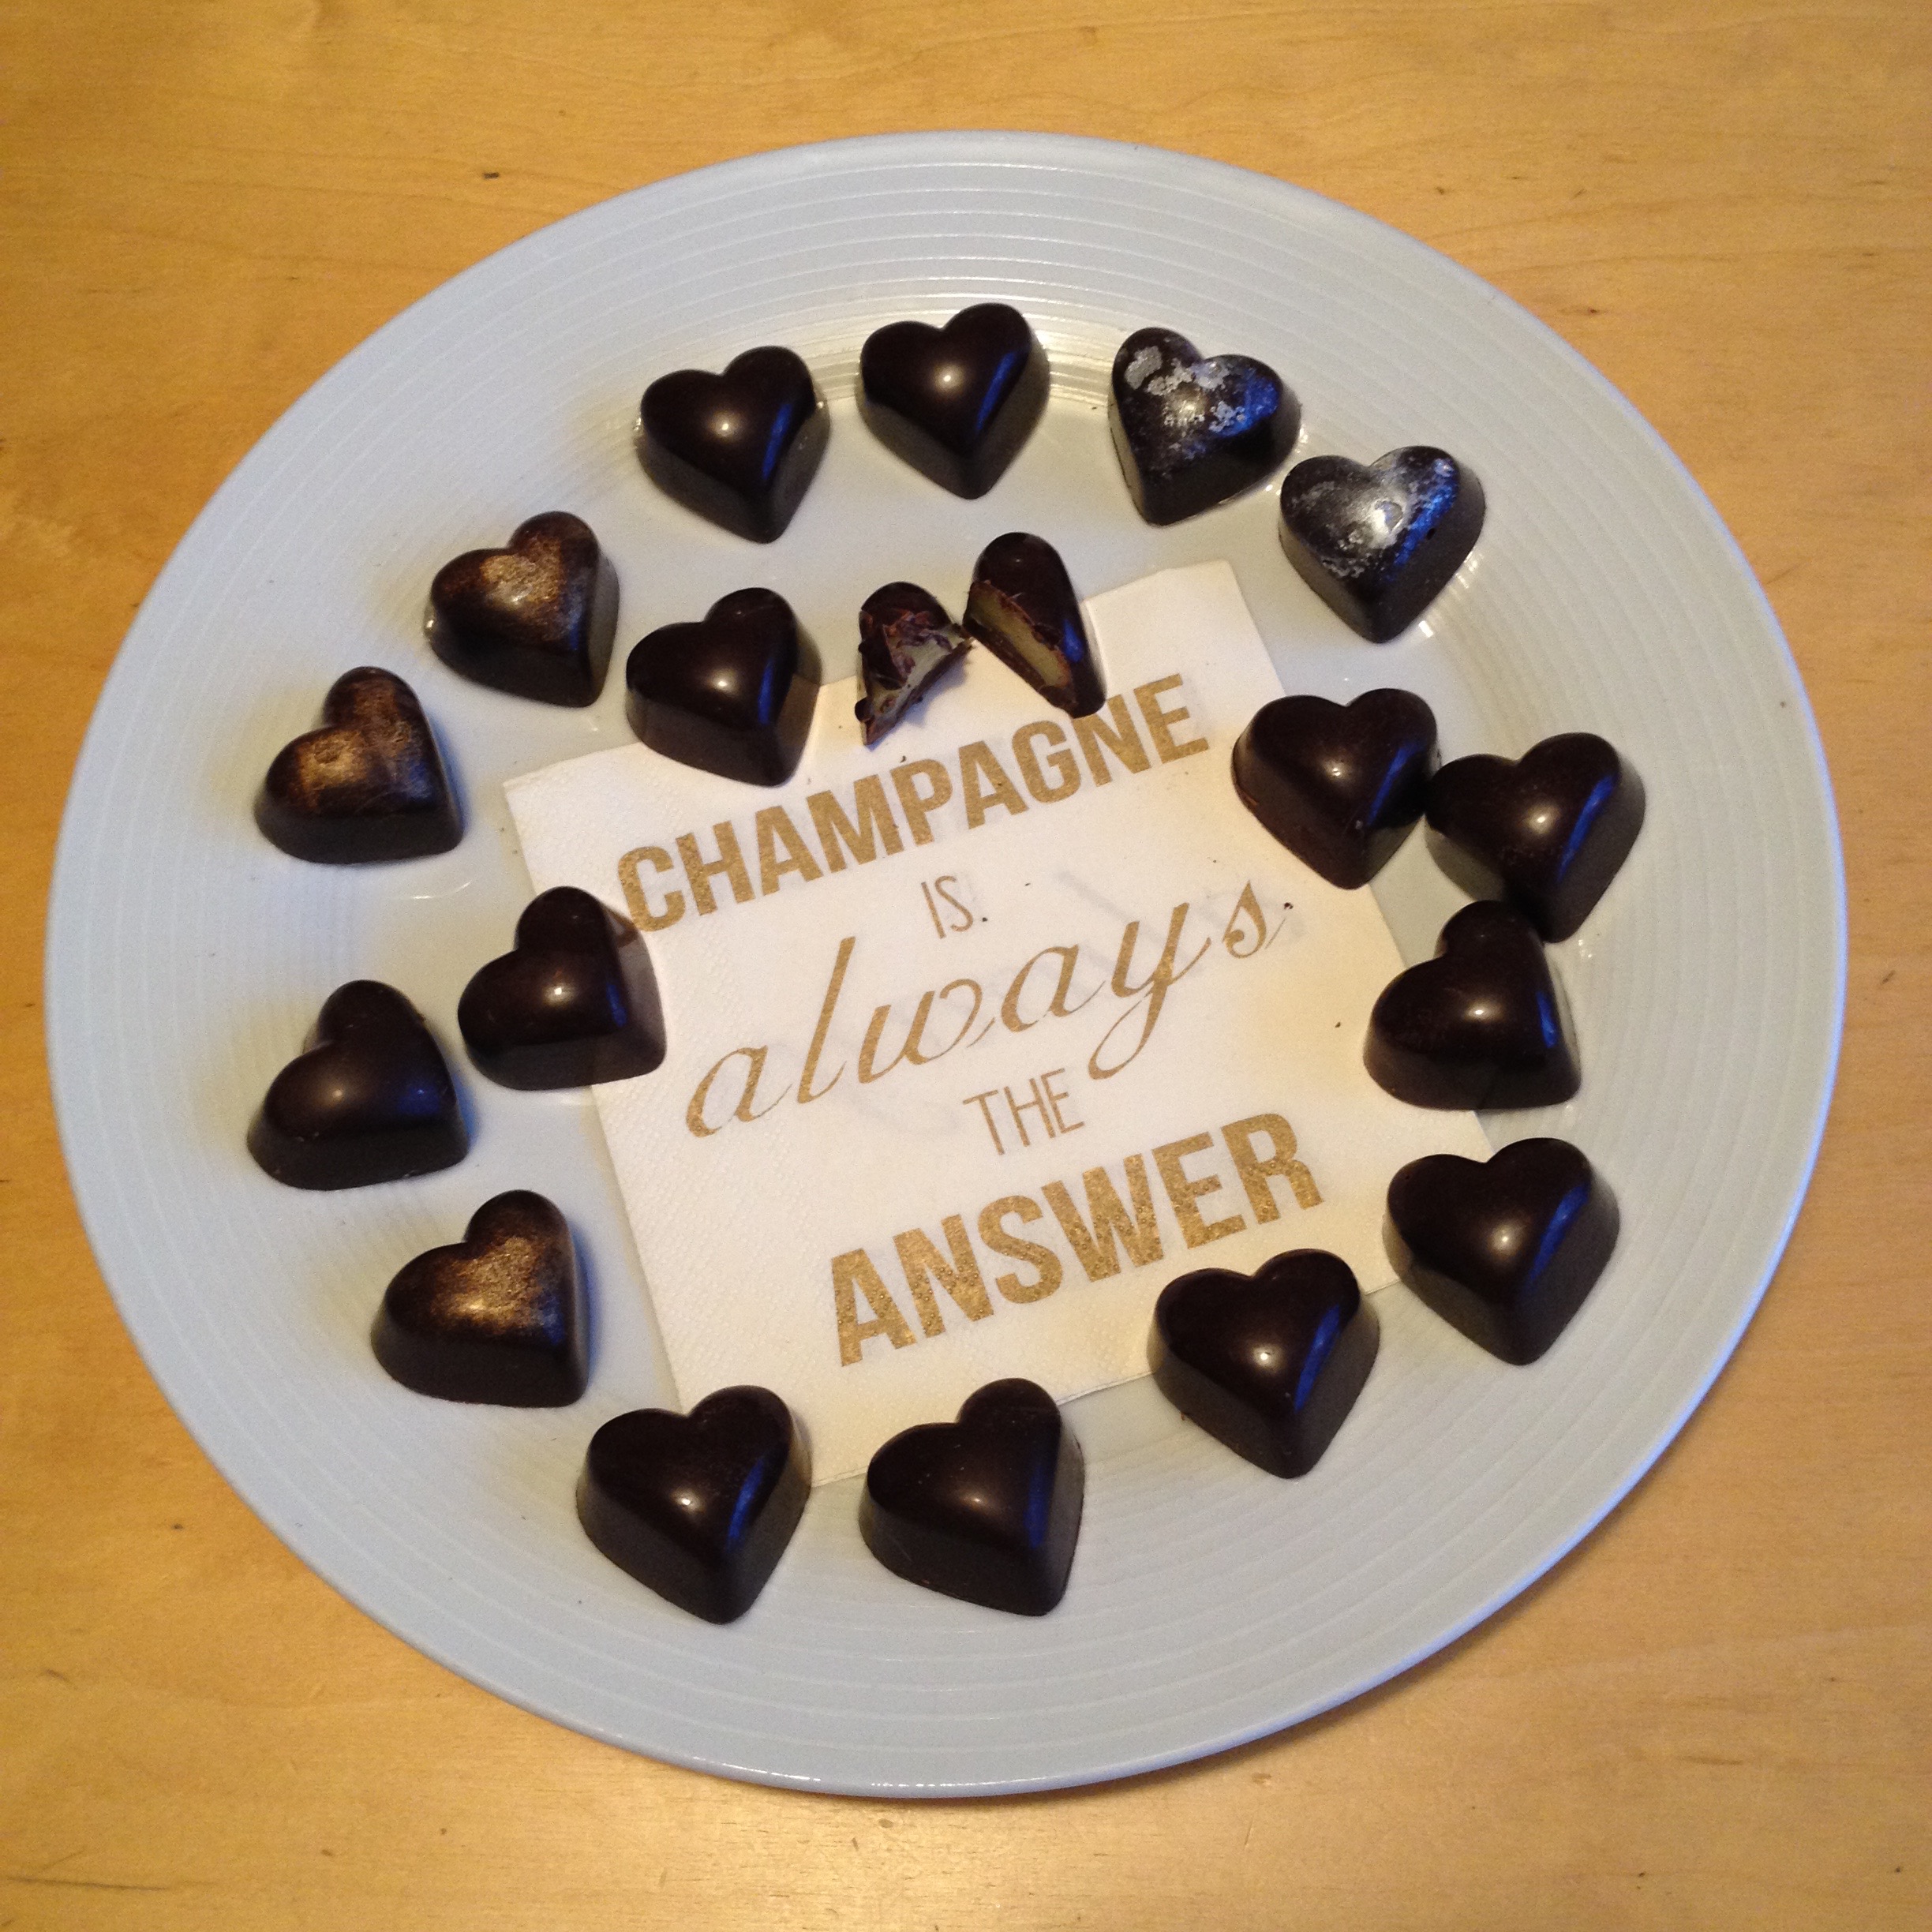
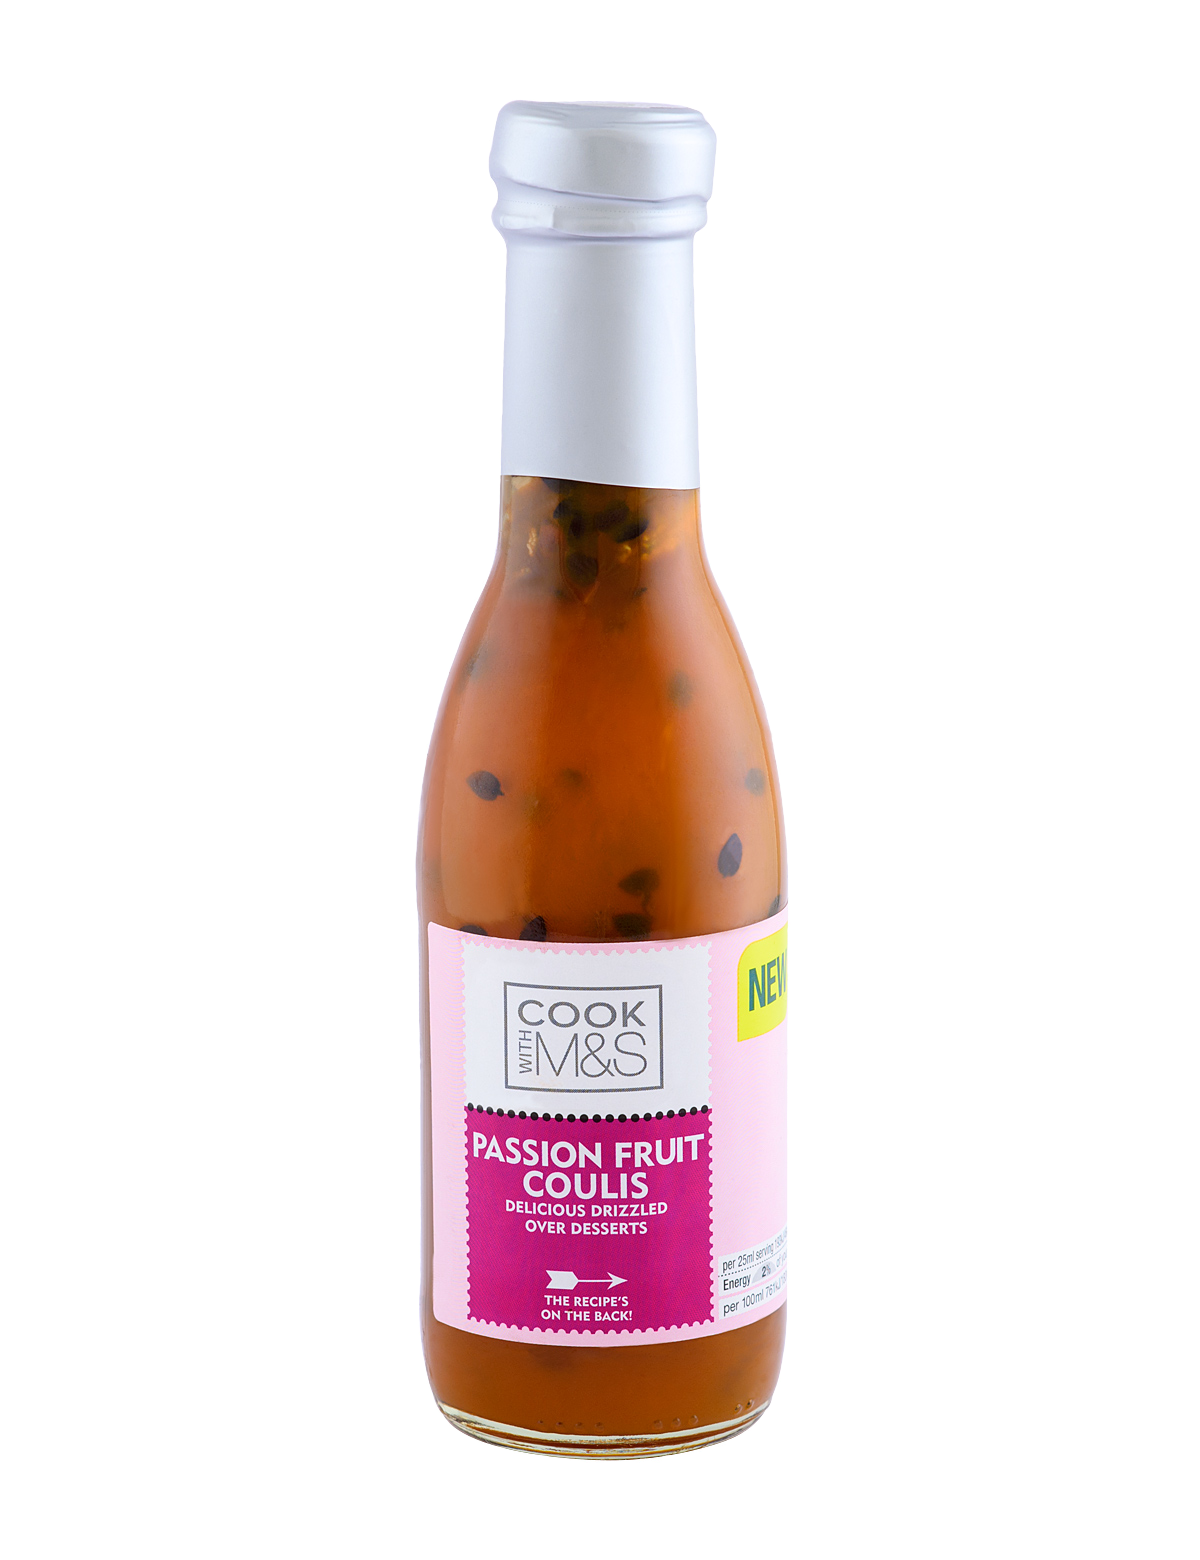 Image © M&S