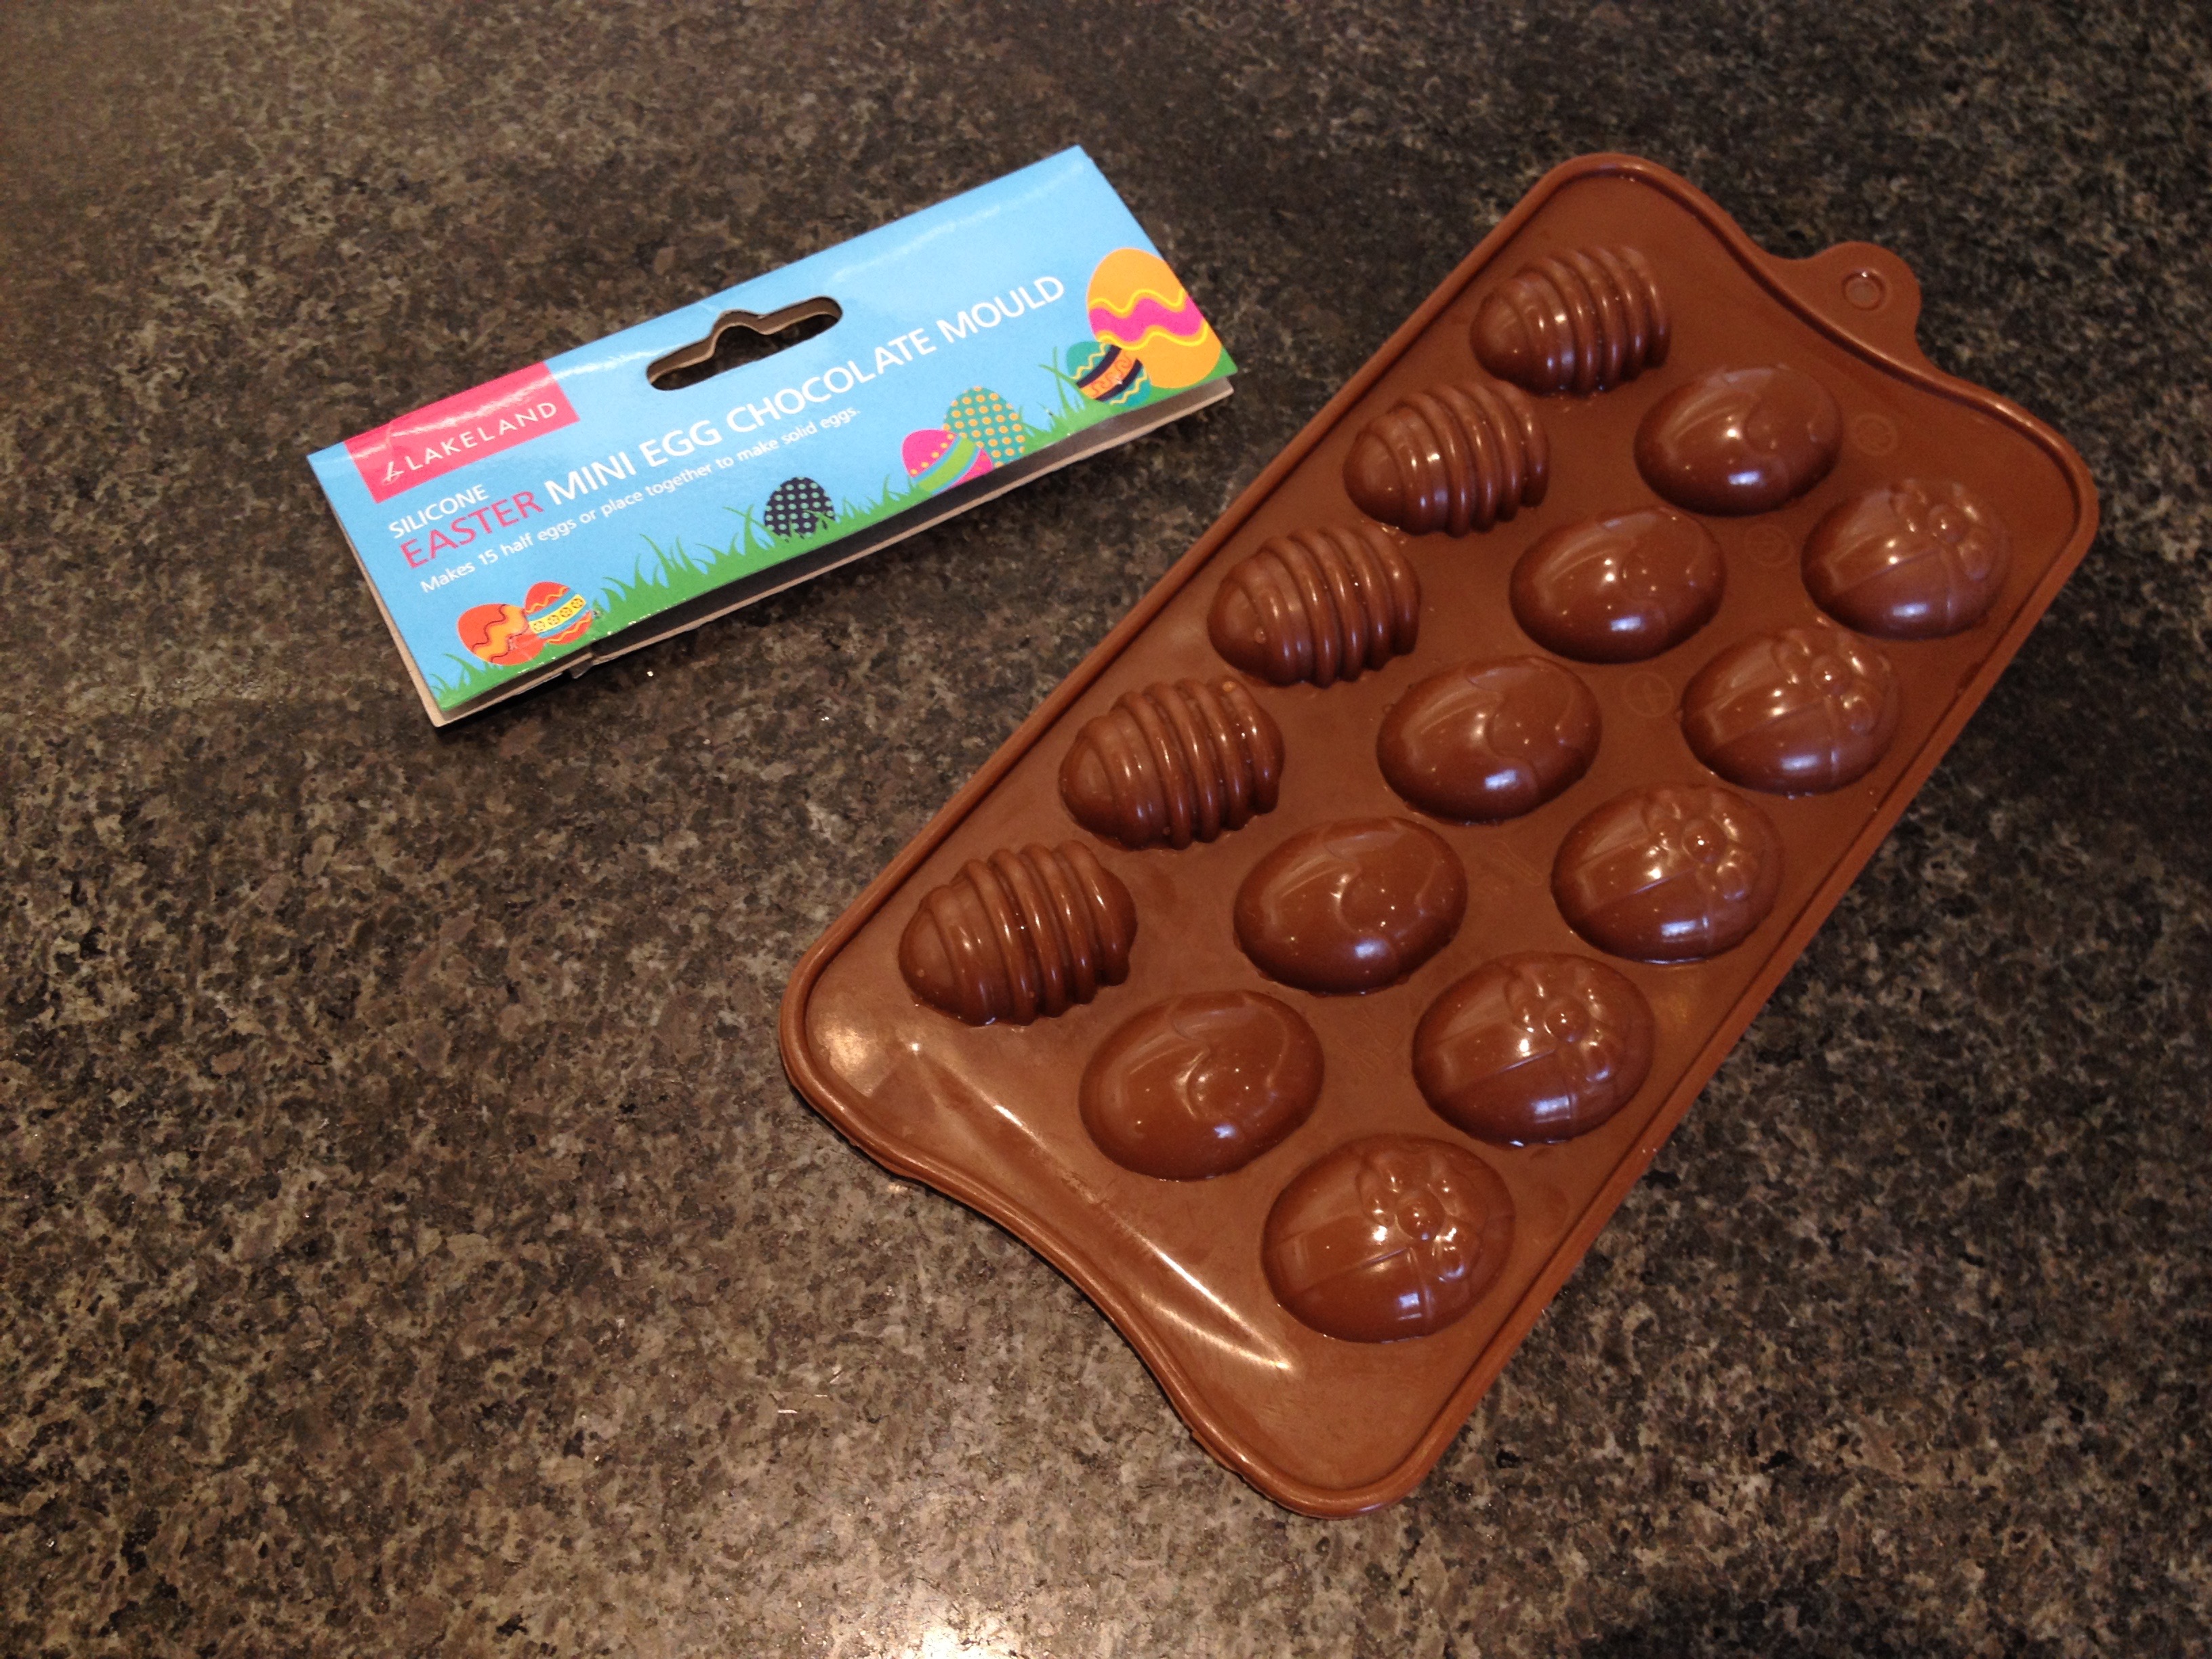
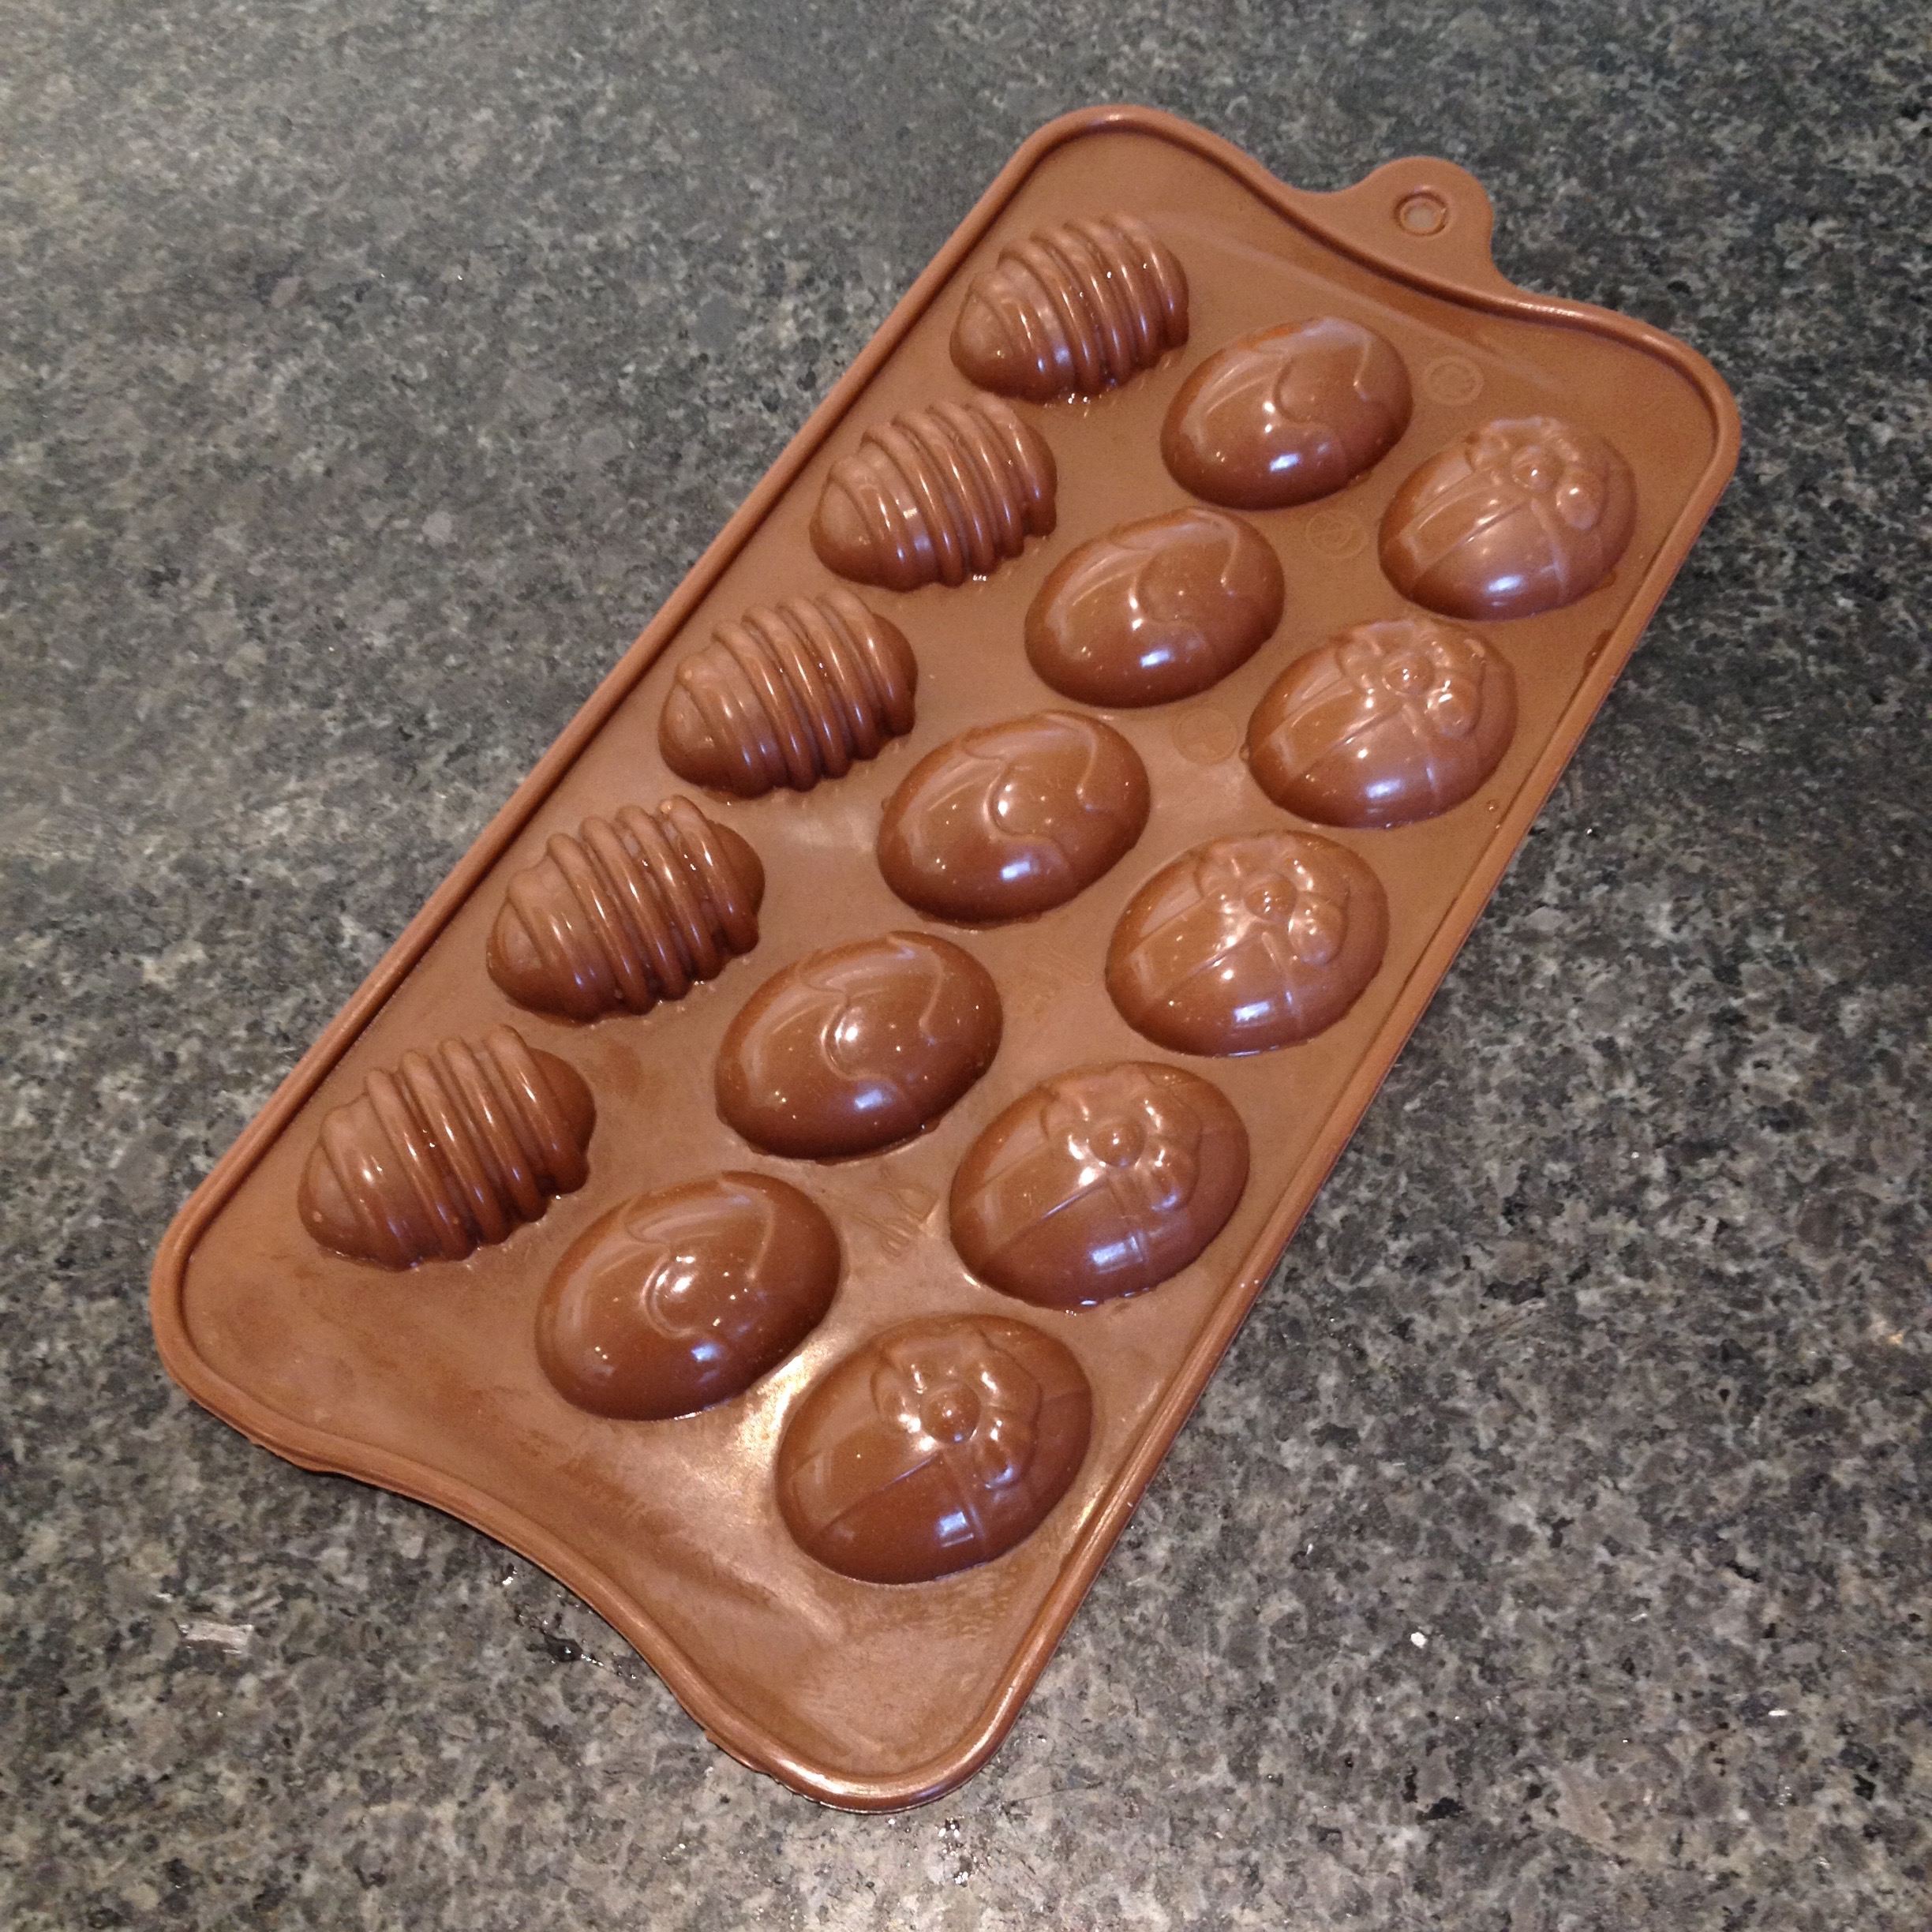
- I wanted to tryout a small mould (Lakeland) I was given recently to see if I could produce miniture filled Easter Egg Chocolates from them. The mould is made from silicone and is really intended for solid chocolate decorations to cakes.
 Easter Egg Chocolates Mould
- However I thought it would be fun to try and produce a small test batch of filled easter egg chocolates. I chose Milk Chocolate as we had family friends with their children coming over and it would be interesting to have them all try these. Dark Chocolate would be a little too grown up!
- I had not worked with Milk Chocolate before and decided it would be a challenge due to the different tempering temperatures involved. Also the mould was quite small so it would be very tricky to produce a filled chocolate. My original idea was to make filled half shells and then join them together with melted chocolate.
- In the end I decided to leave the finished chocolates as filled half easter eggs. It was agreed by all that the easter egg chocolates tasted great and were a success…. and still only a test batch!
-
Milk Chocolate Ganache
(makes approx 30 in small moulds)
-
Ingredients:-
- 100ml Double Cream (or Heavy Cream).
- 50g Unrefined Golden Caster Sugar.
- 300g Organic Milk Chocolate finely chopped (Green & Black)
- 60 ml (¼ Cup) Corn Syrup to stop crystallisation of the ganache.
-
Equipment:-
- Small Easter Egg Mould (Lakeland).
- Chocolate tempering thermometer (Lakeland).
- Small Marble or Granite Tempering slab (Lakeland).
- Chocolate Scraper.
- 250mm long S/Steel Palette Knife.
- Piping Bag or Funnel for Filling Cases (Lakeland).
- 200mm dia (1 litre) Heat Proof Glass Bowl (Pyrex)
- Mixing Bowl (metal or heat proof glass)
- Small Metal Saucepan (to act as bain marie)
- Non Stick Baking Parchment.
-
Method:-
- 1 Temper 100g of the Milk Chocolate. This gives the finished chocolate its distinctive snap and shine.
- For method please press on this link temper.
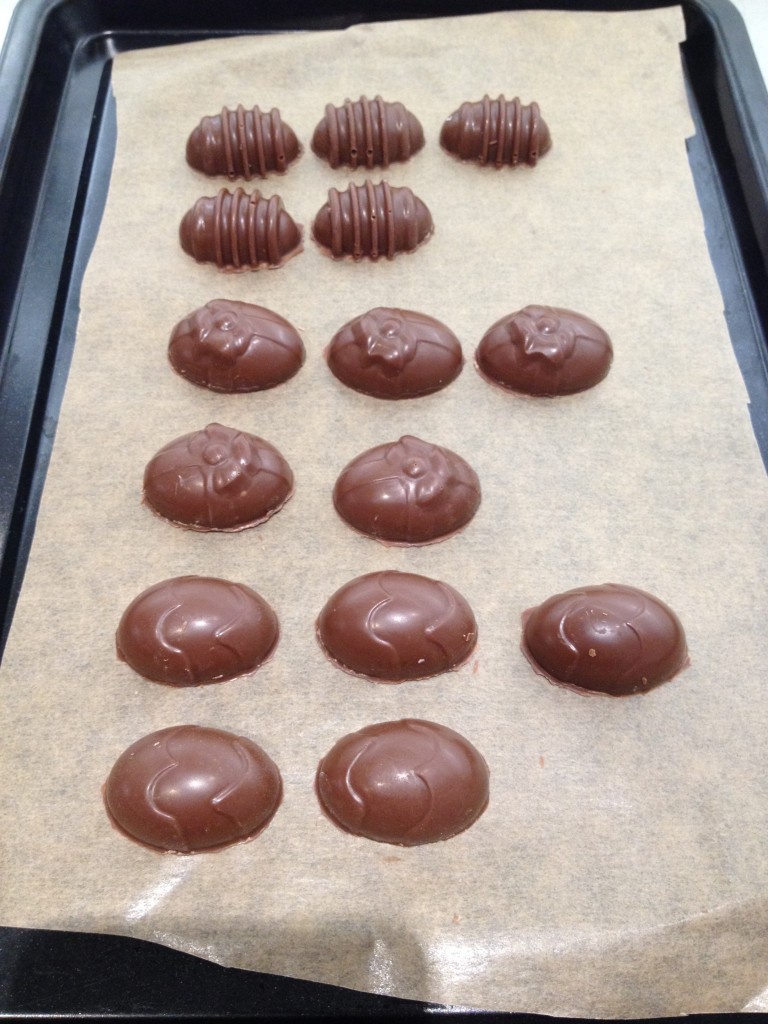
- 2 Spoon the Milk Chocolate into the mould until each aperture is filled. Then tap the side of the mould 2 or 3 times to release any air bubbles. Next angle the mould over the bowl of chocolate and use the scrapper to pour to the bowl and smooth off the top of the mould. Turn the mould face down on a piece of non stick baking parchment for 15 minutes. Scrape the face and sides of the mould and place the mould on a tray and put into a refrigerator for a further 15 minutes. This is so the individual chocolates will release easily from the moulds. Then leave covered on the worktop awaiting the ganache filling.
- 3 Place 200g of the Milk Chocolate which has been broken into small squares or finely chopped into a mixing bowl.
- 4 Add 100 ml Double Cream (Heavy Cream) along with 50g of Caster and 60ml ¼ cup of Corn Syrup to the saucepan. Bring very gently to the boil stirring to incorporate.
- 6 Now pour the mixture over the Milk Chocolate pieces in the mixing bowl. Leave for a few minutes for the chocolate to begin to melt, then stir or gently whisk until a silky smooth ganache forms. Allow to cool to around 27 deg C.
- 7 Spoon the ganache into a piping bag or use a chocolate filling funnel. Now pipe or funnel the ganache carefully into the moulds. Ensure the filling is at least 2 mm below the rim of each heart shaped aperture to allow for the chocolate capping.
- 8 Leave mould with the ganache filling in a cool place for at least 2 hours (in a cool kitchen if possible, not the refrigerator!). This will allow the surface of the soft ganache to harden slightly and make capping off successful.
- 9 Now for capping off of the chocolates. Temper some milk chocolate and then spoon gently into each aperture then level off mould using a palette knife. Set the mould down on a worktop and leave for 20 to 30 minutes to set.
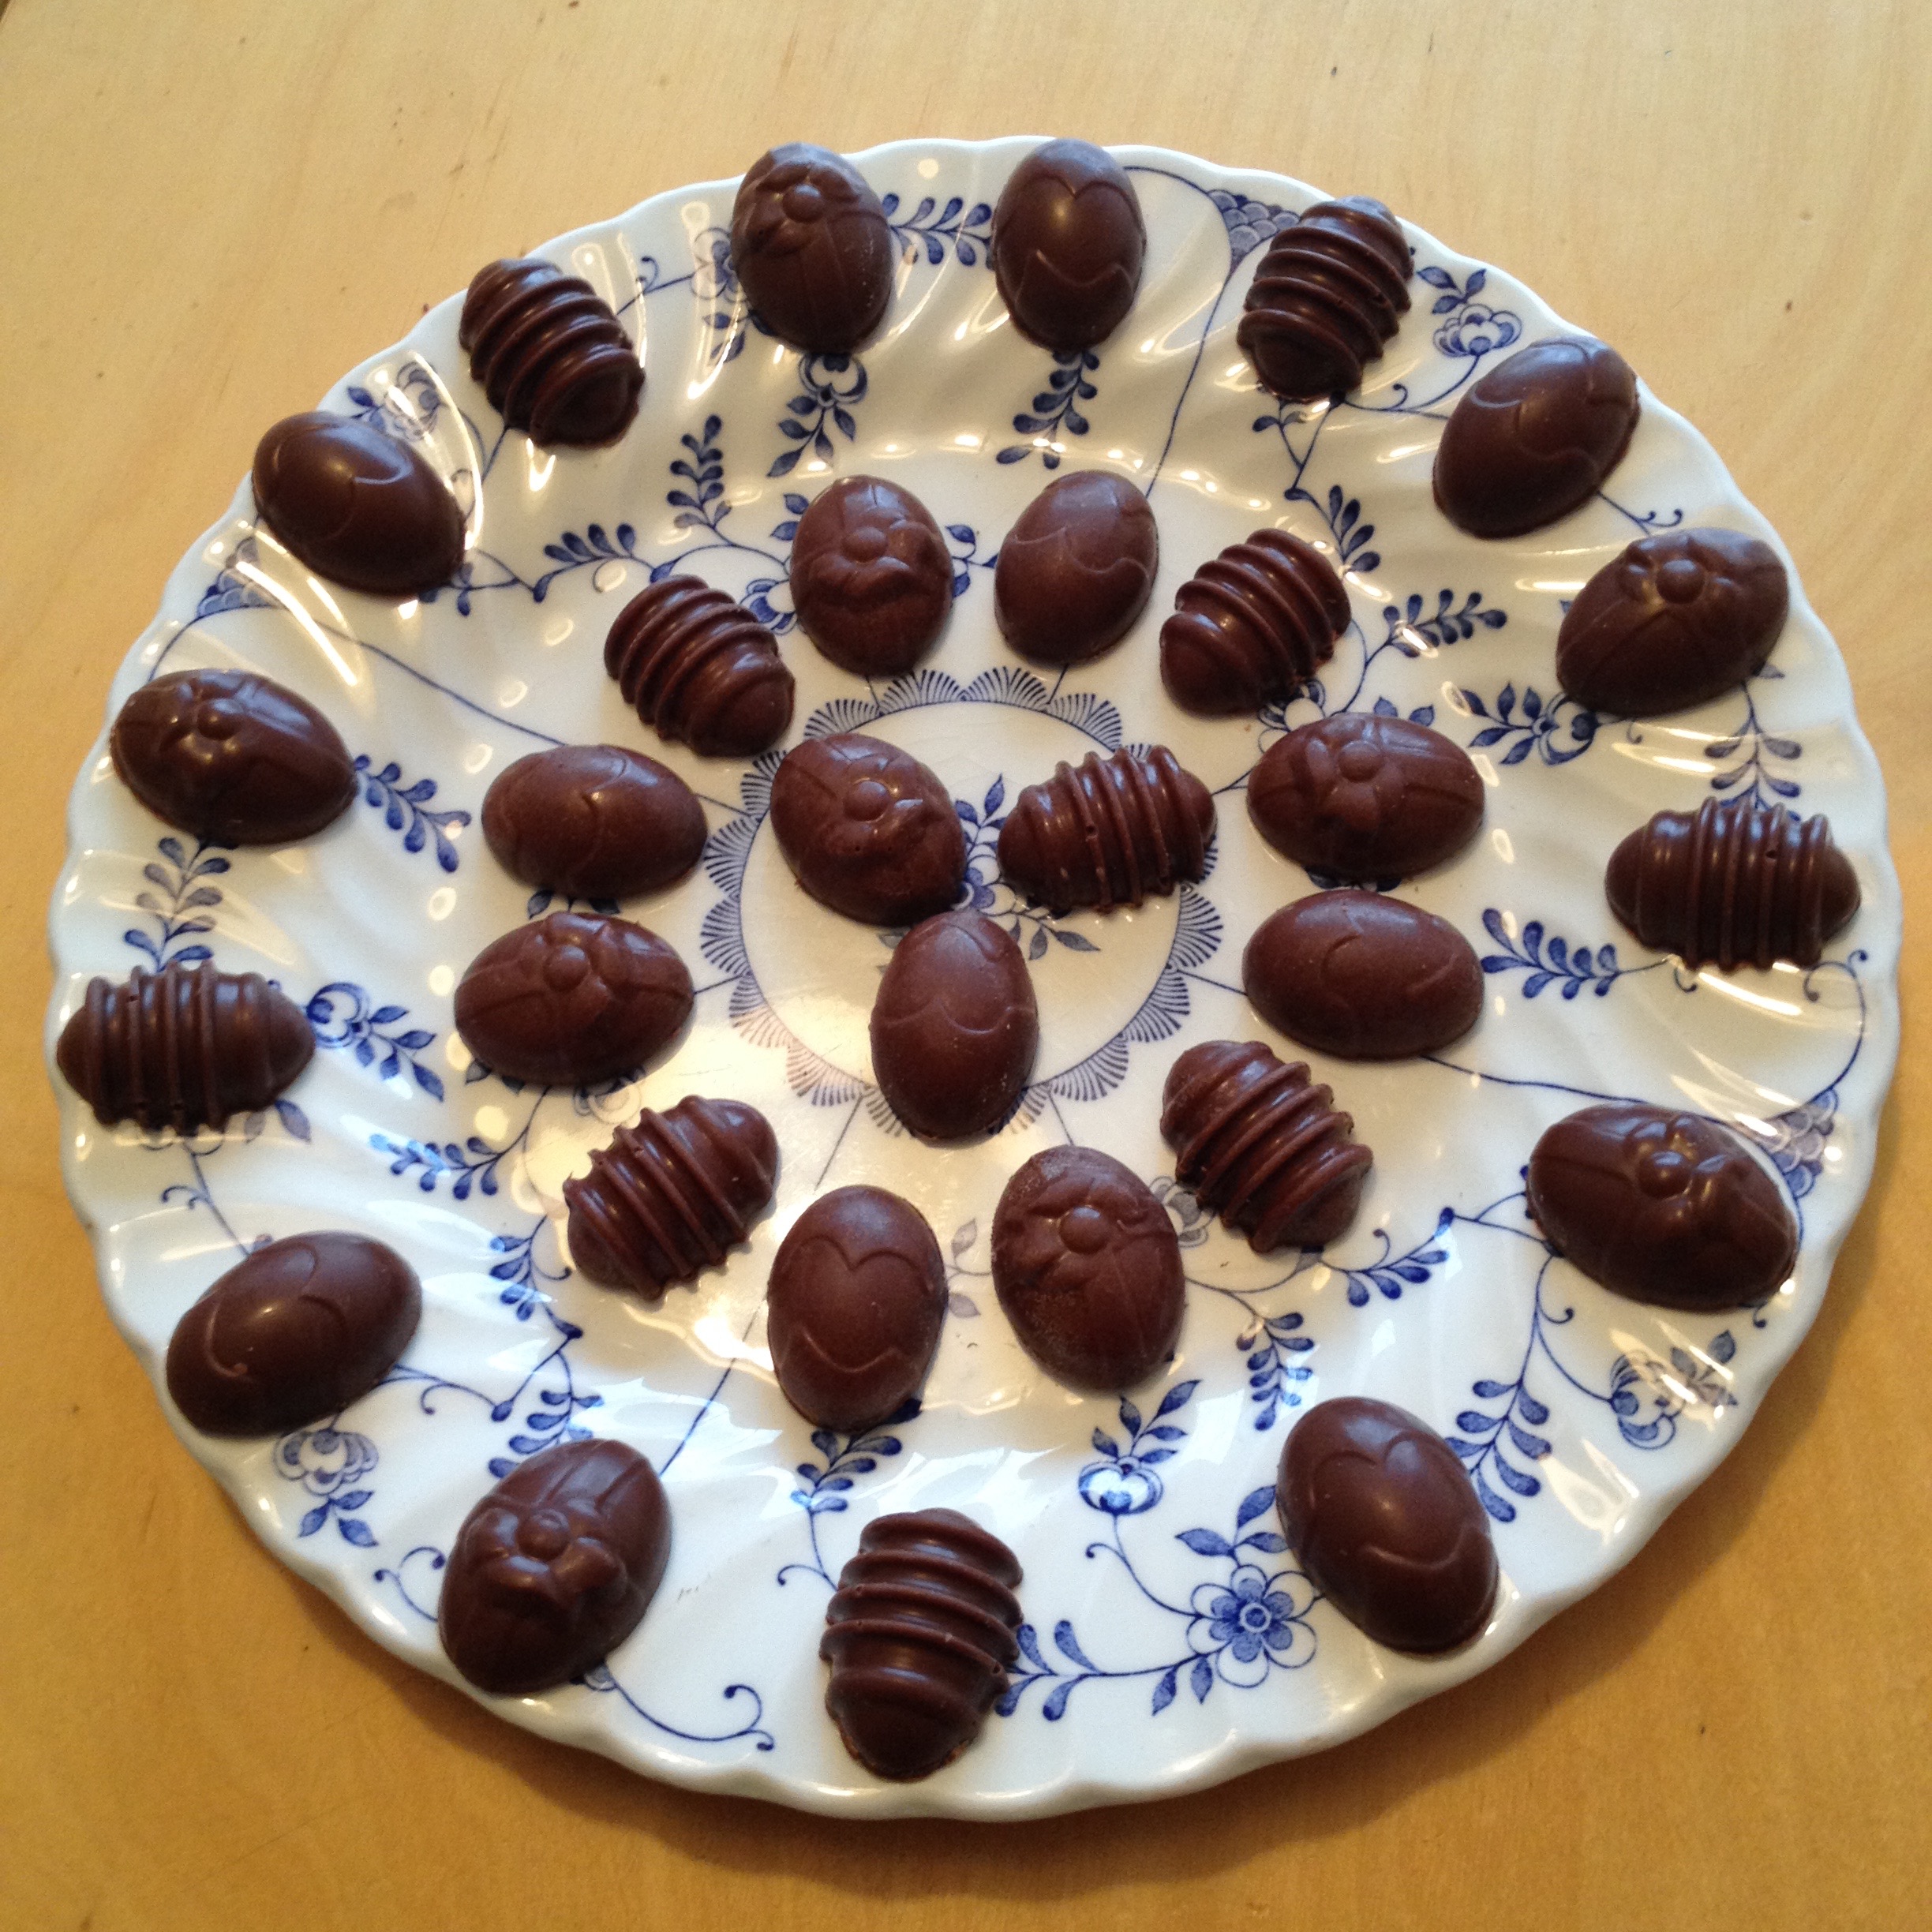
 Finished Filled Easter Egg Chocolates
- 10 Once the chocolate has set, turn over the mould and place on a piece of non stick baking parchment. Now tap the mould and release the chocolates. You should now have shiny glossy chocolates.
 Easter Egg Chocolates Mould


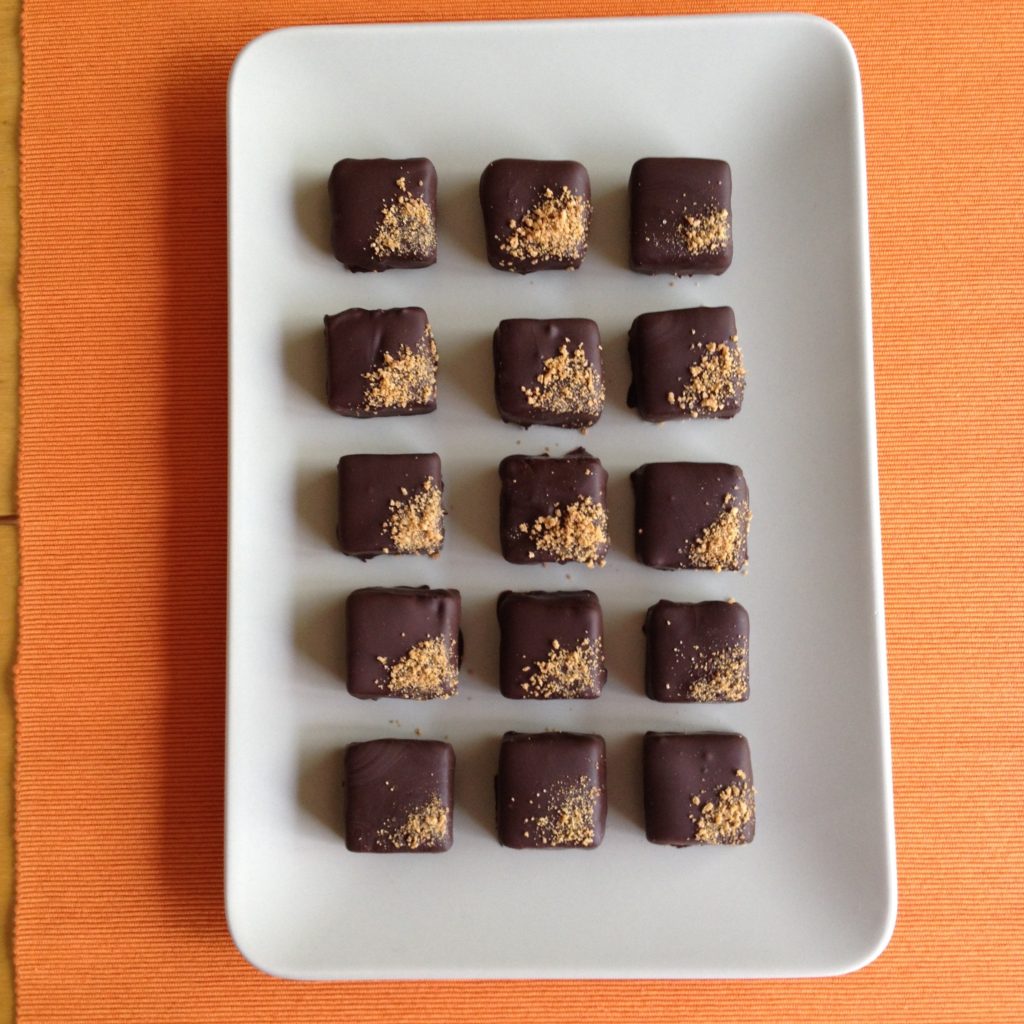
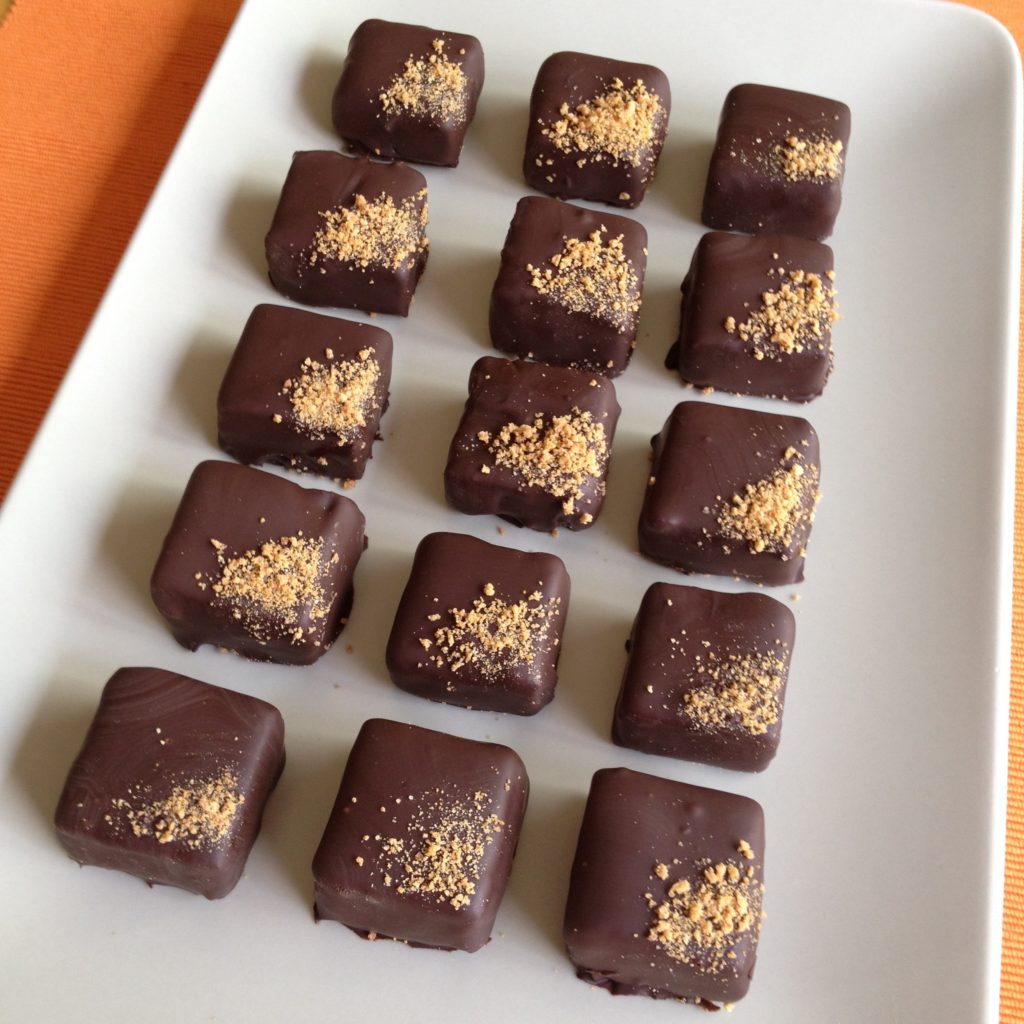
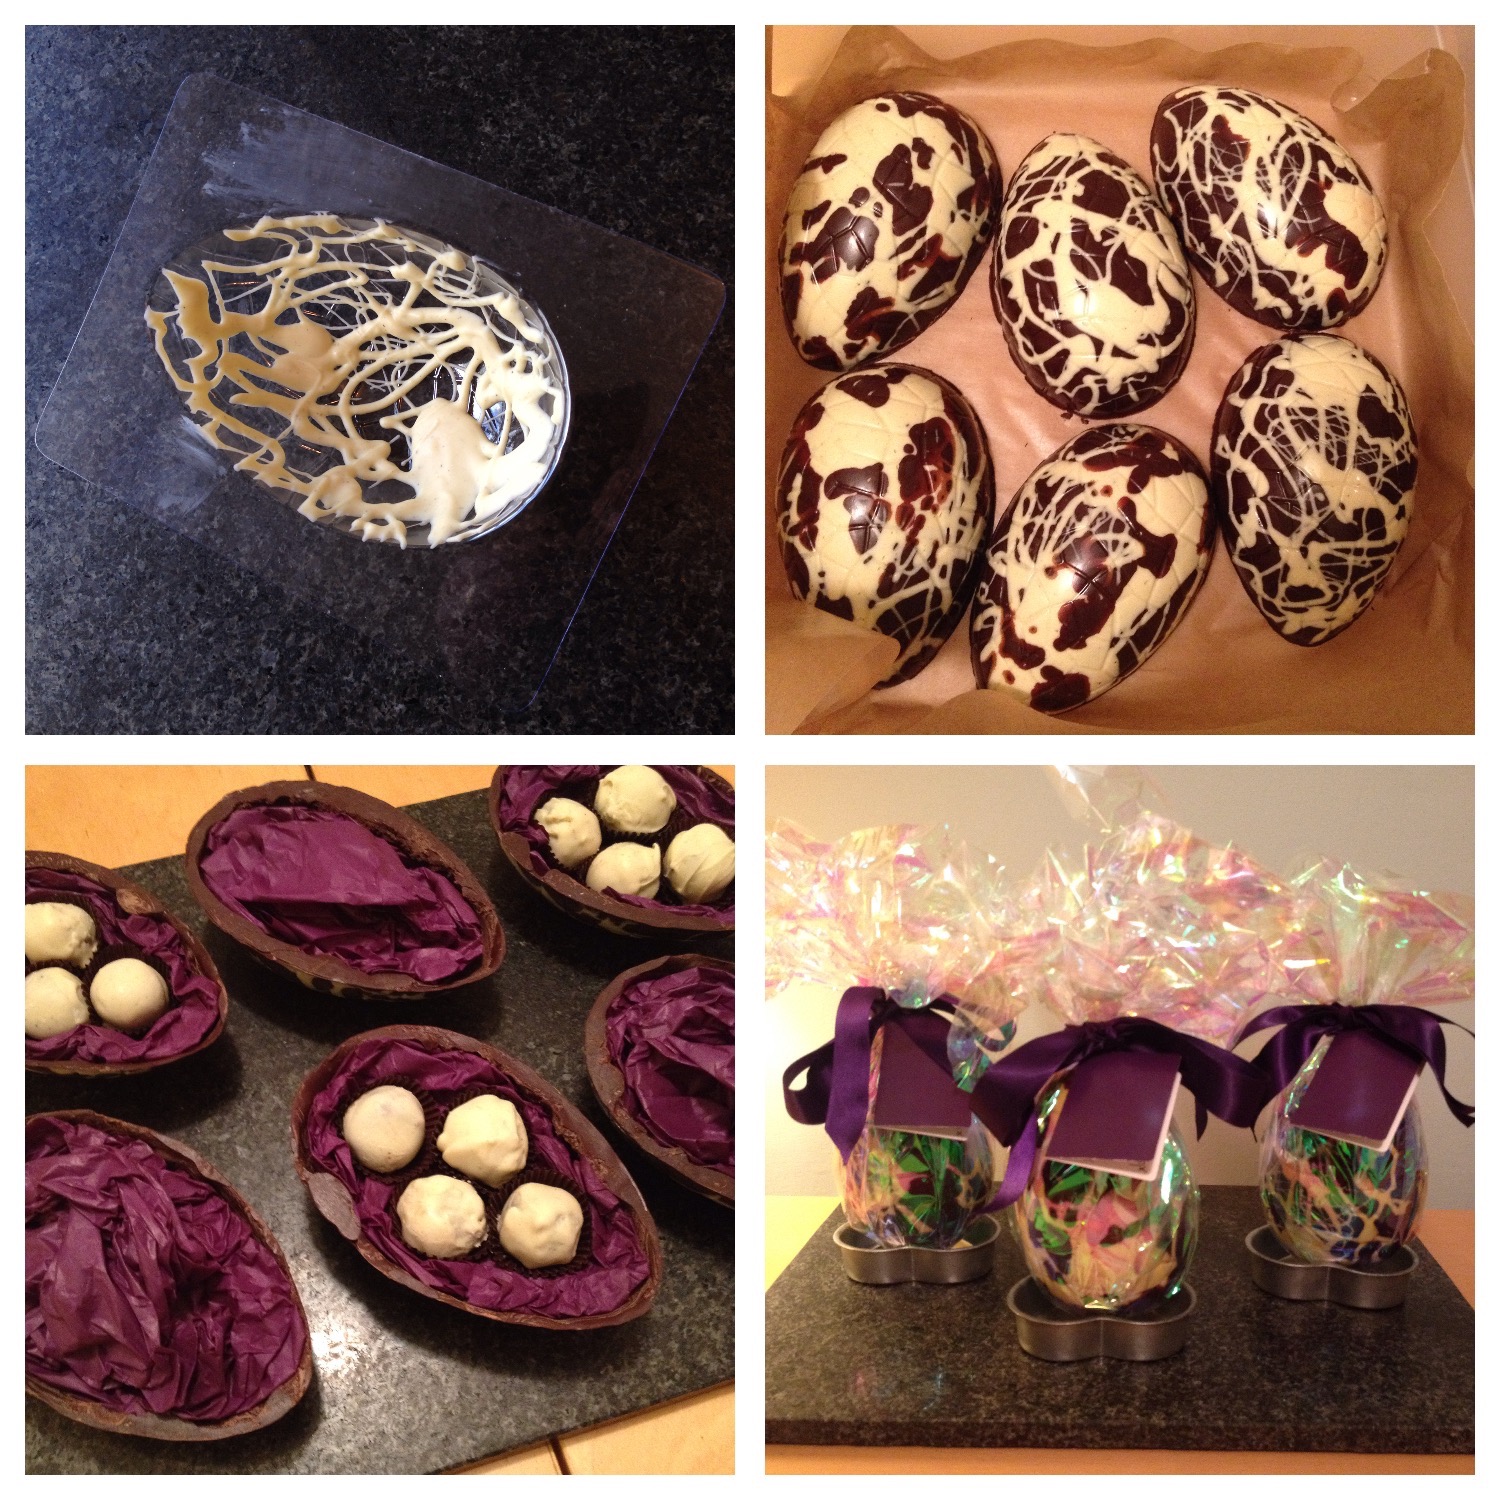
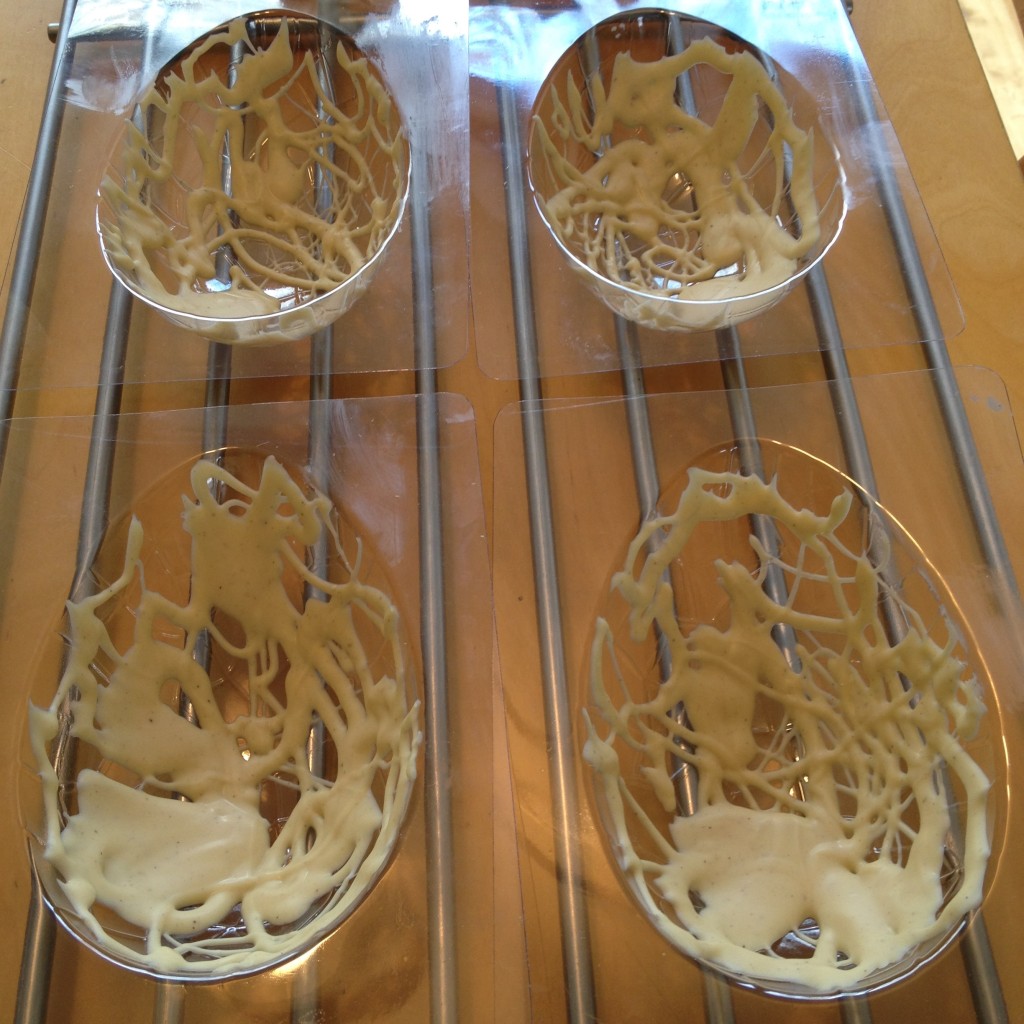
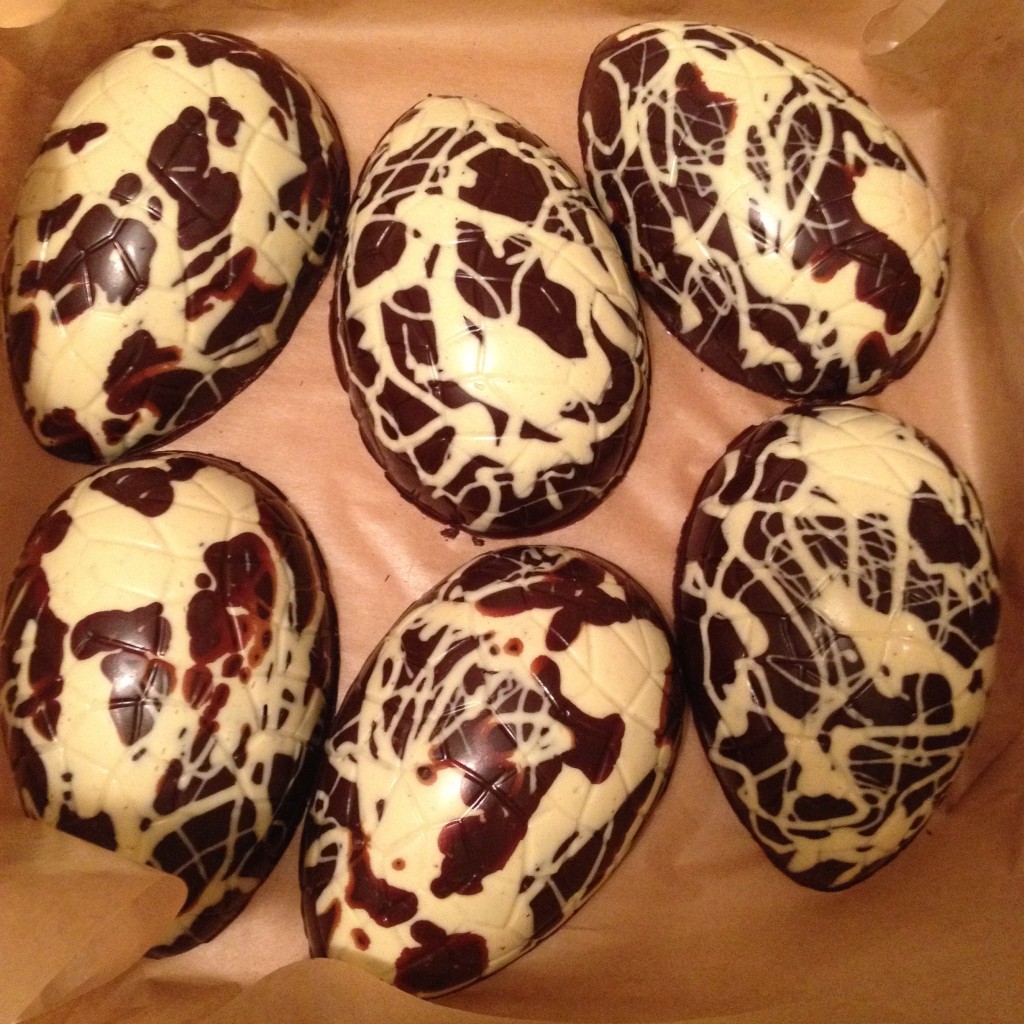
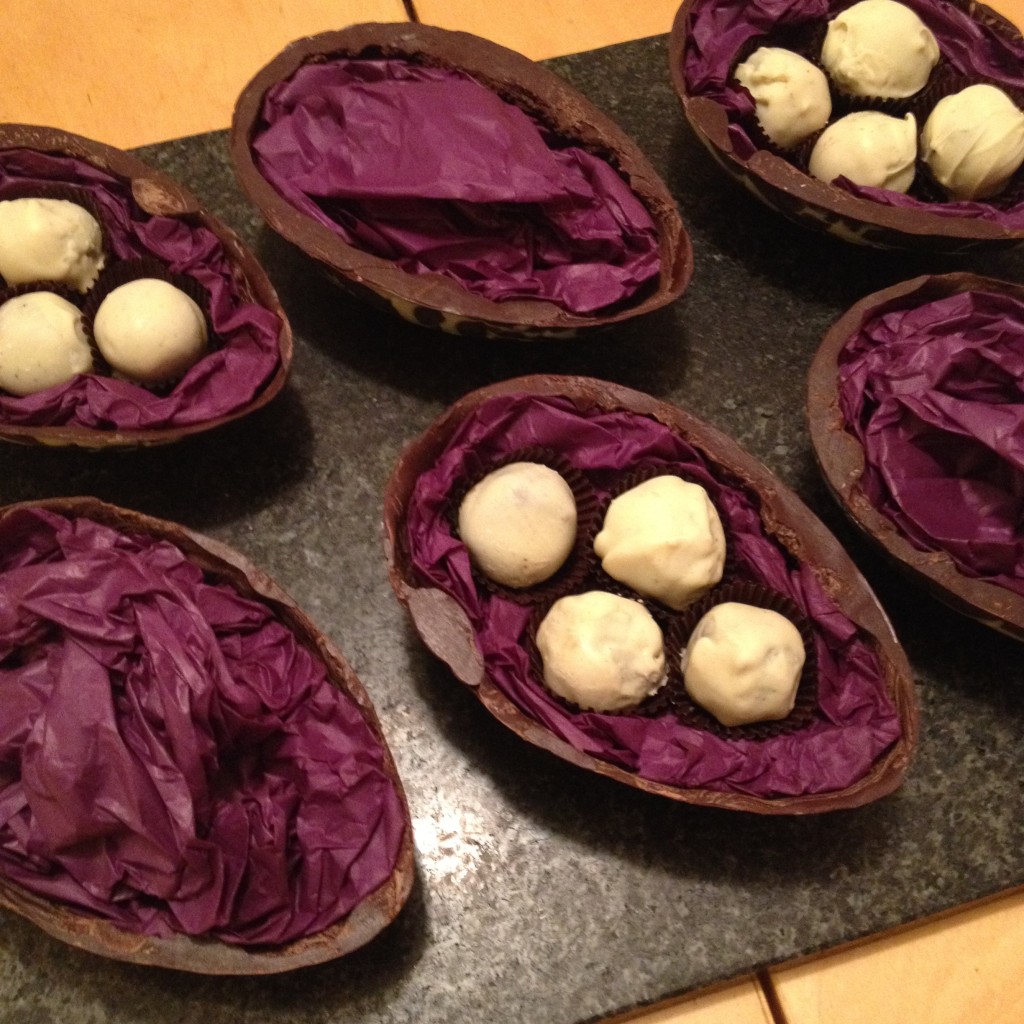
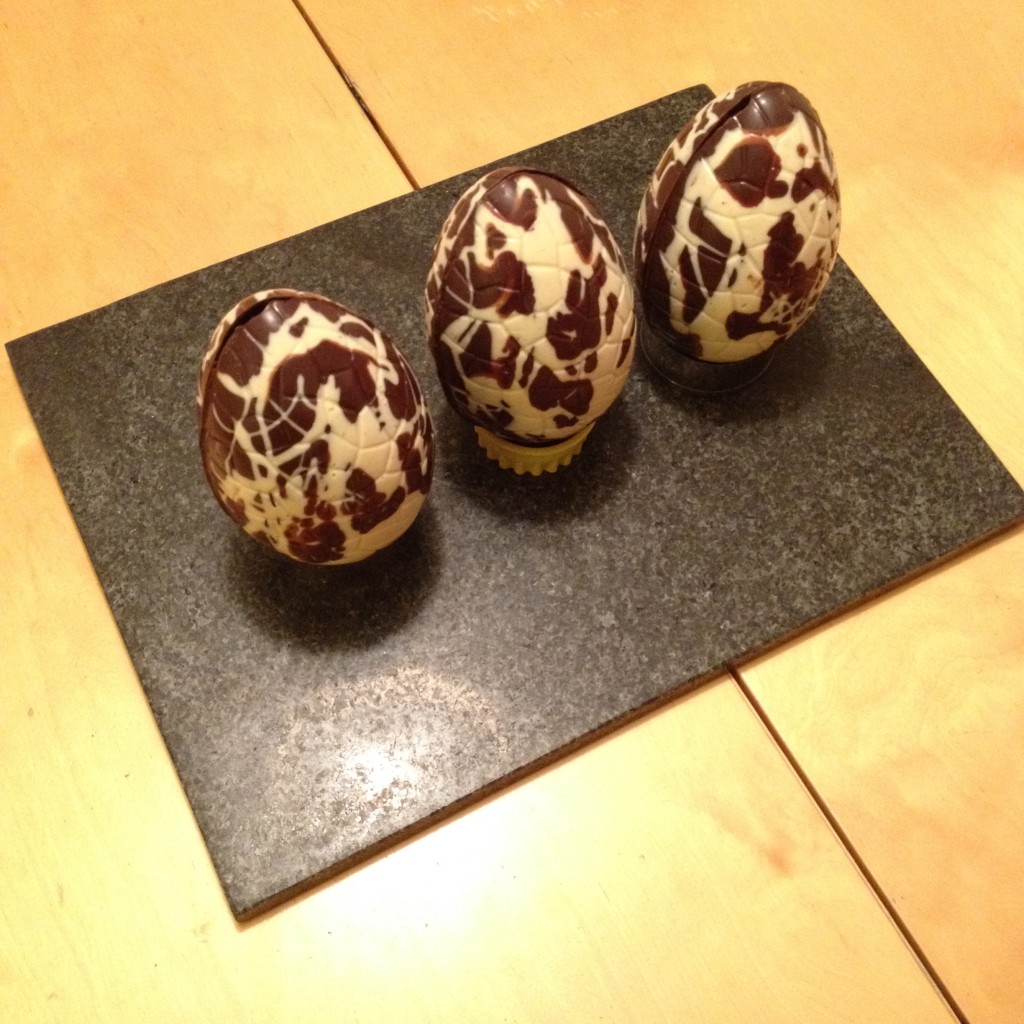

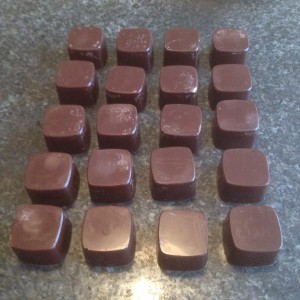

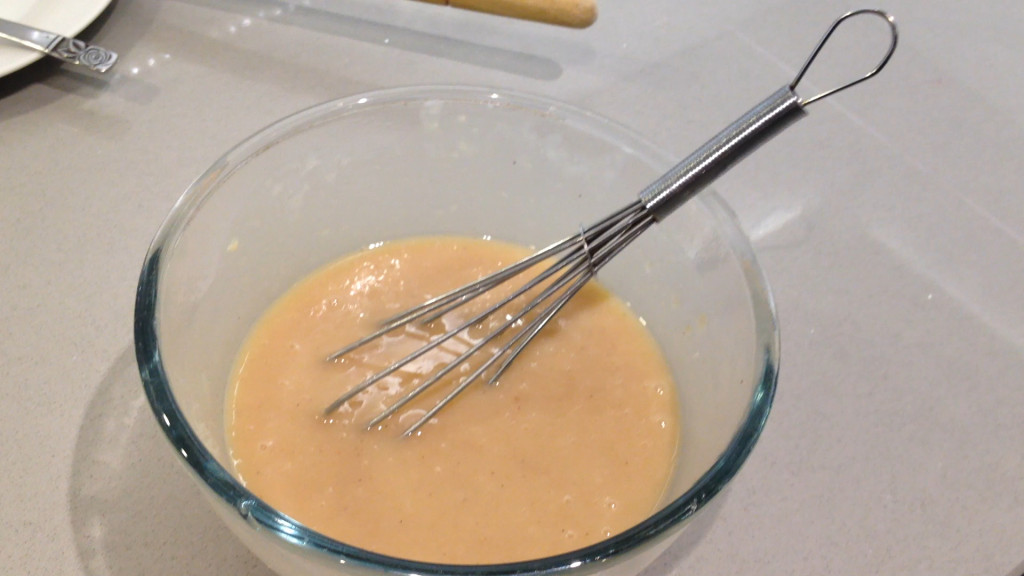
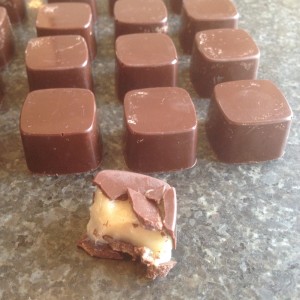
 Image © M&S
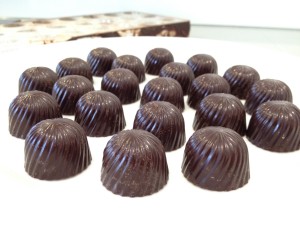
 I was inspired to start making chocolates at home by a visit to the London shop of Paul A Young the Artisan Chocolatier. My first attempt at making my own chocolates at home was to attempt to make peppermint fondants. These were made in a flexible mould with hollow cases from