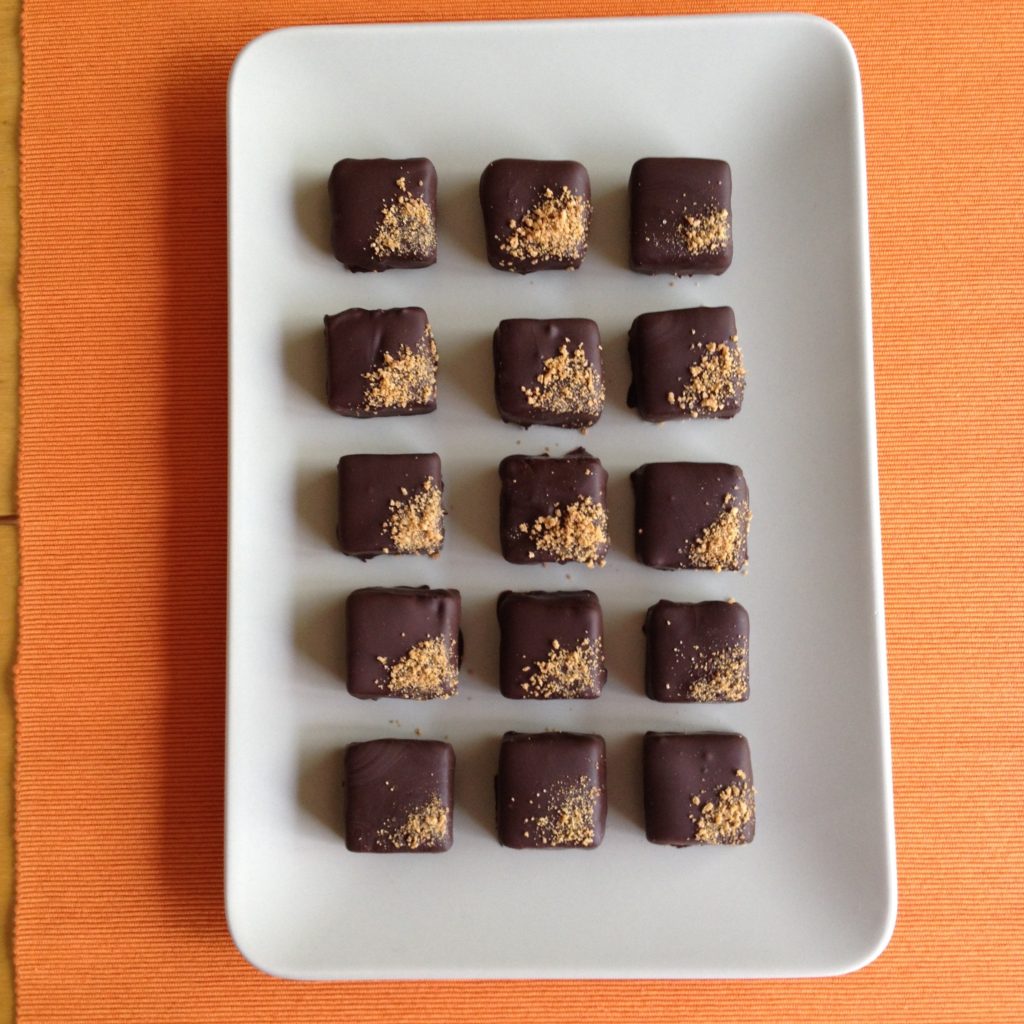
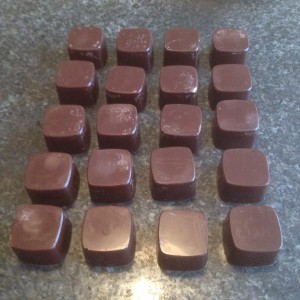
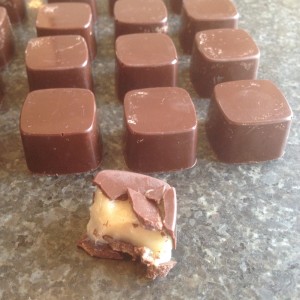
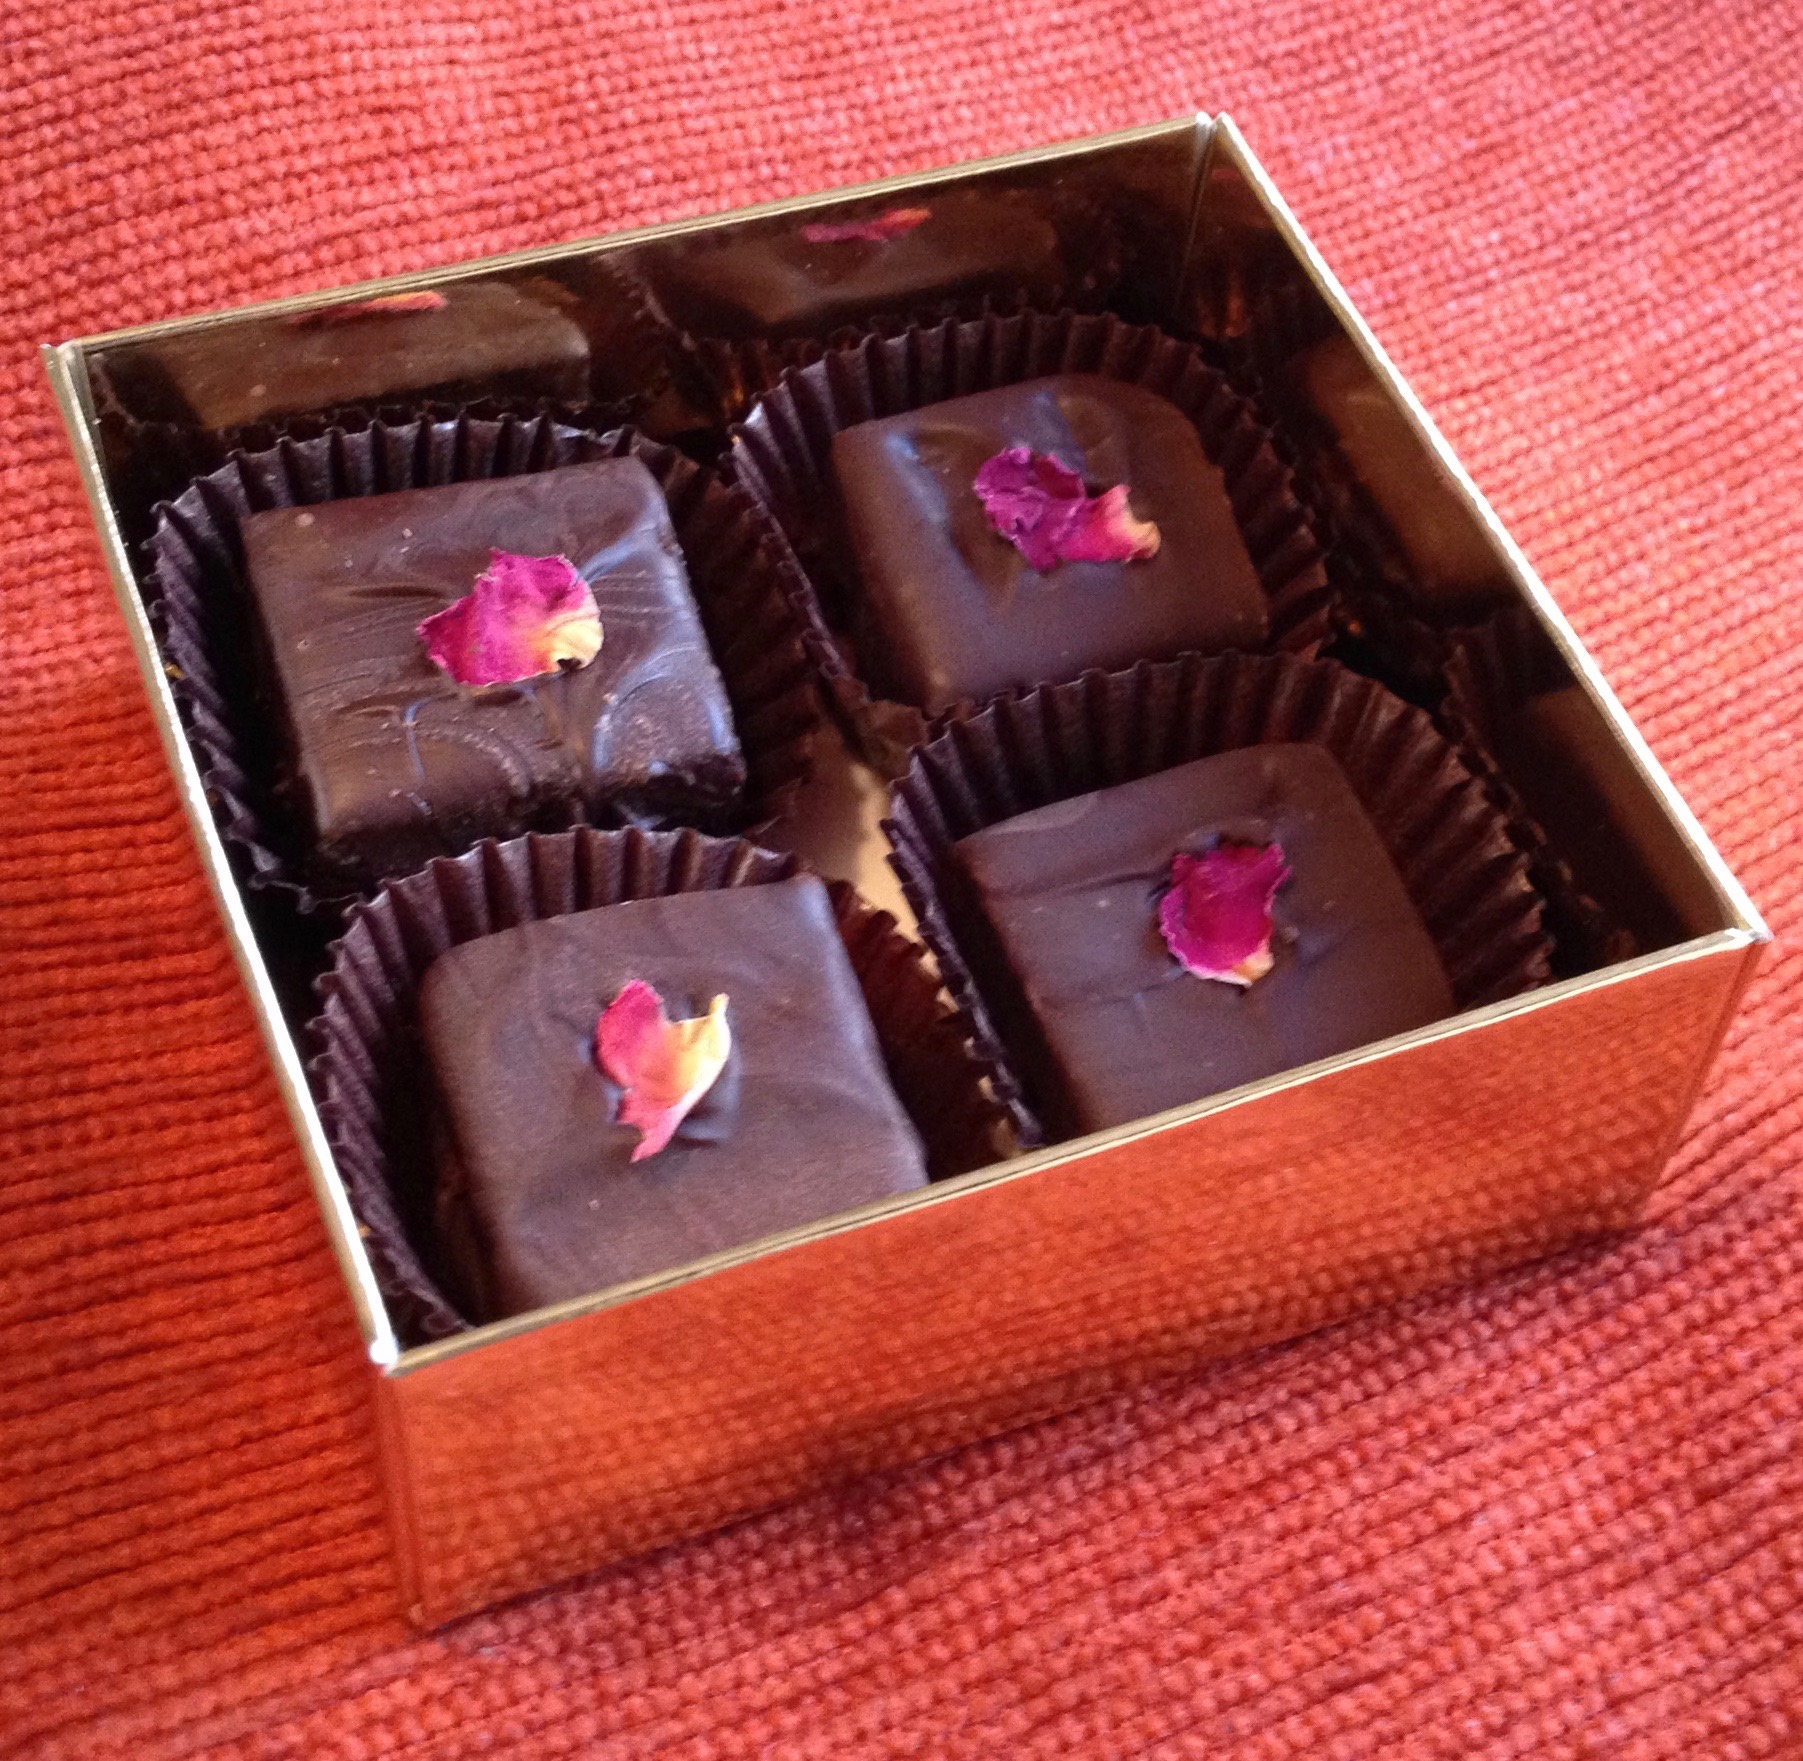
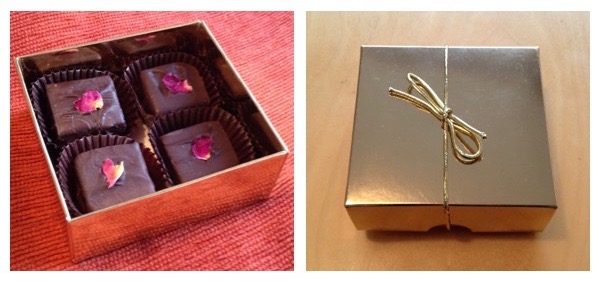
- I had been looking forward to making these truffles for a while now and was not disappointed by the result. The recipe makes 16 truffles but I would reduce the size in future and make 25 from the same mixture. The feedback I had from friends was that they were 2 or 3 bite chocolates and would be better if made slightly smaller.
- If you are looking to create a special chocolate then this would be a very good choice. The recipe is by Will Torrent from his book “Chocolate at Home”. I received this book as a gift at Christmas and it has been a good source of inspiration for making exquisite chocolates.
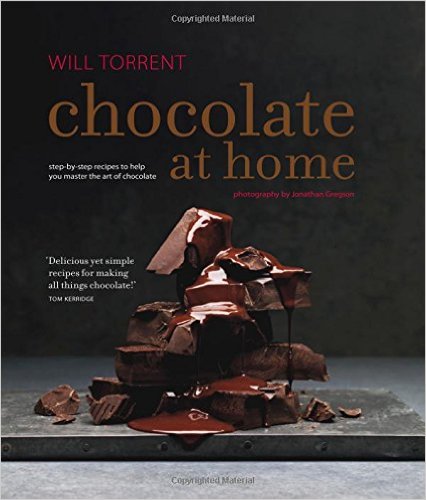
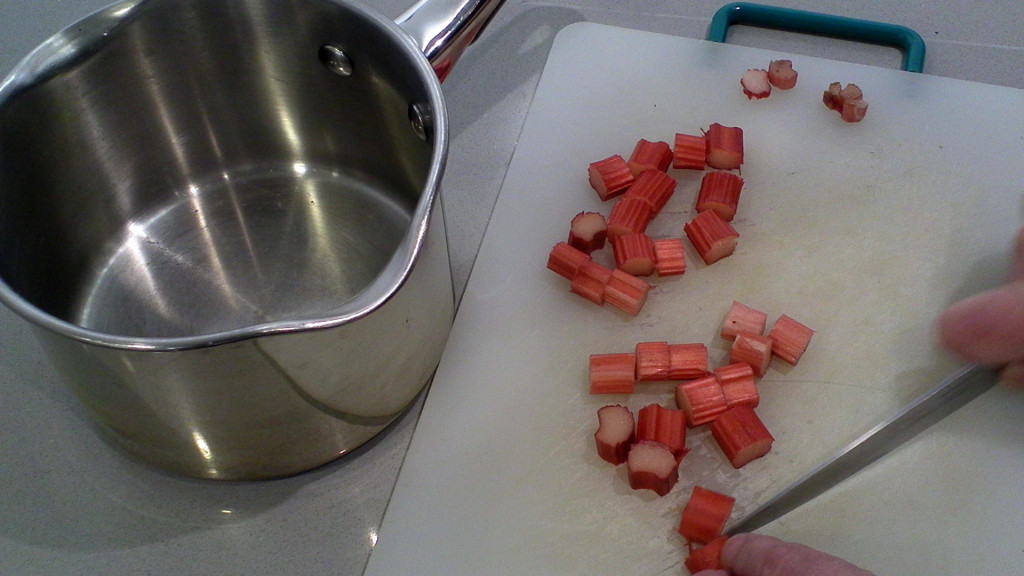
- There are many great recipes in Will Torrent’s book and they can be made at home with confidence if care is taken in the preparation. Sometimes a book like this can feel a little intimidating but if you patiently follow the methods shown then you will have brilliant results.
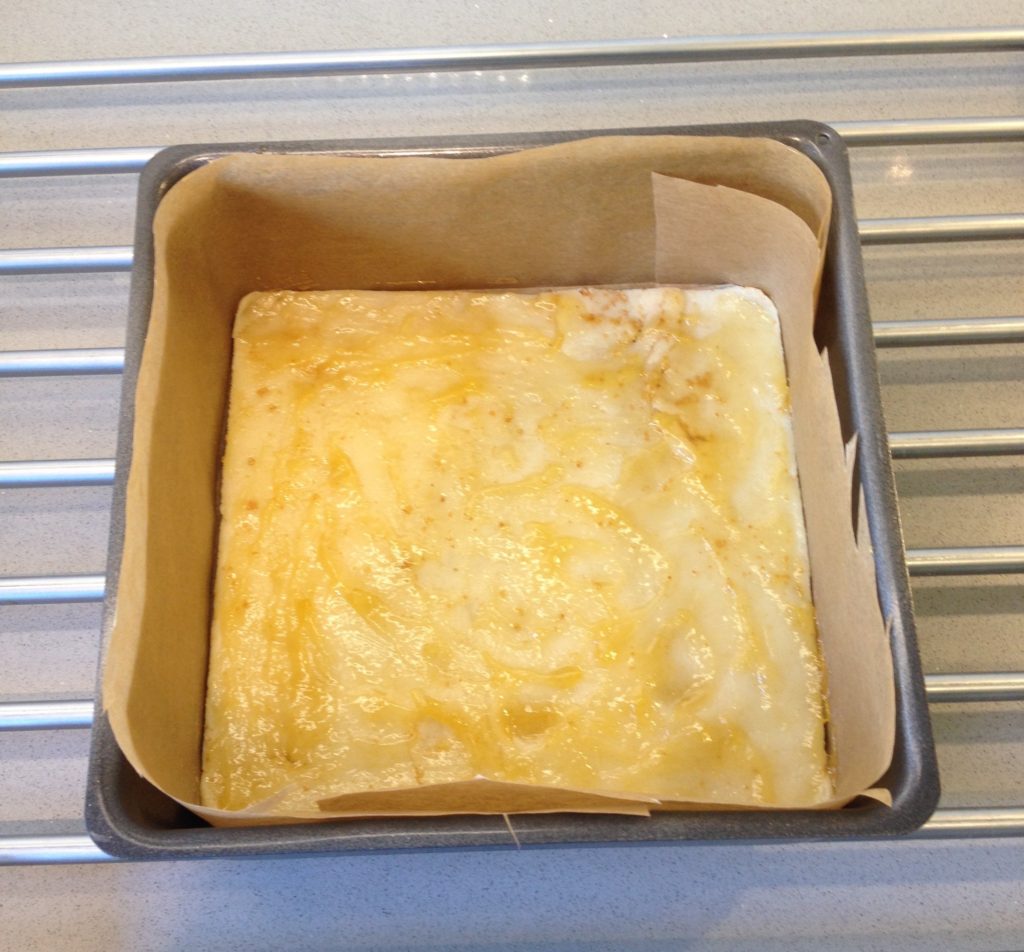
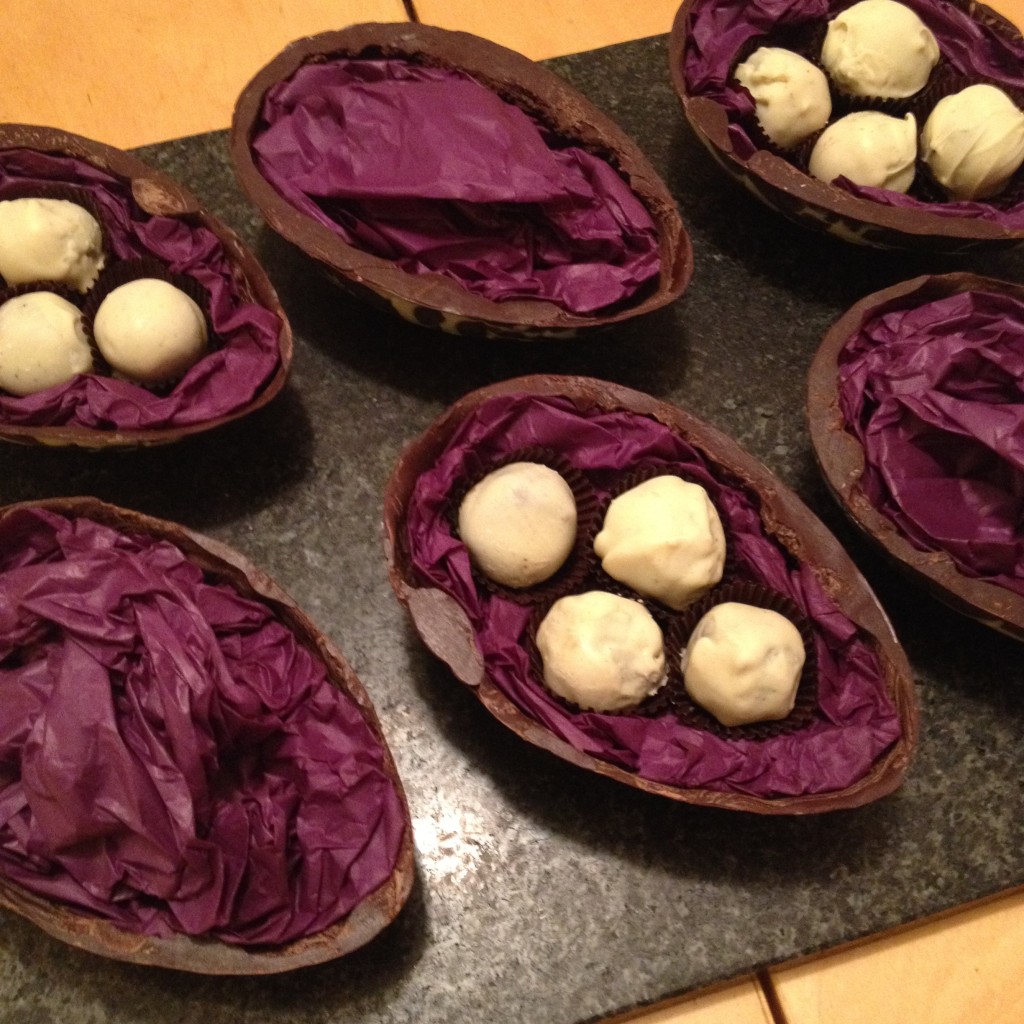
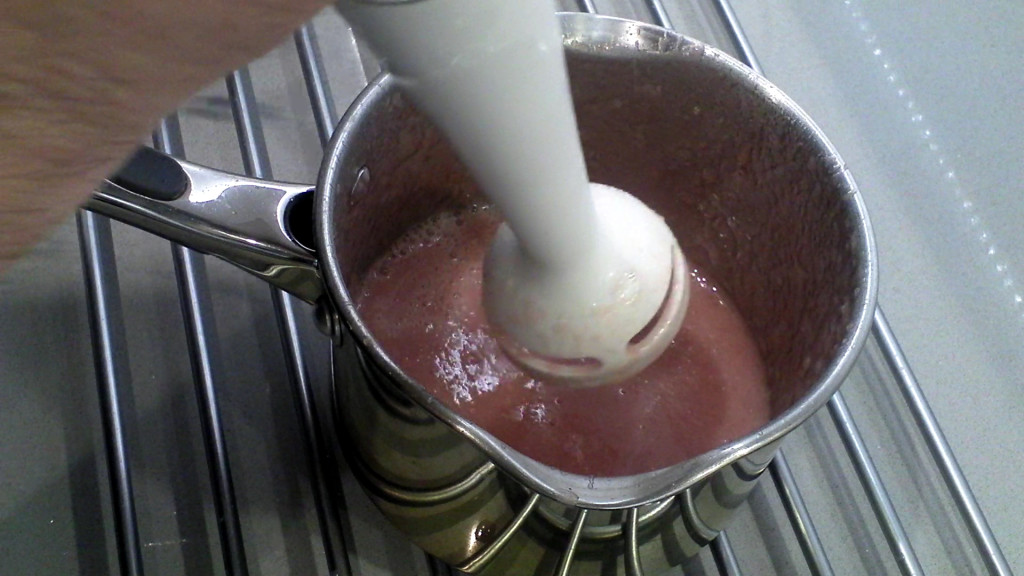
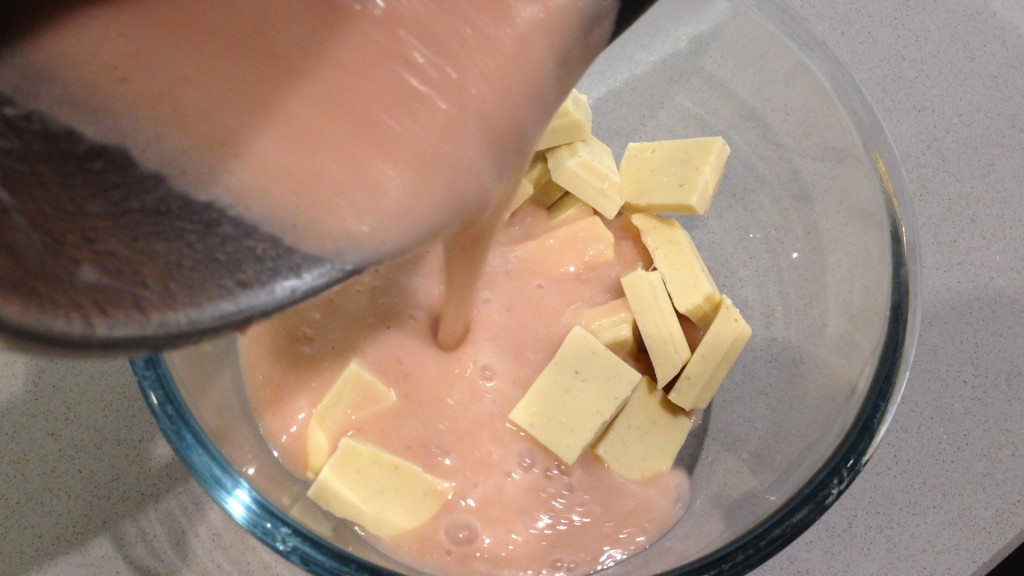
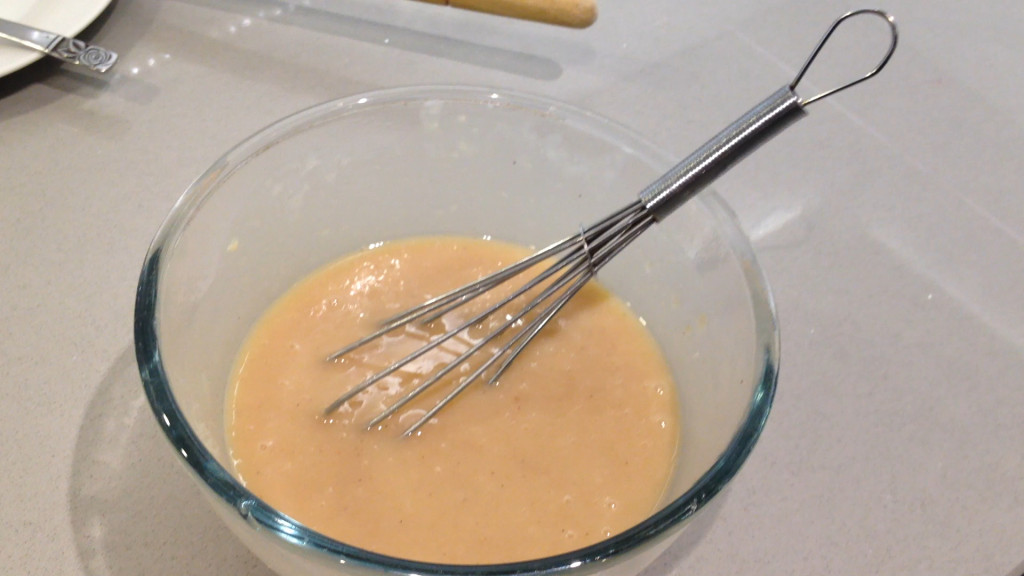
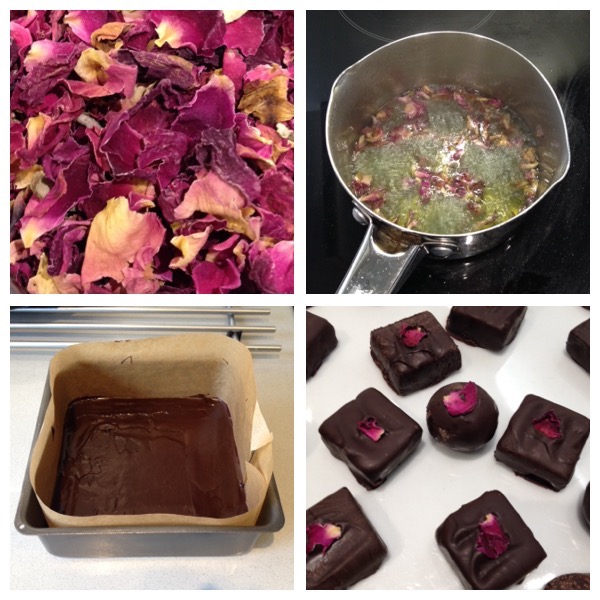
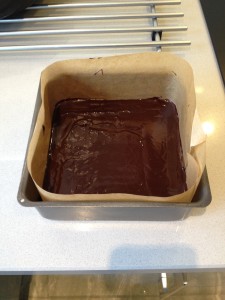
- On the base there is a layer of toasted marzipan/crushed amaretti, this gives the chocolate a little crunch. It has a centre of a smooth cream and milk chocolate ganache laced with Amaretto di Saronno liqueur.
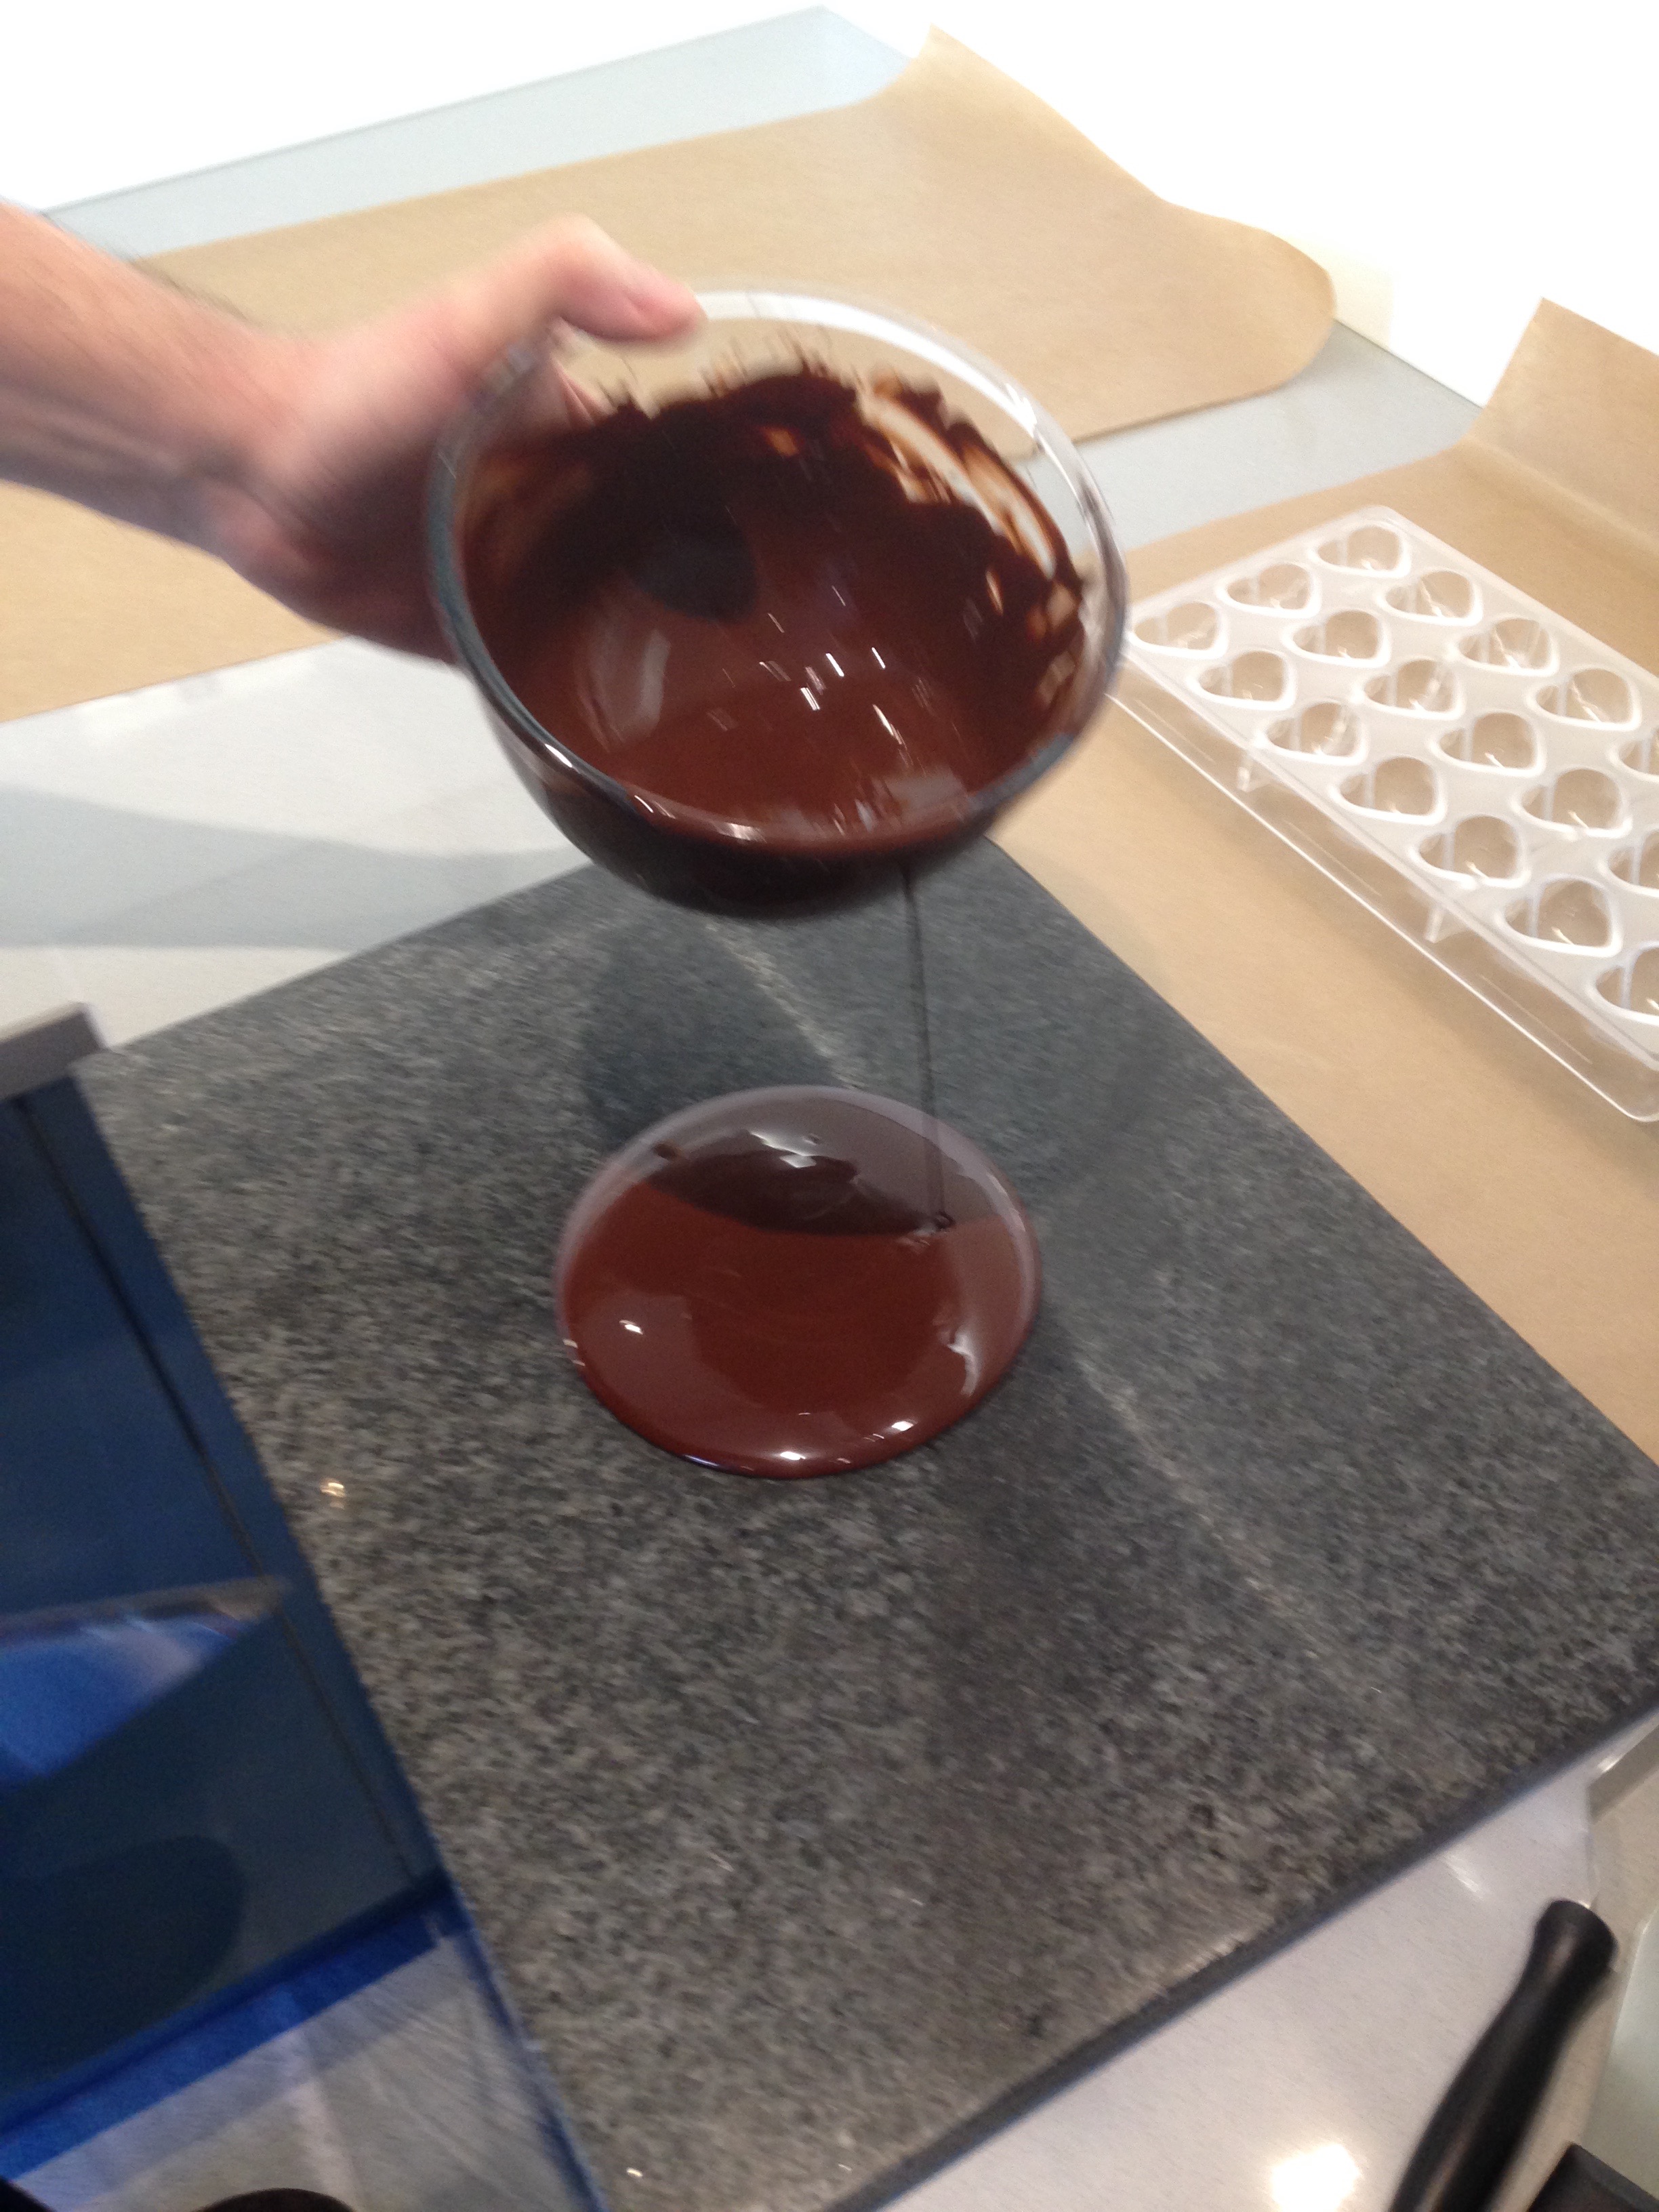
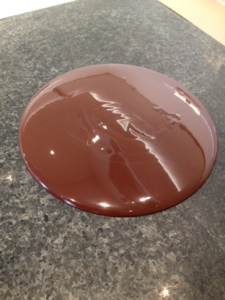
- The truffles are layered in a baking tray then cut into squares to be dipped into 70% dark chocolate. Just before they set a slight sprinkling of crushed Amaretti is added, which makes for a very rich almondly experience.
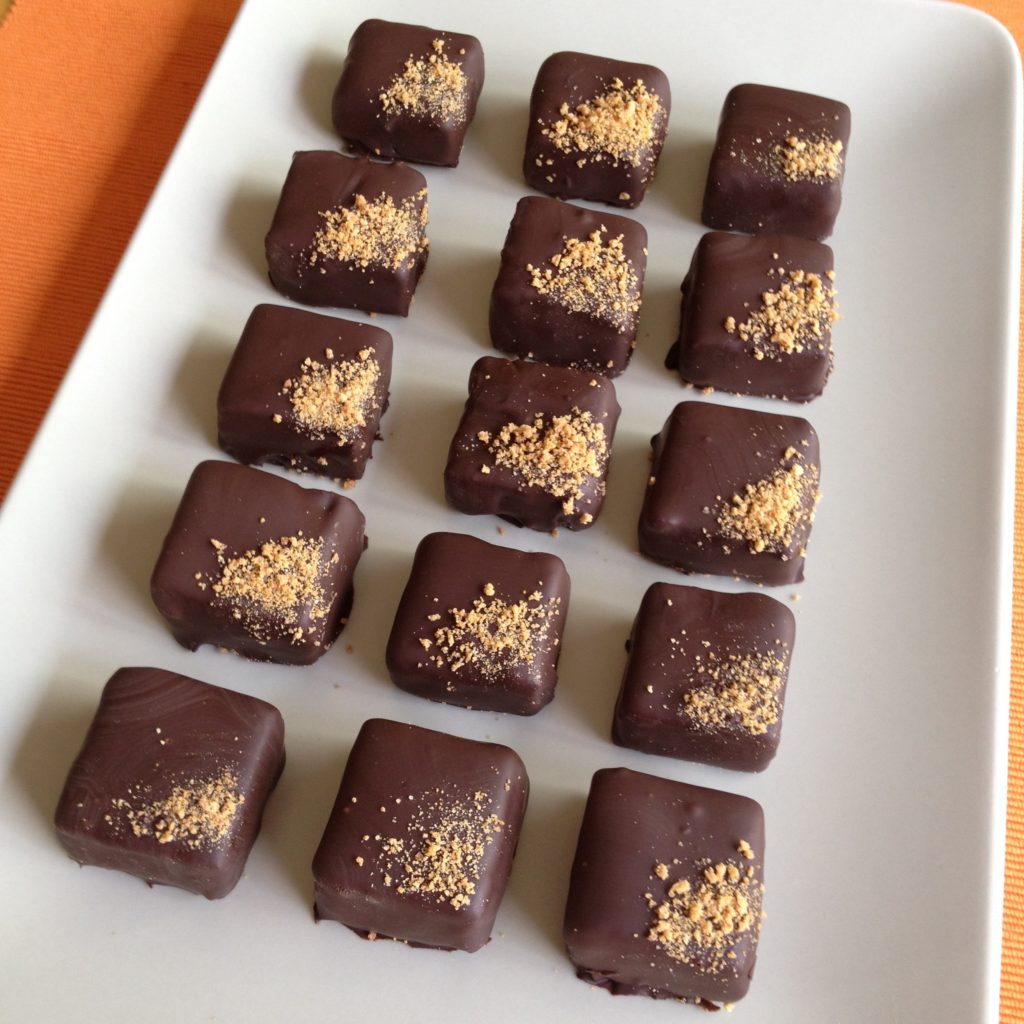
- The different textures all complement each other well, from the crisp dark chocolate shell, through to the smooth centre then to the crunch of the base. The chocolates have a reasonable shelf life of around 10 days as they have Amaretto liqueur in them
- A very rich and smooth chocolate, and it’s definitely something I will make again …..
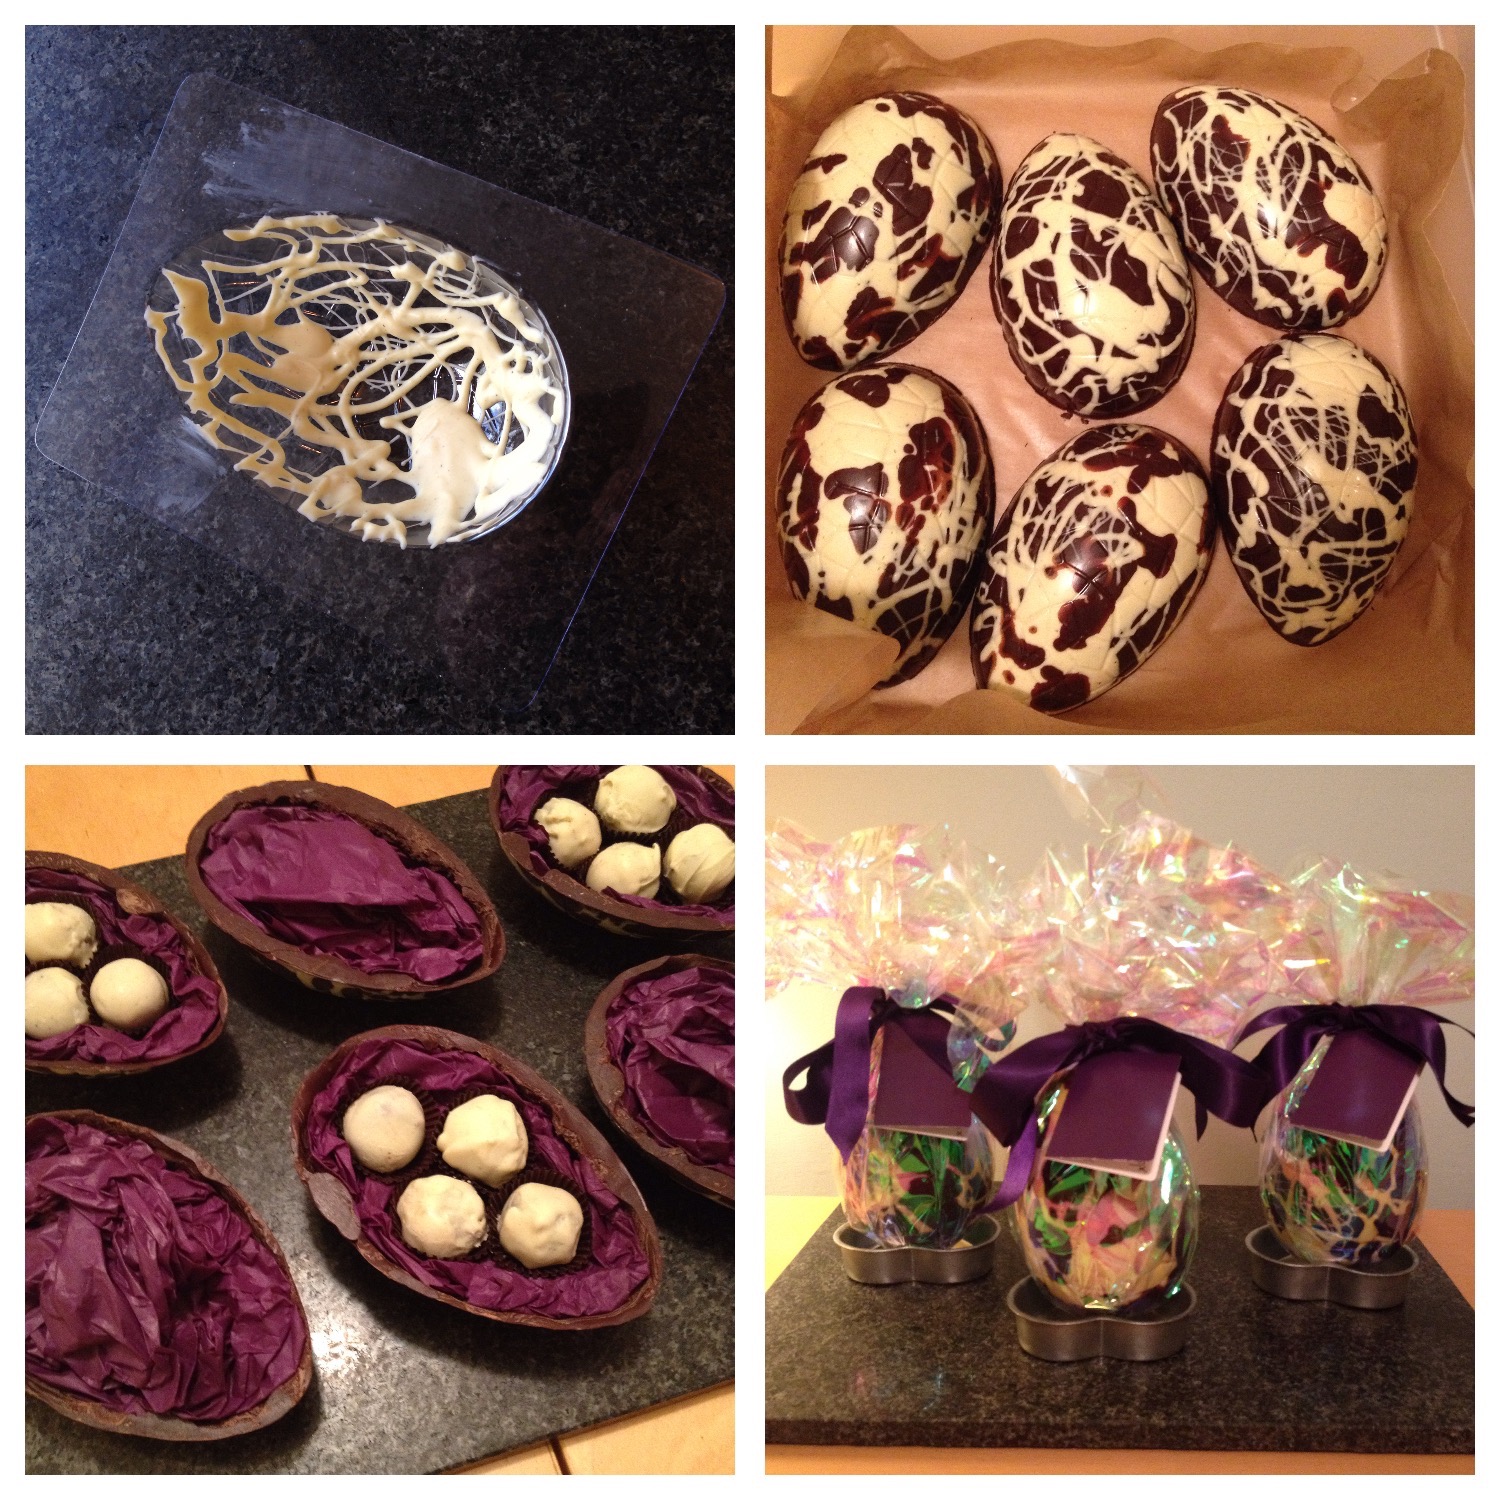
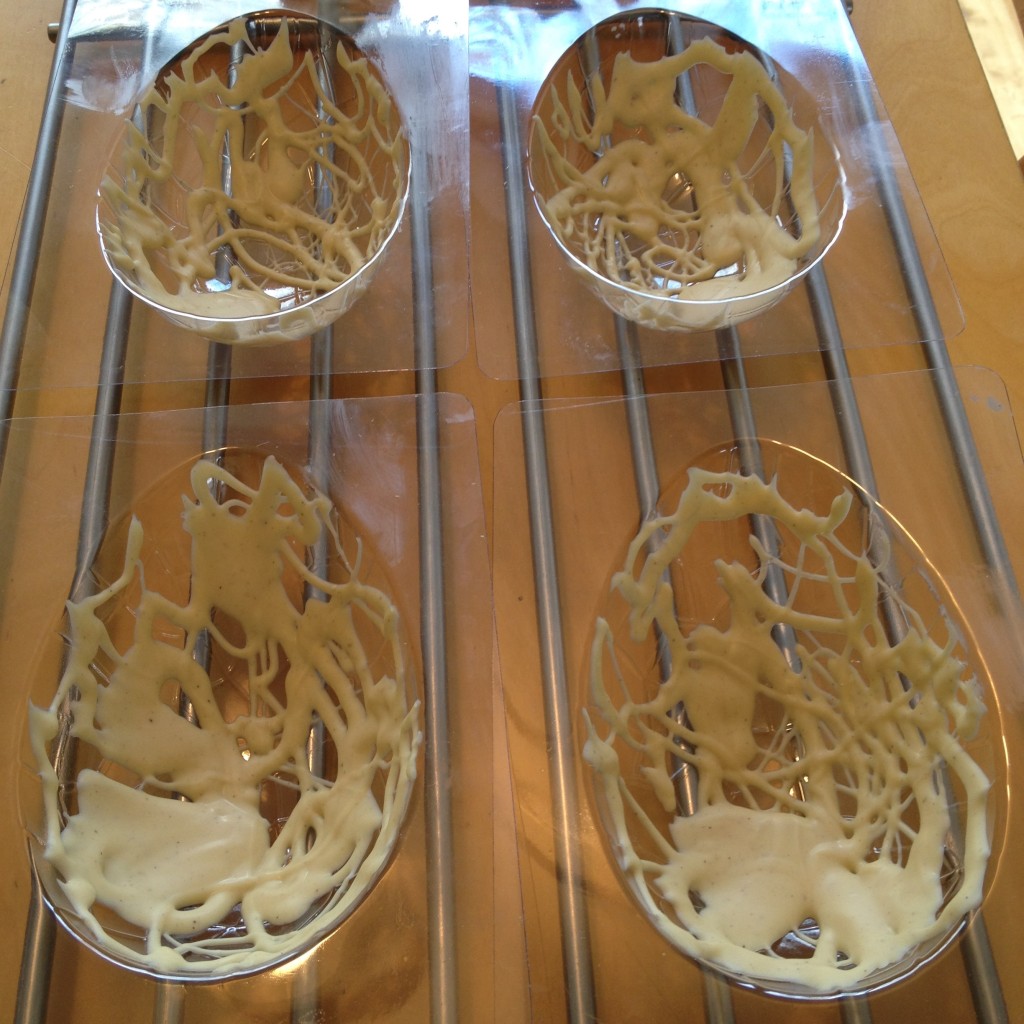
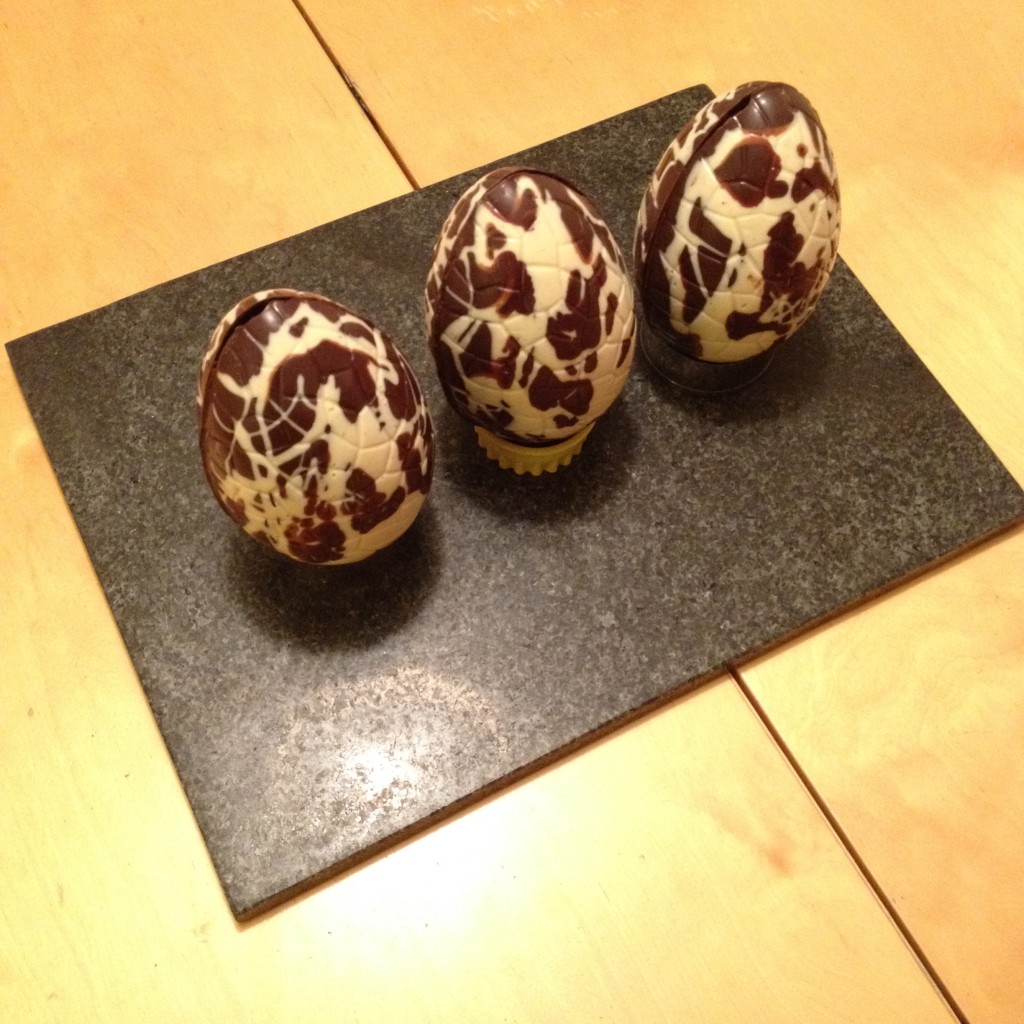


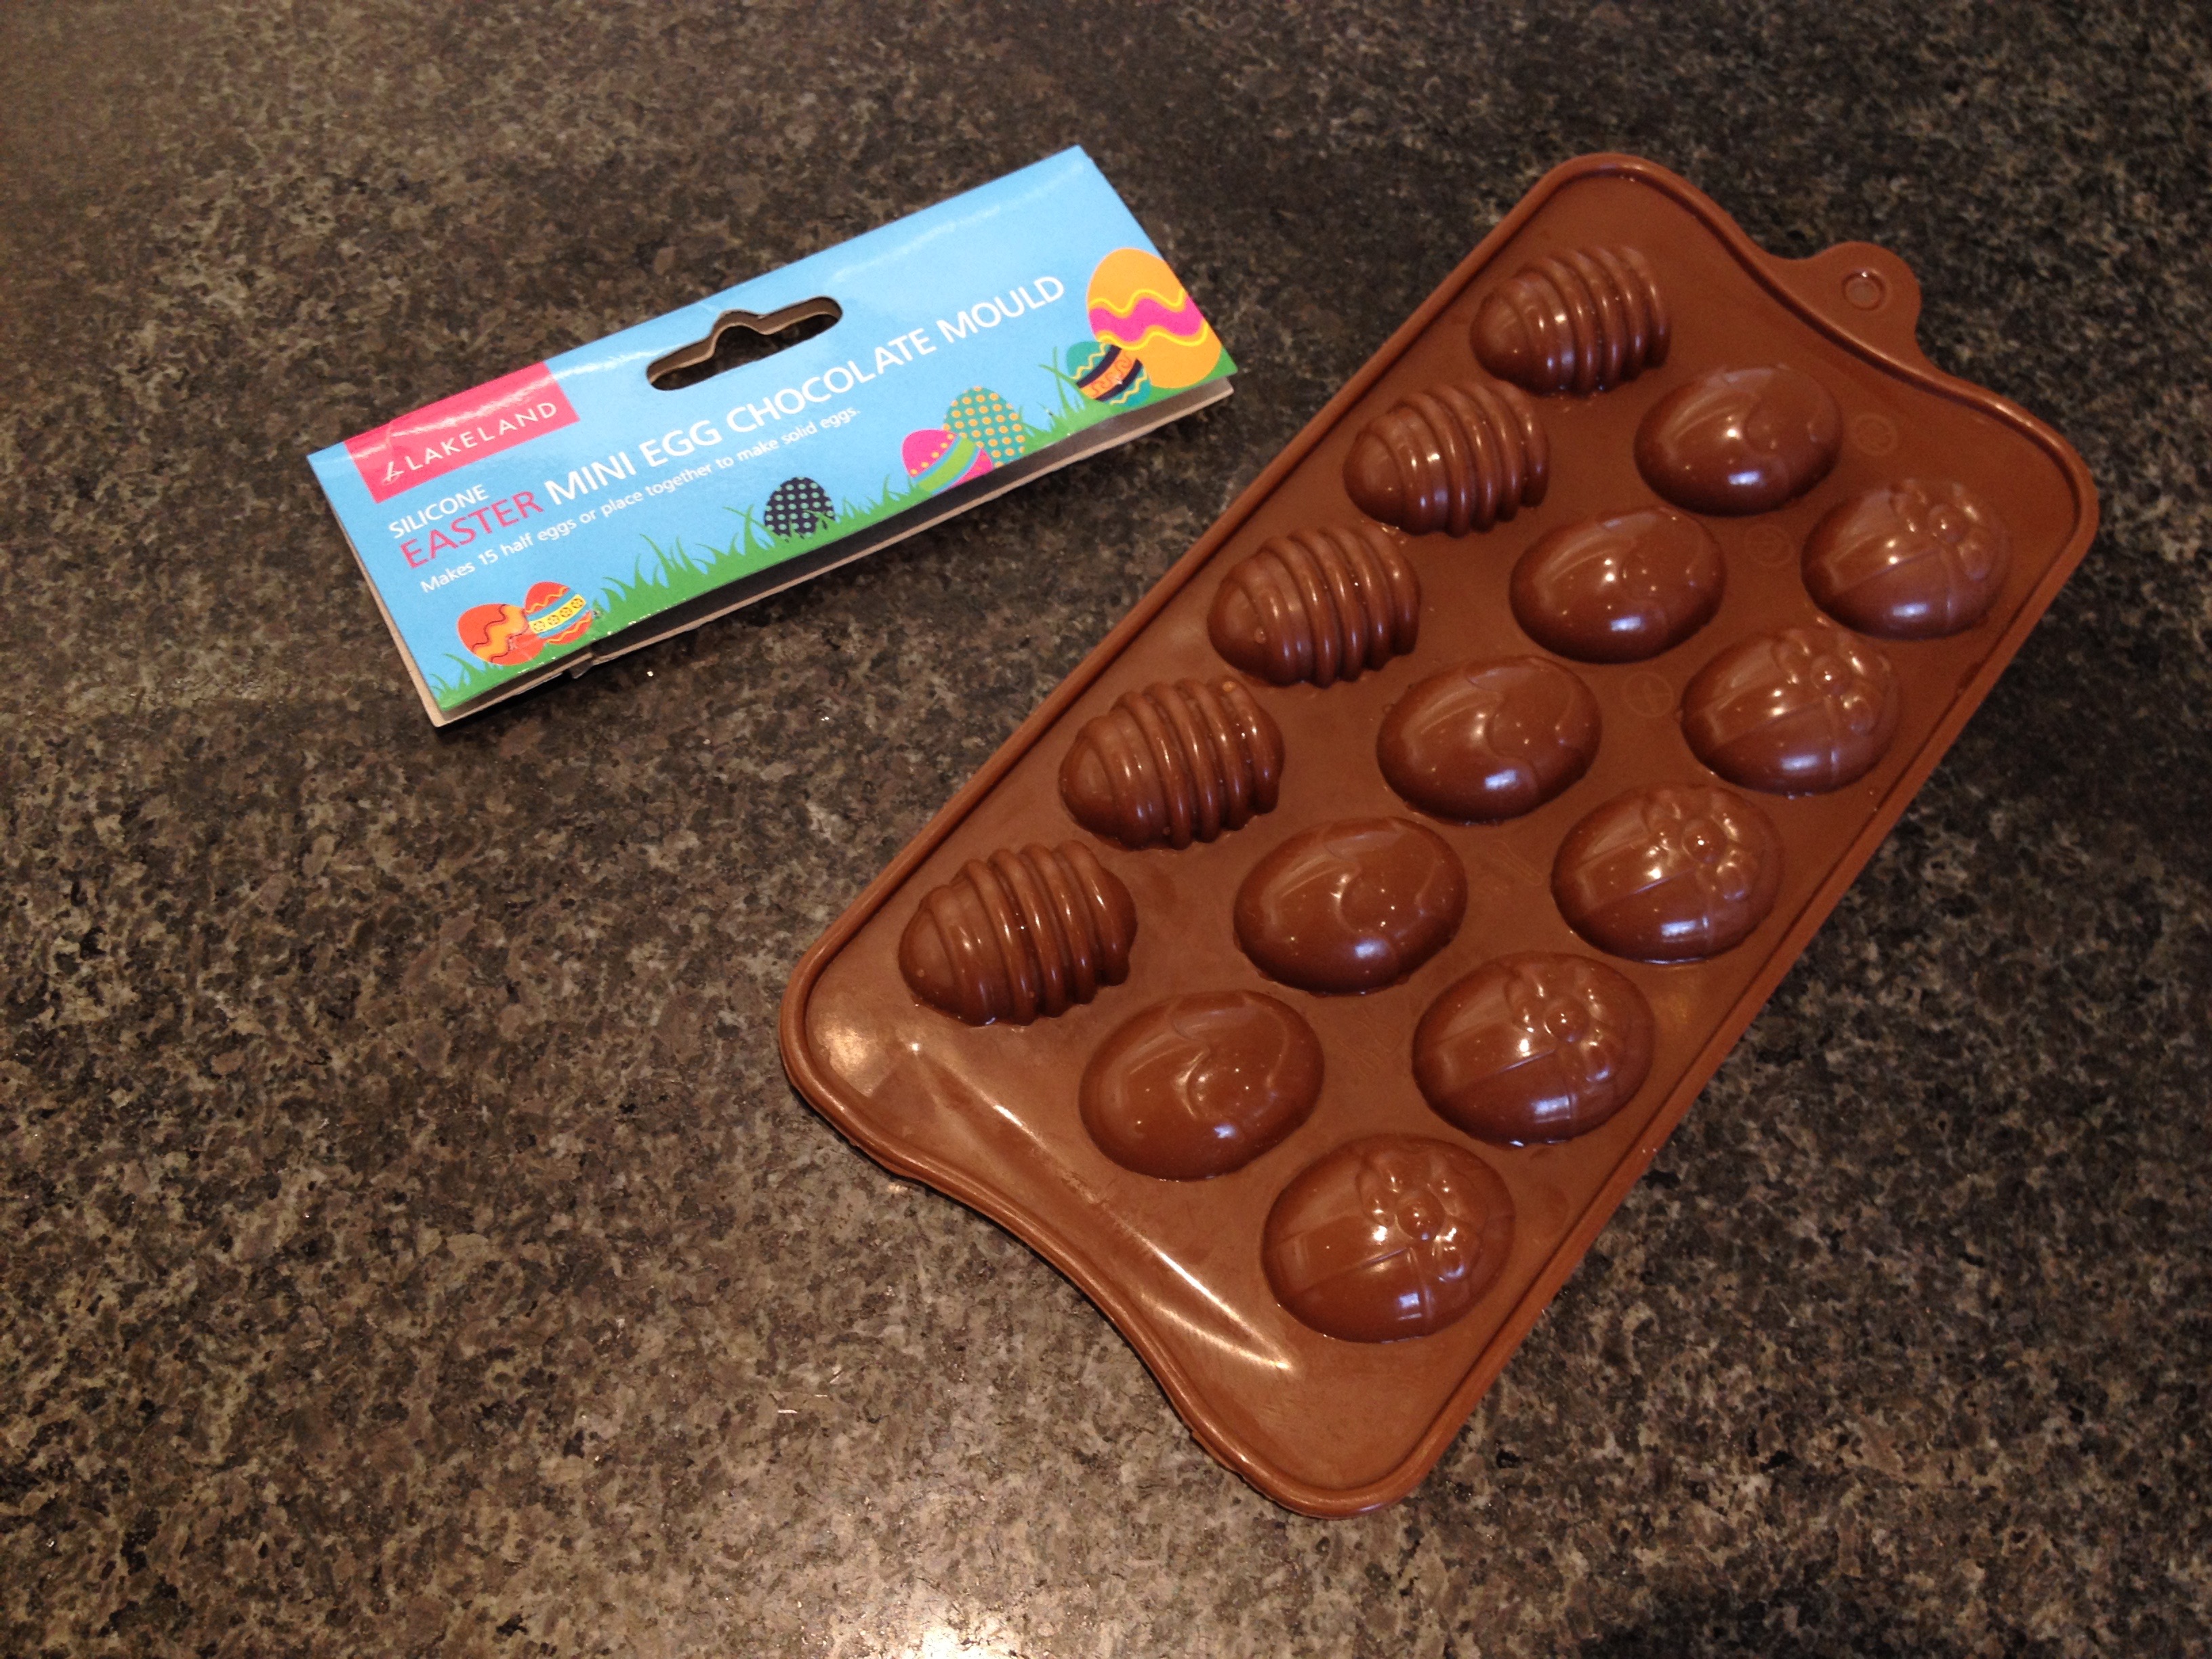 Easter Egg Chocolates Mould
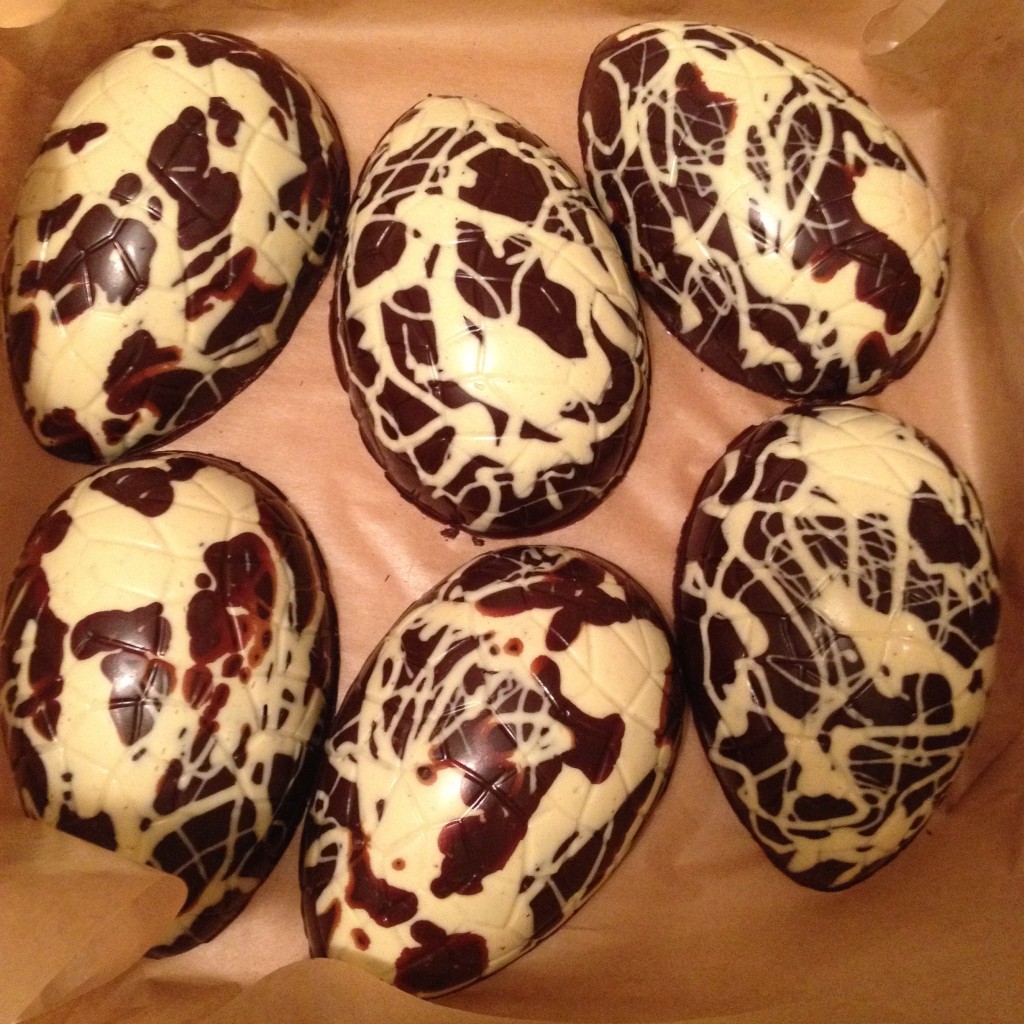
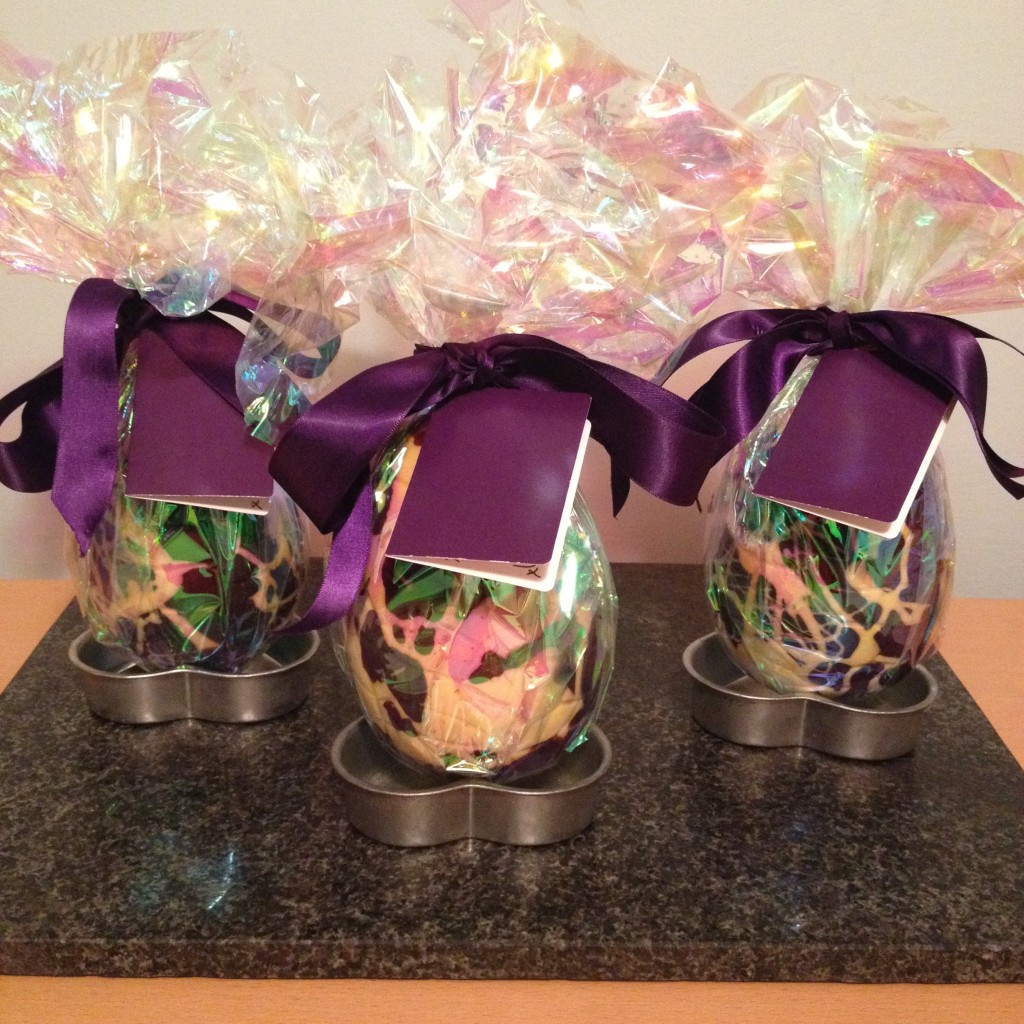
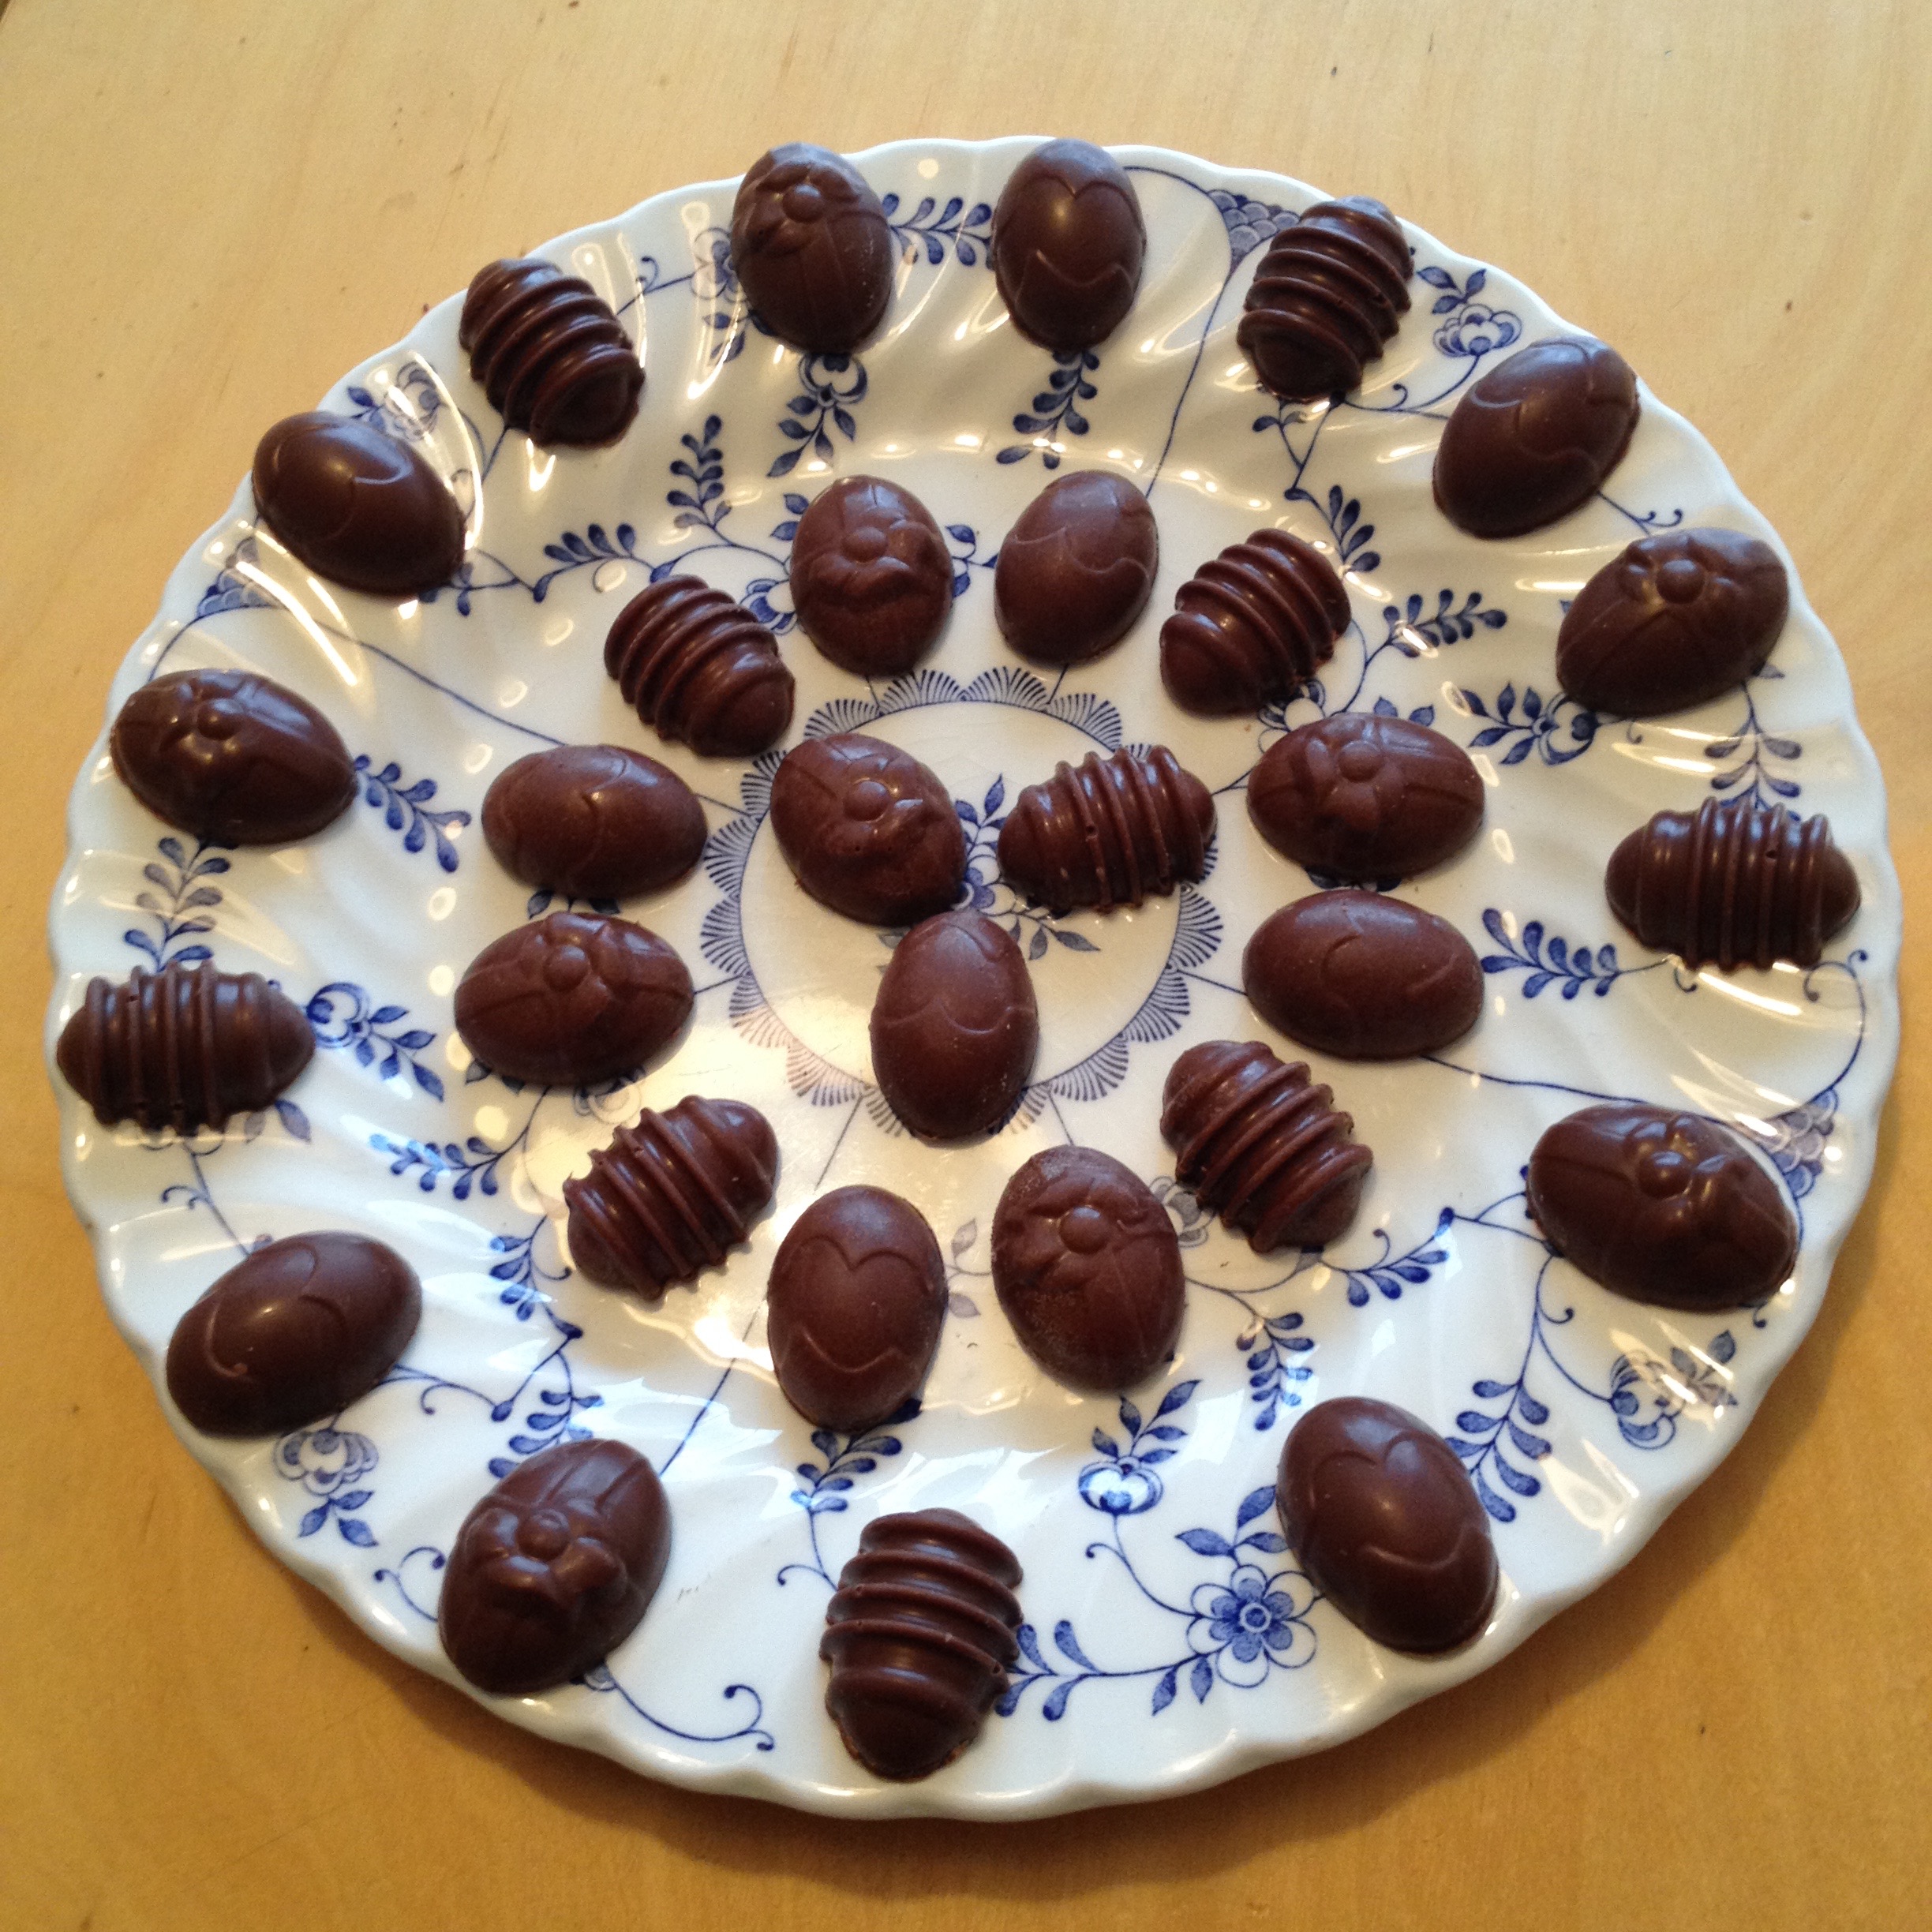
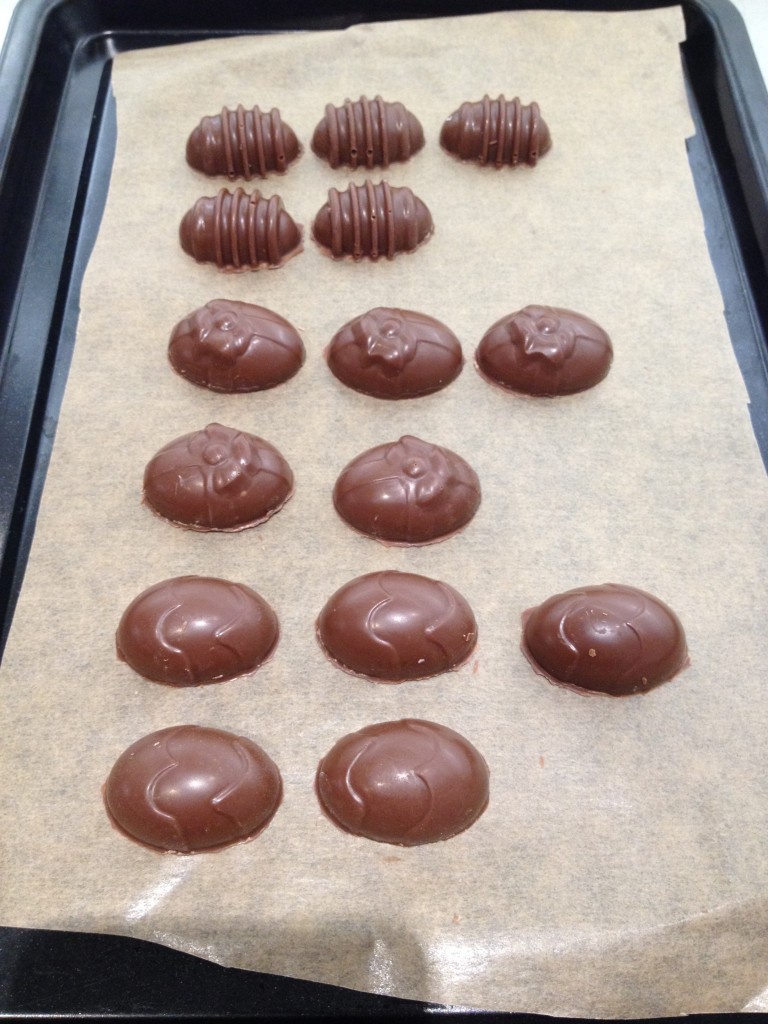 Finished Filled Easter Egg Chocolates
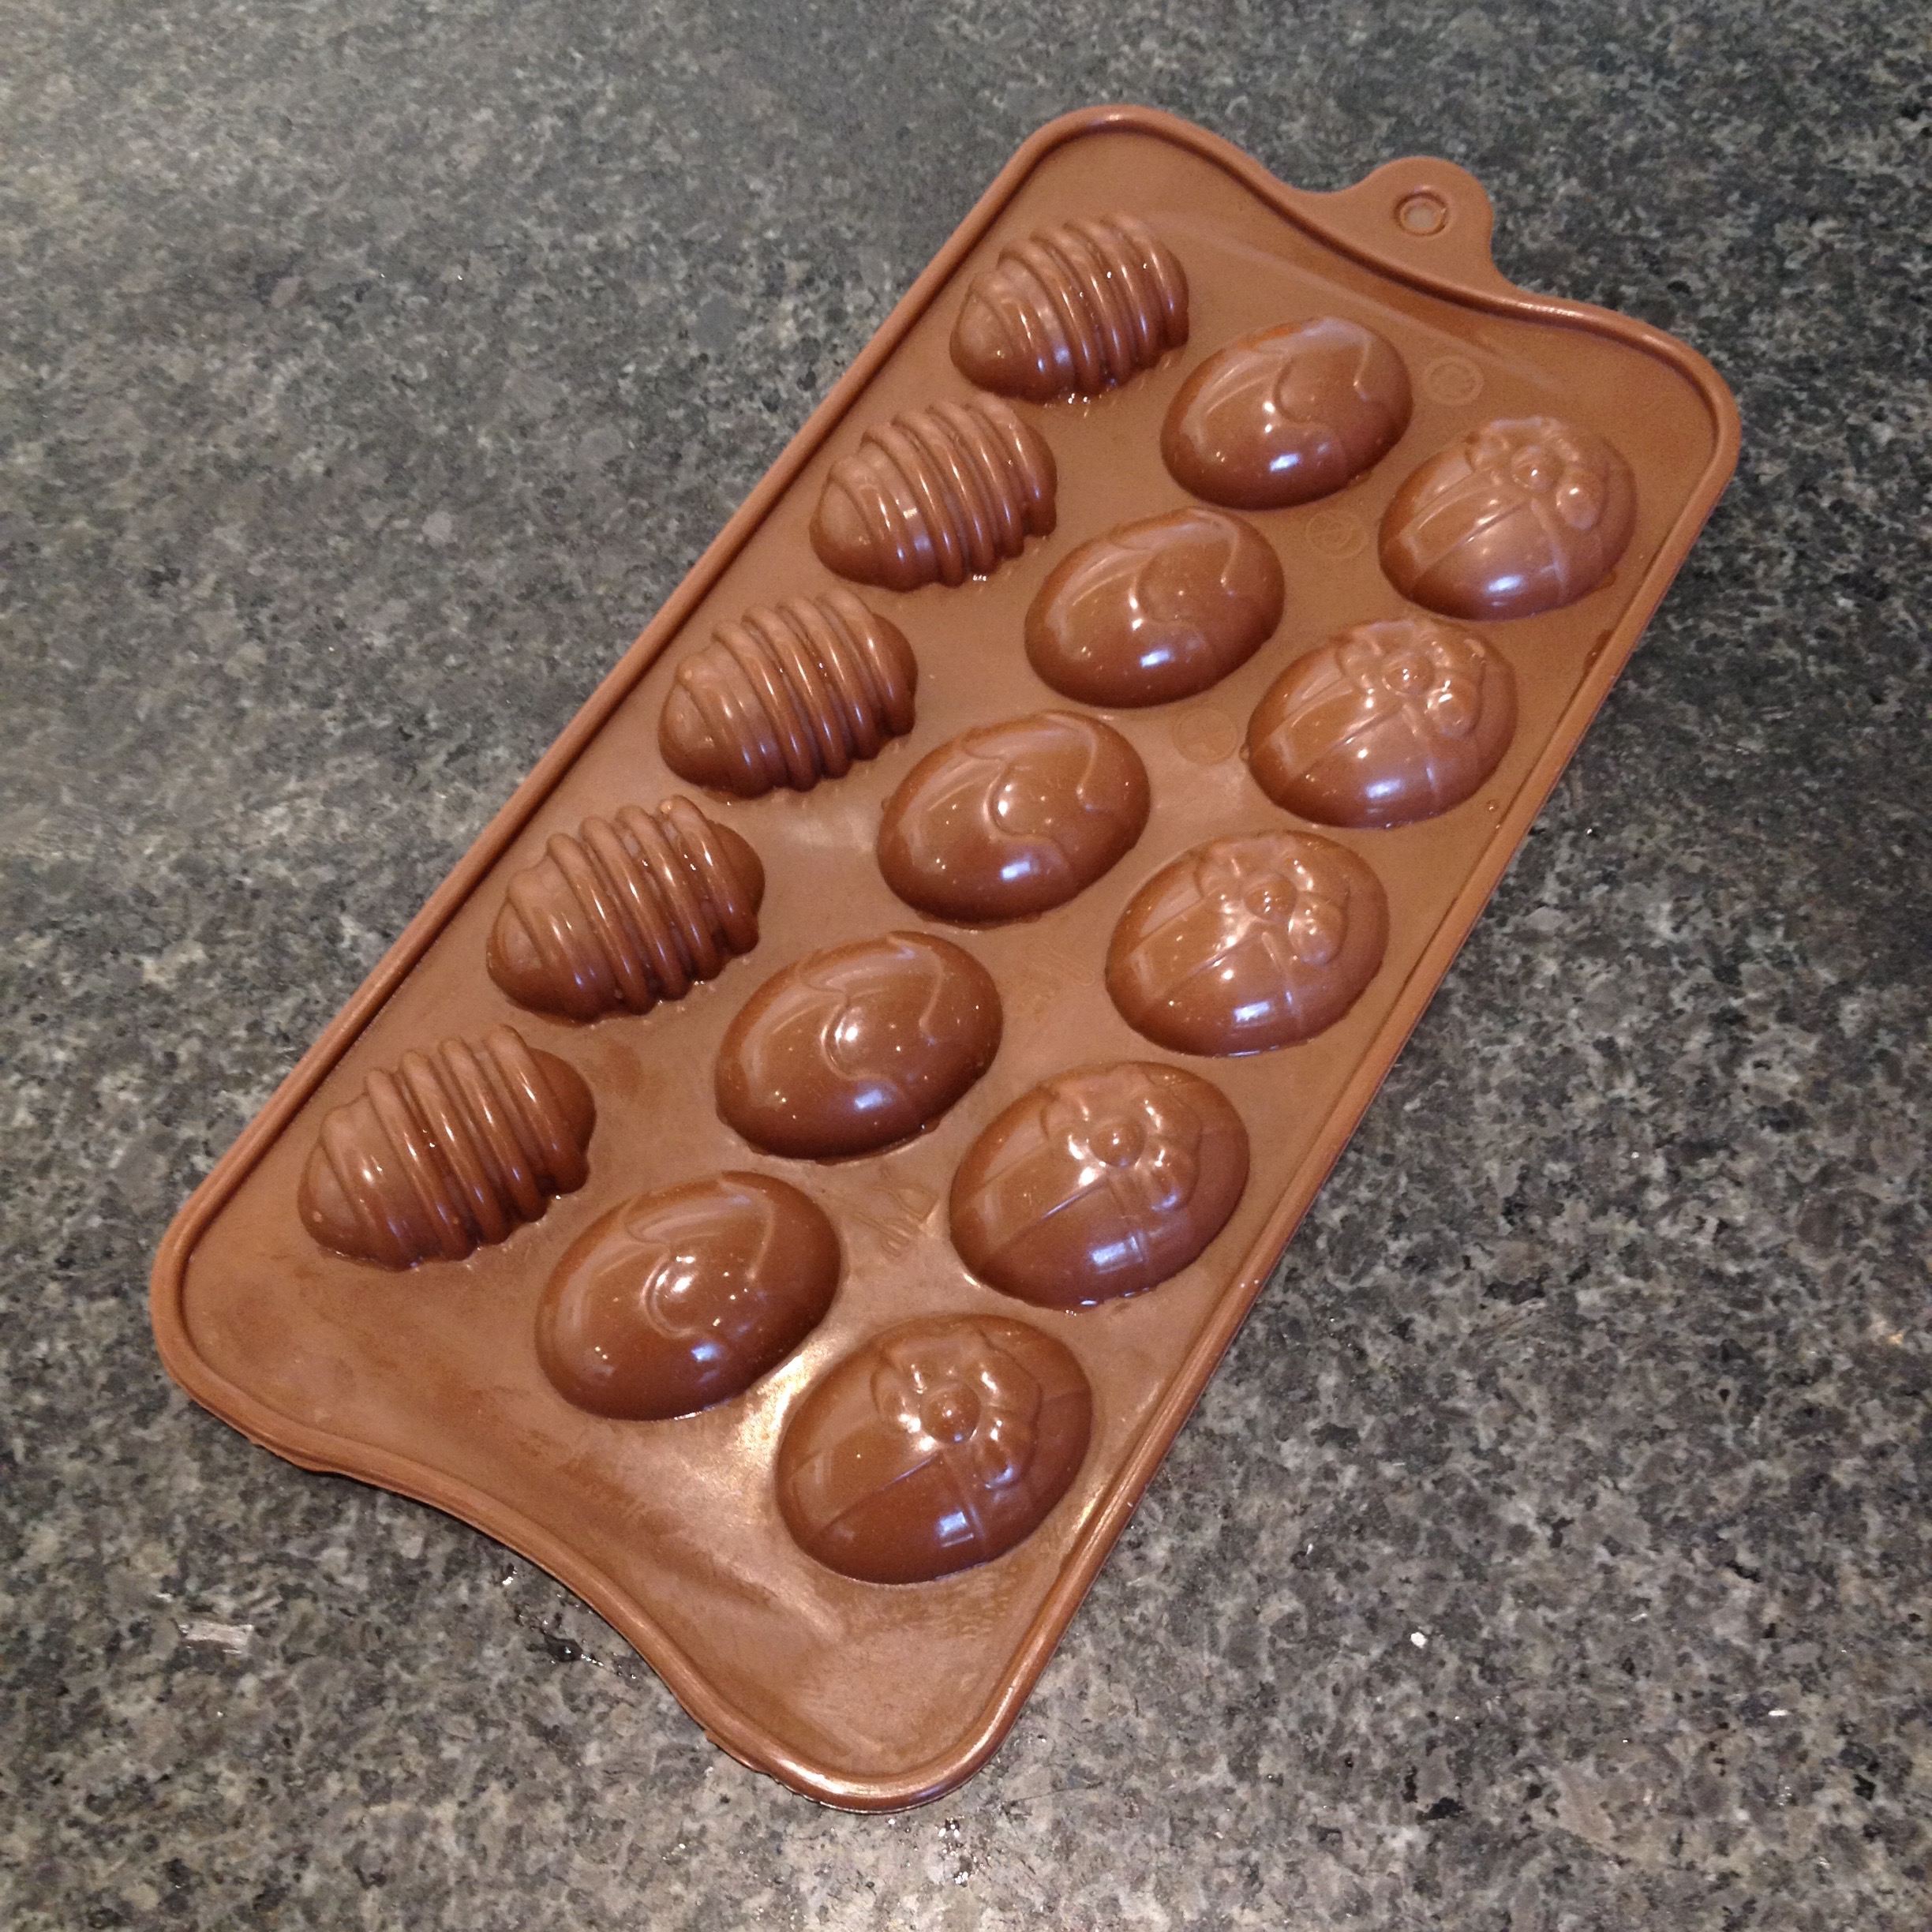 Easter Egg Chocolates Mould
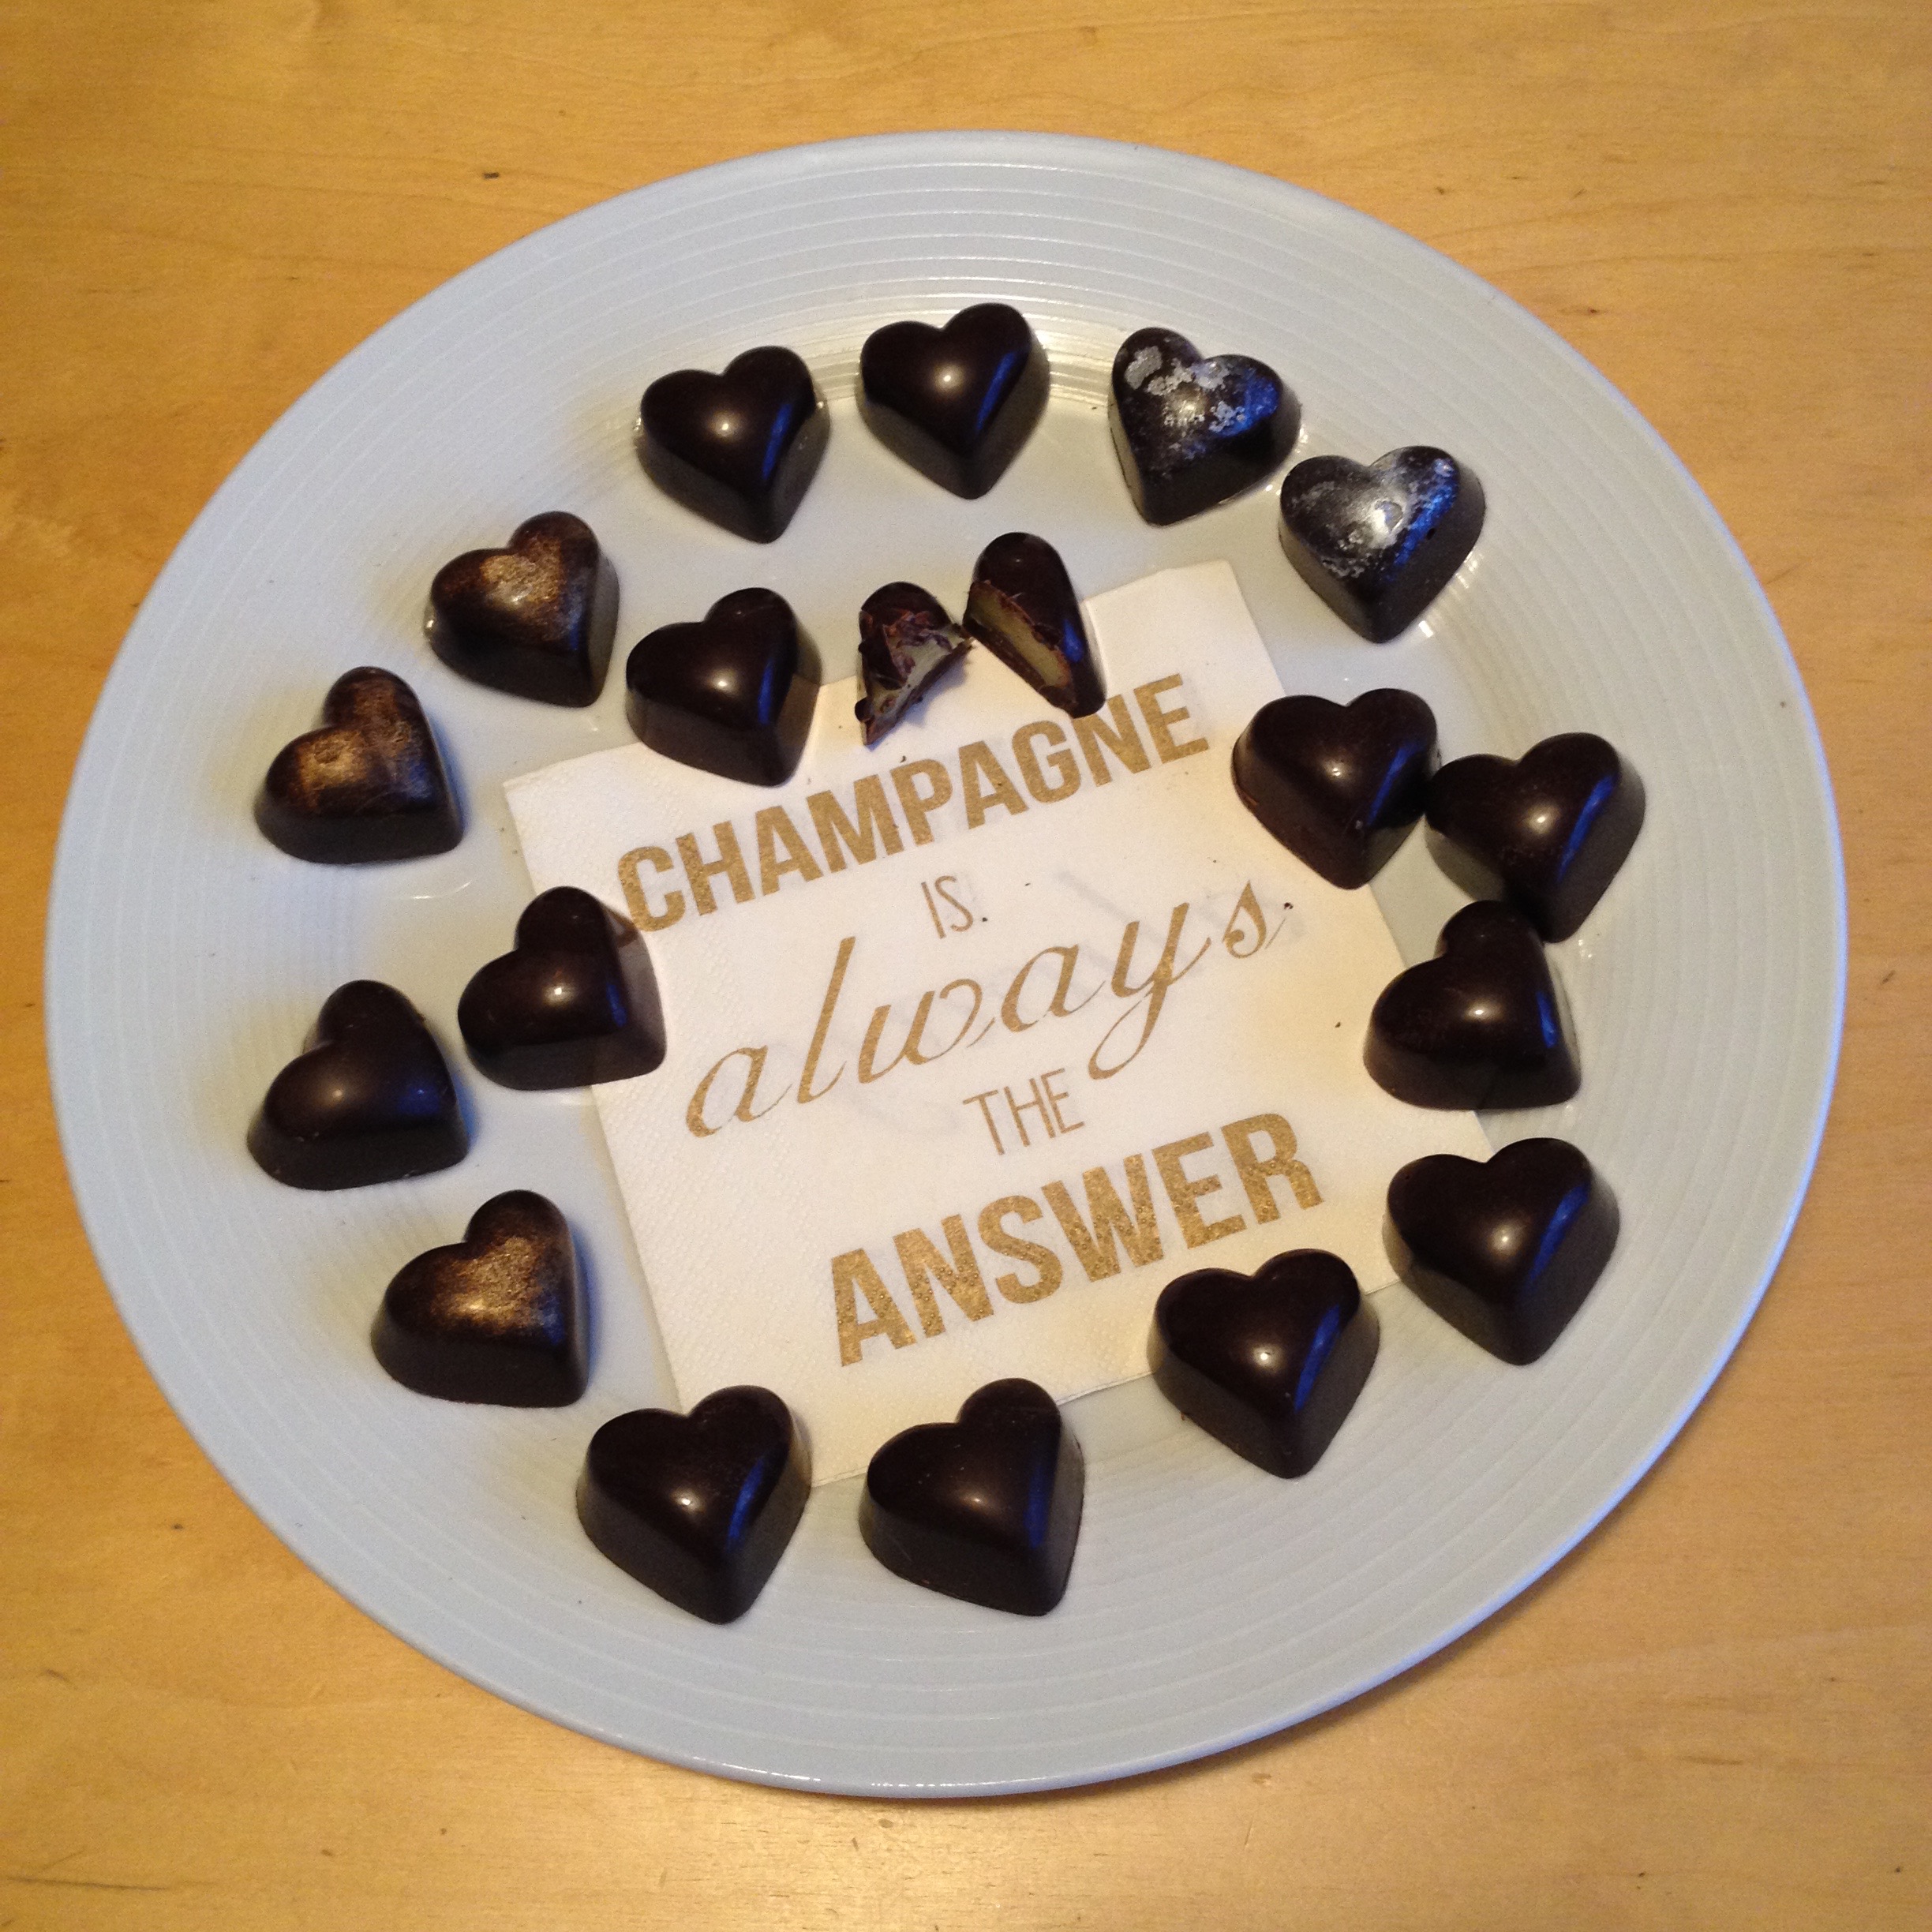
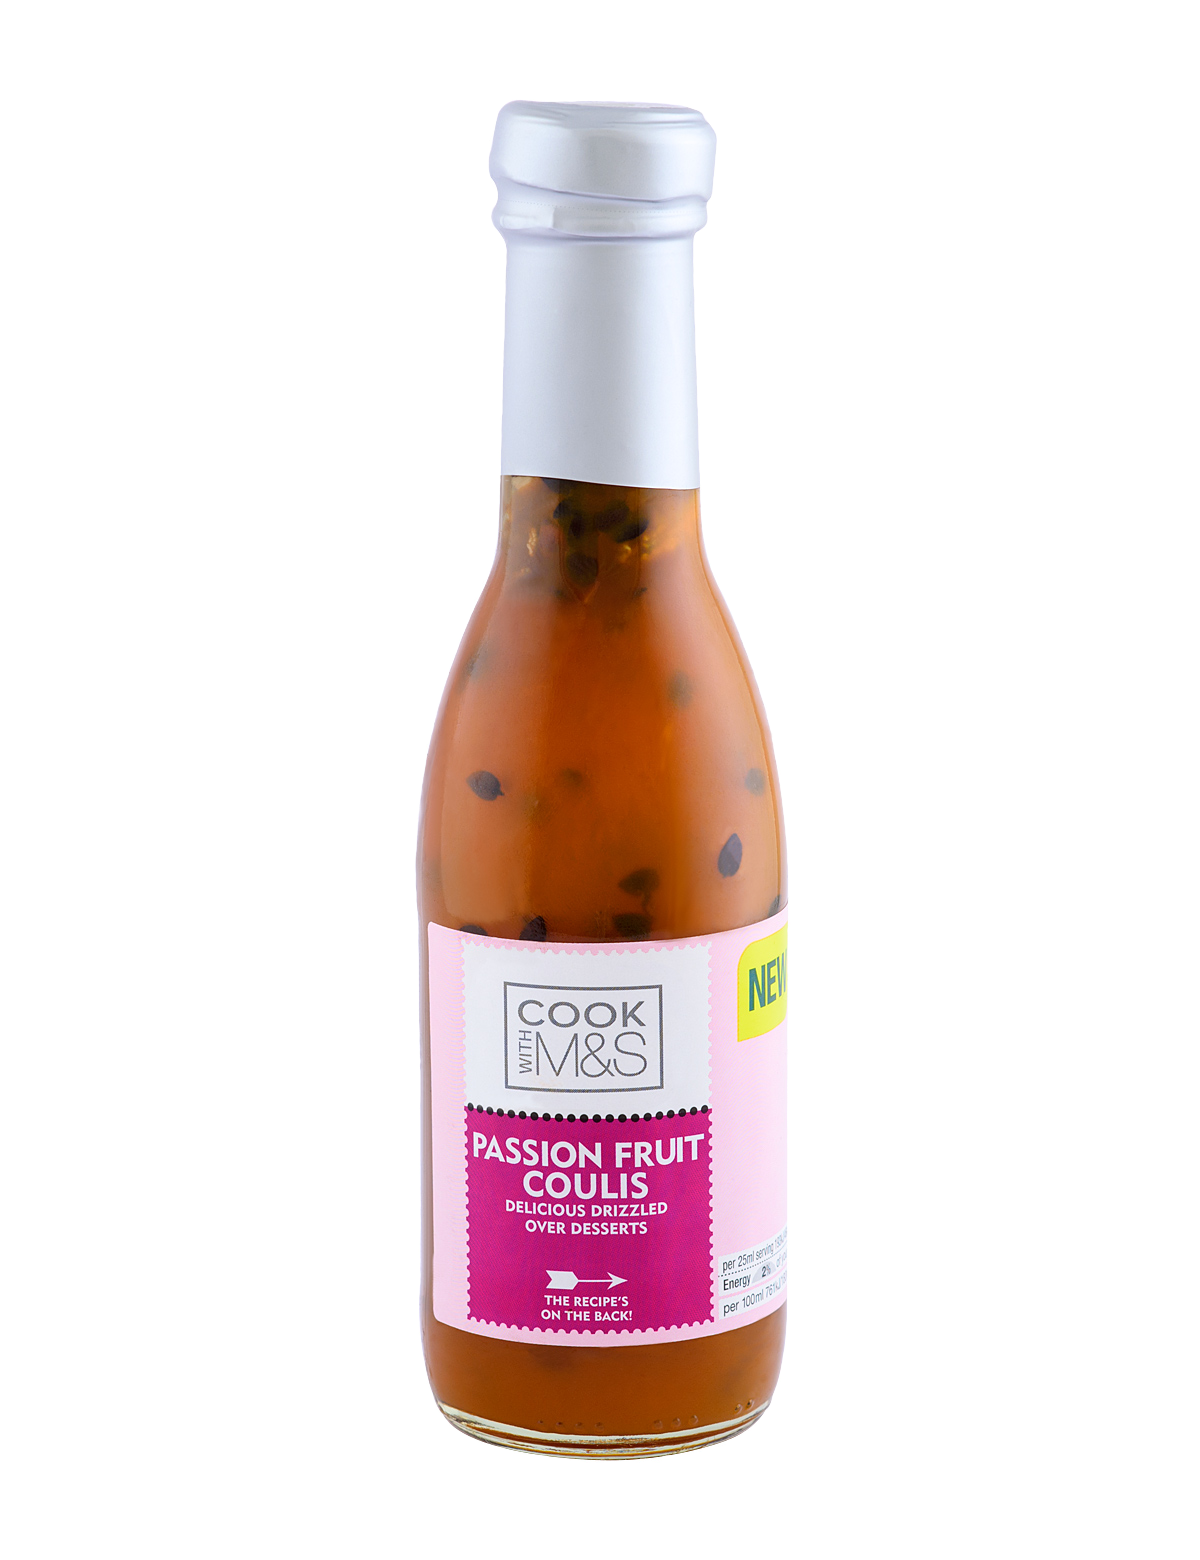 Image © M&S


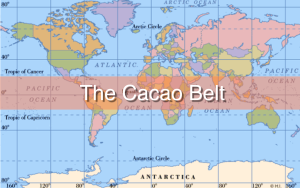
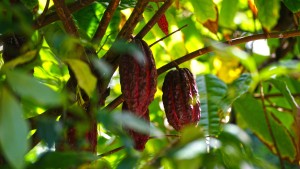 So what is the the Cacao belt? Its the narrow band 20 degrees either side of the equator. Cacao (Theobroma Cacao) plants thrive in high humidity and in areas of high rainfall (40 to 100 inches per year).